Configure Document Analyst
Before you start
Document Analyst must be enabled before you can configure it. Refer to Enable Document Analyst for more information.
Open the configure modal
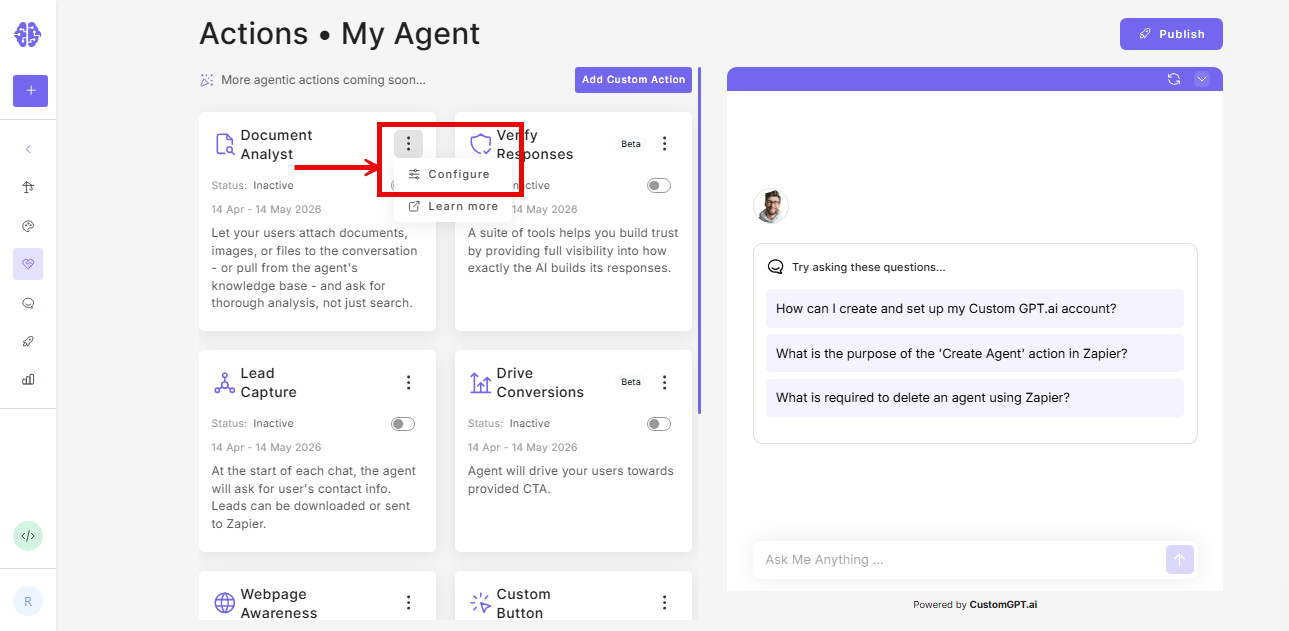
- Click the three-dot menu next to your agent and select Actions.
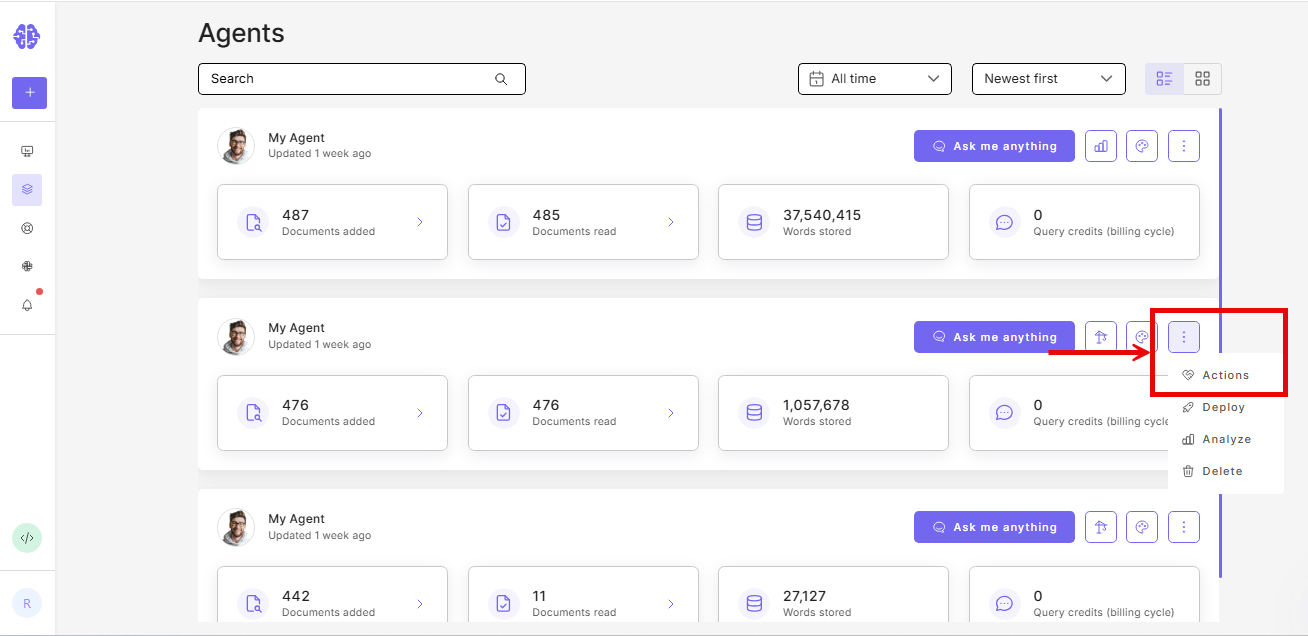
- Click the three-dot menu next to the Document Analyst card and select Configure.
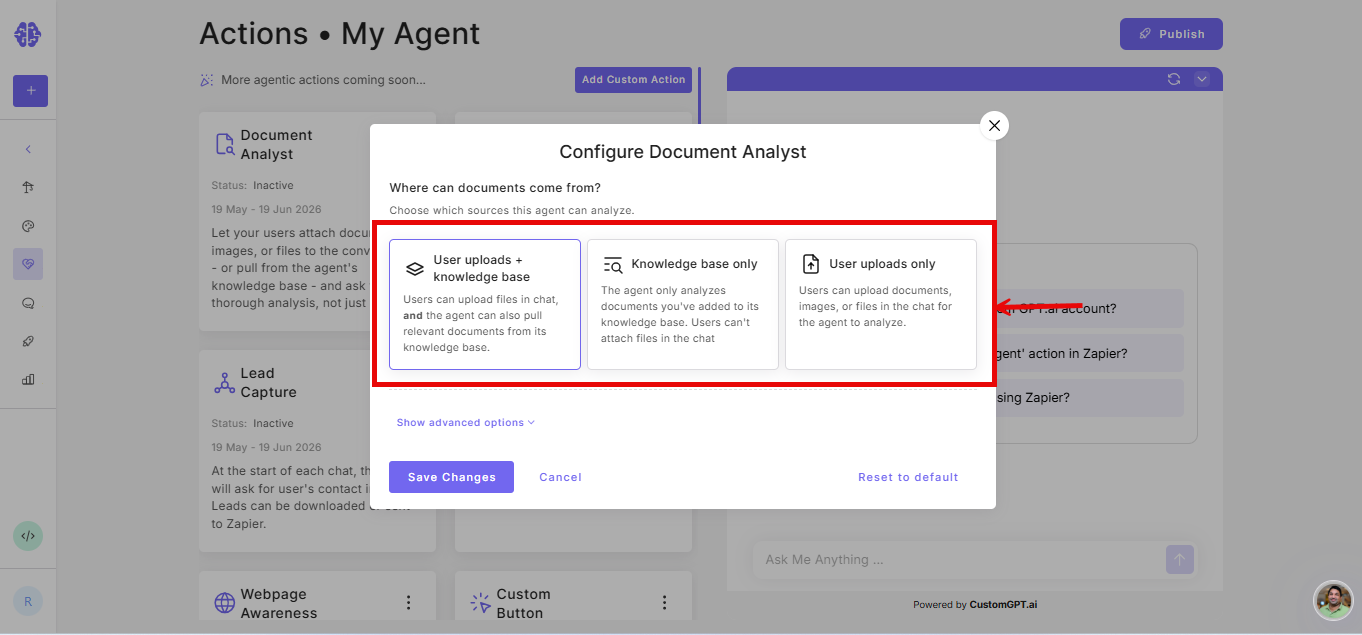
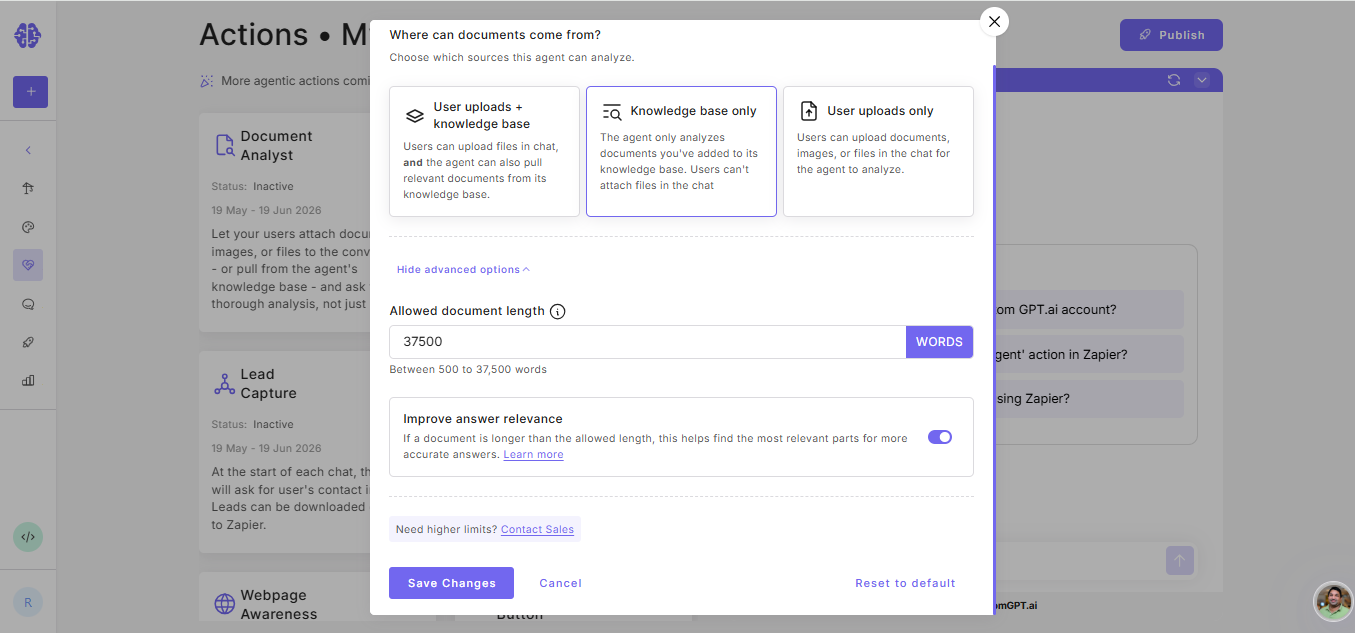
- Select which mode to enable:
| Option | What it enables |
|---|---|
| User uploads only | Users can attach files in the chat input |
| Knowledge base only | Agent reads specific documents from your knowledge base |
| User uploads + knowledge base | Both modes are available |
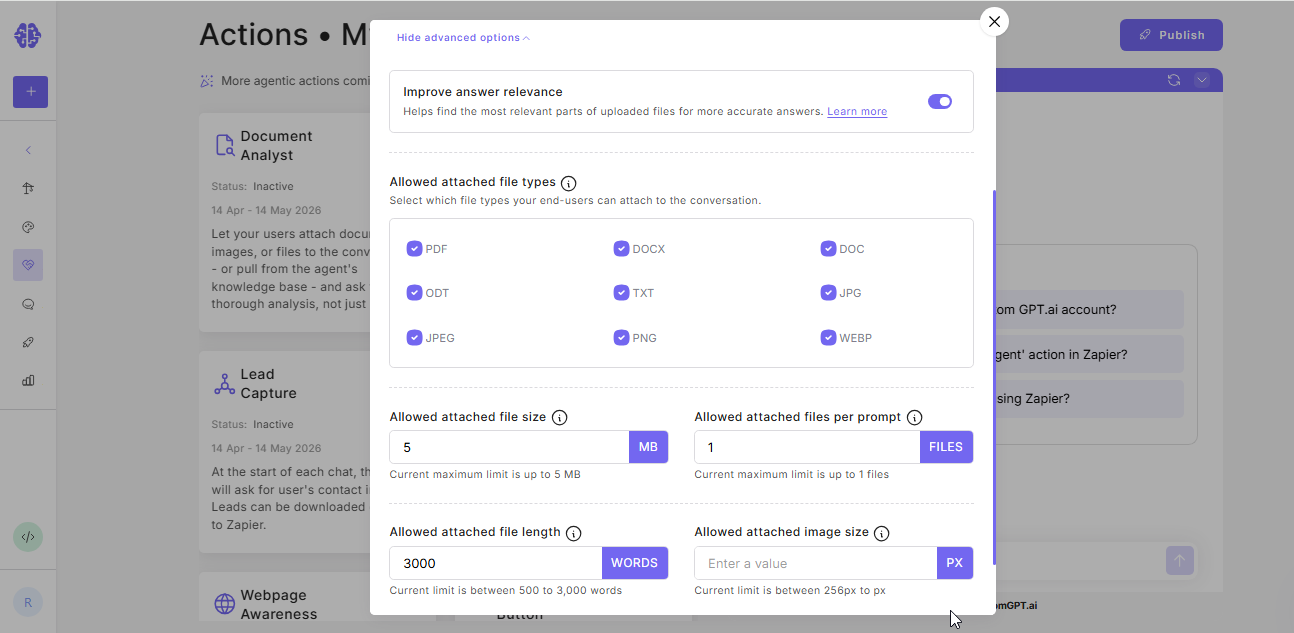
- Click Show advanced options.
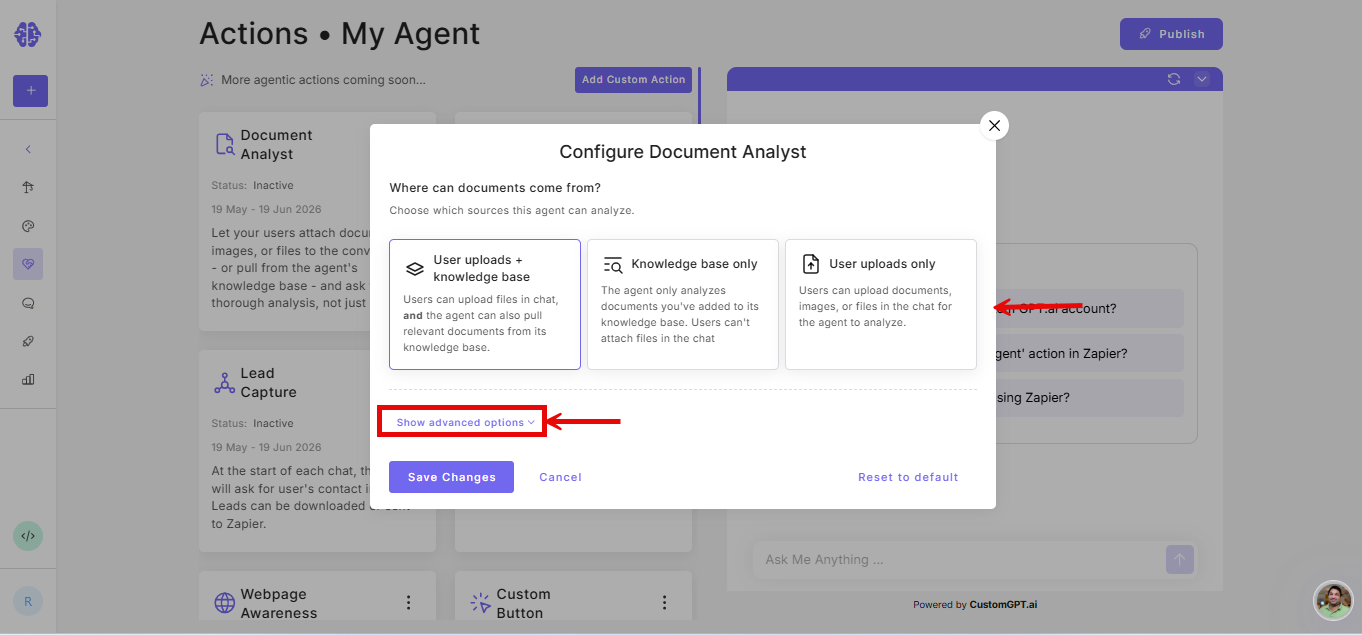
- Adjust the settings for your selected source:
User uploads only
| Setting | Description |
|---|---|
| Improve relevance | Reorders document sections by relevance before the agent reads them. Disable if users need documents read sequentially from start to end. |
| Allowed file types | File formats users can upload. Options: pdf, docx, doc, odt, txt, jpg, jpeg, png, webp. |
| Allowed file size | Maximum file size per upload. Range: 1MB to your account limit. Default: 5MB. |
| Allowed files per prompt | Number of files a user can attach in a single message. Default: 1 (Premium), 3 (Enterprise). |
| Allowed document length | Maximum words processed per file. Range: 500 to your account maximum. If a document exceeds the allowed word limit, the agent reads up to that limit only. Content beyond it is not included in the response. |
| Allowed image size | Minimum pixel dimensions for uploaded images. Default: 256px. |
Knowledge base only
| Setting | Description |
|---|---|
| Improve answer relevance | Reorders document sections by relevance before the agent reads them. Disable if users need documents read sequentially from start to end. |
| Allowed document length | Maximum words processed per file. Range: 500 to your account maximum. If a document exceeds the allowed word limit, the agent reads up to that limit only. Content beyond it is not included in the response. |
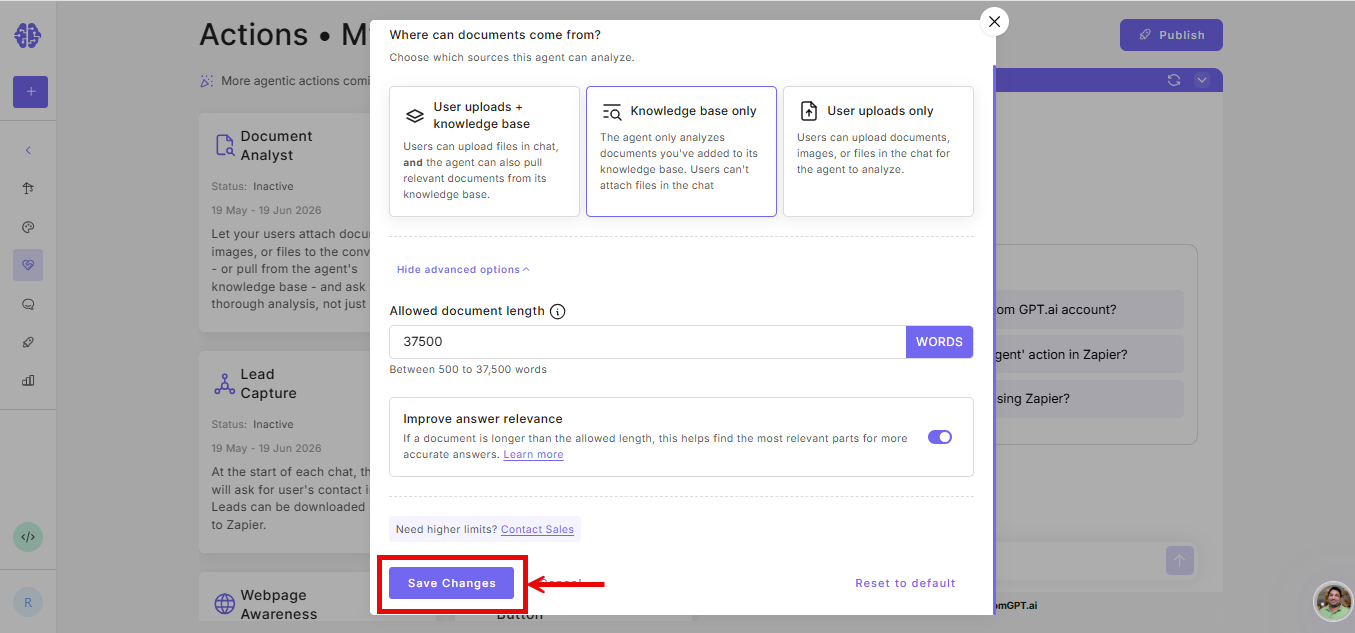
- Click Save Changes.
Related articles
- Enable Document Analyst
- How Document Analyst Answer Relevance Works
- Document Analyst Limits
- Document Analyst Best Practices
Updated about 1 month ago
Did this page help you?