Enable Verify Responses
This step-by-step guide explains how to turn on the Verify Responses feature for your CustomGPT.ai agent so you can fact-check AI answers and assess compliance risks.
How to enable Verify Responses
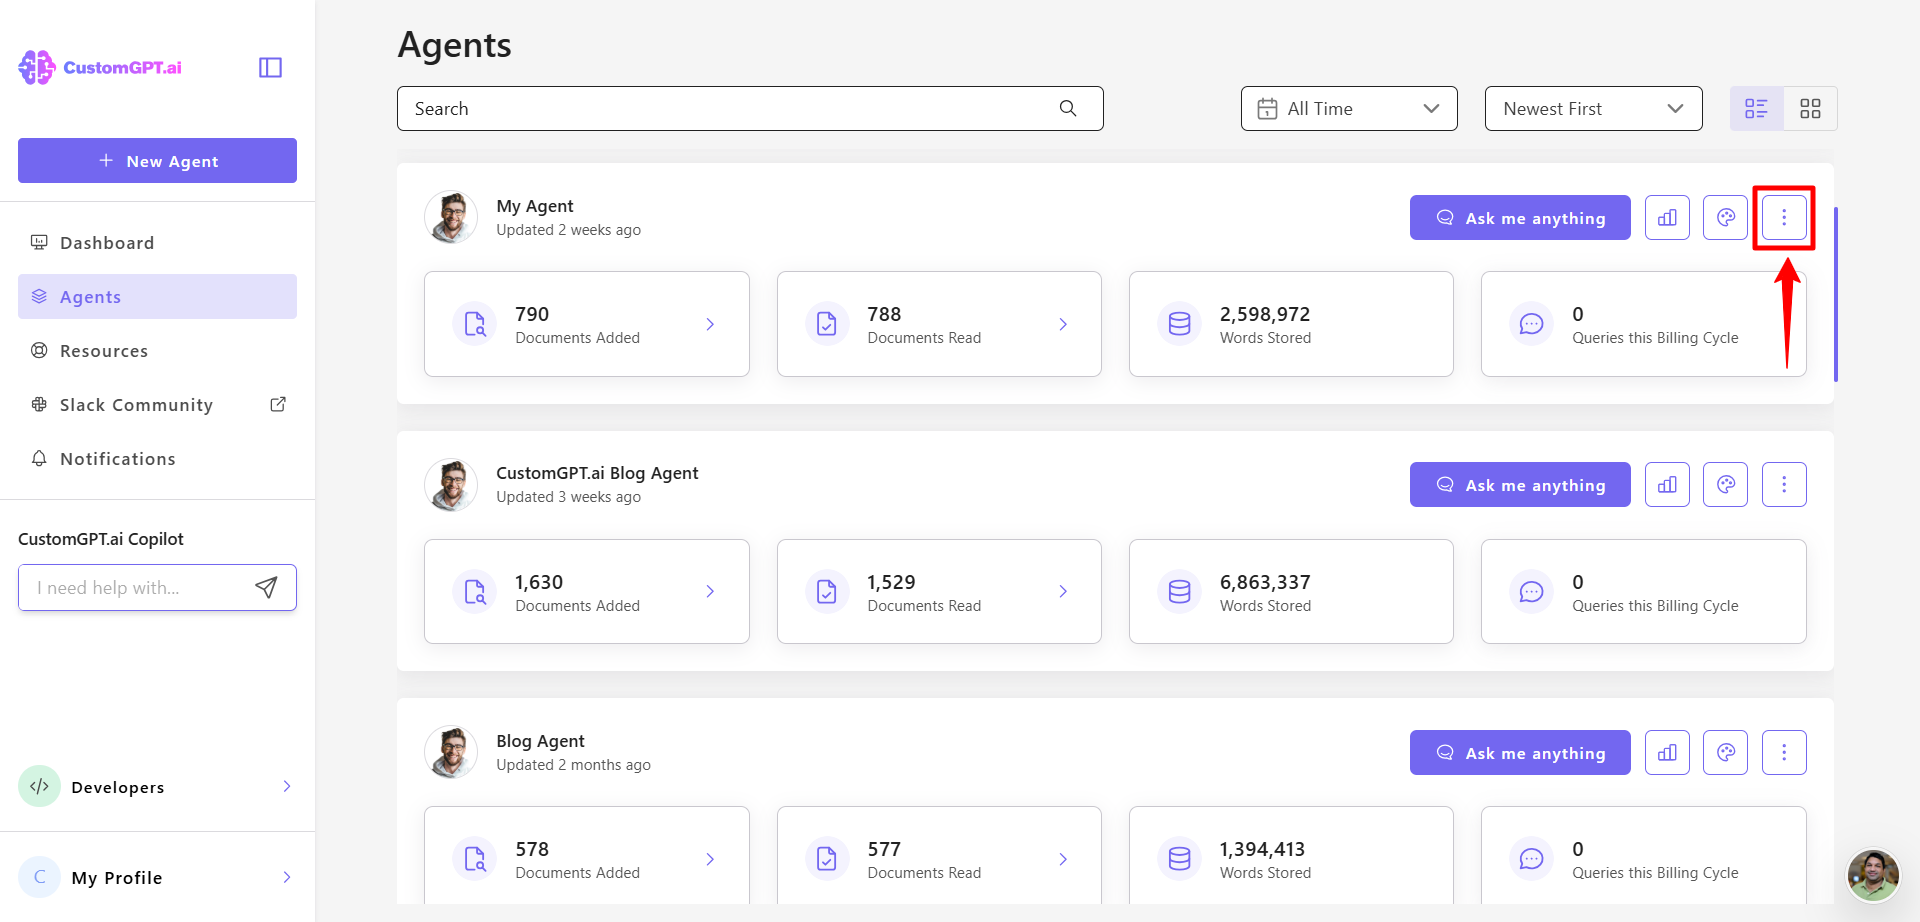
- On your CustomGPT.ai dashboard, click the three dots menu
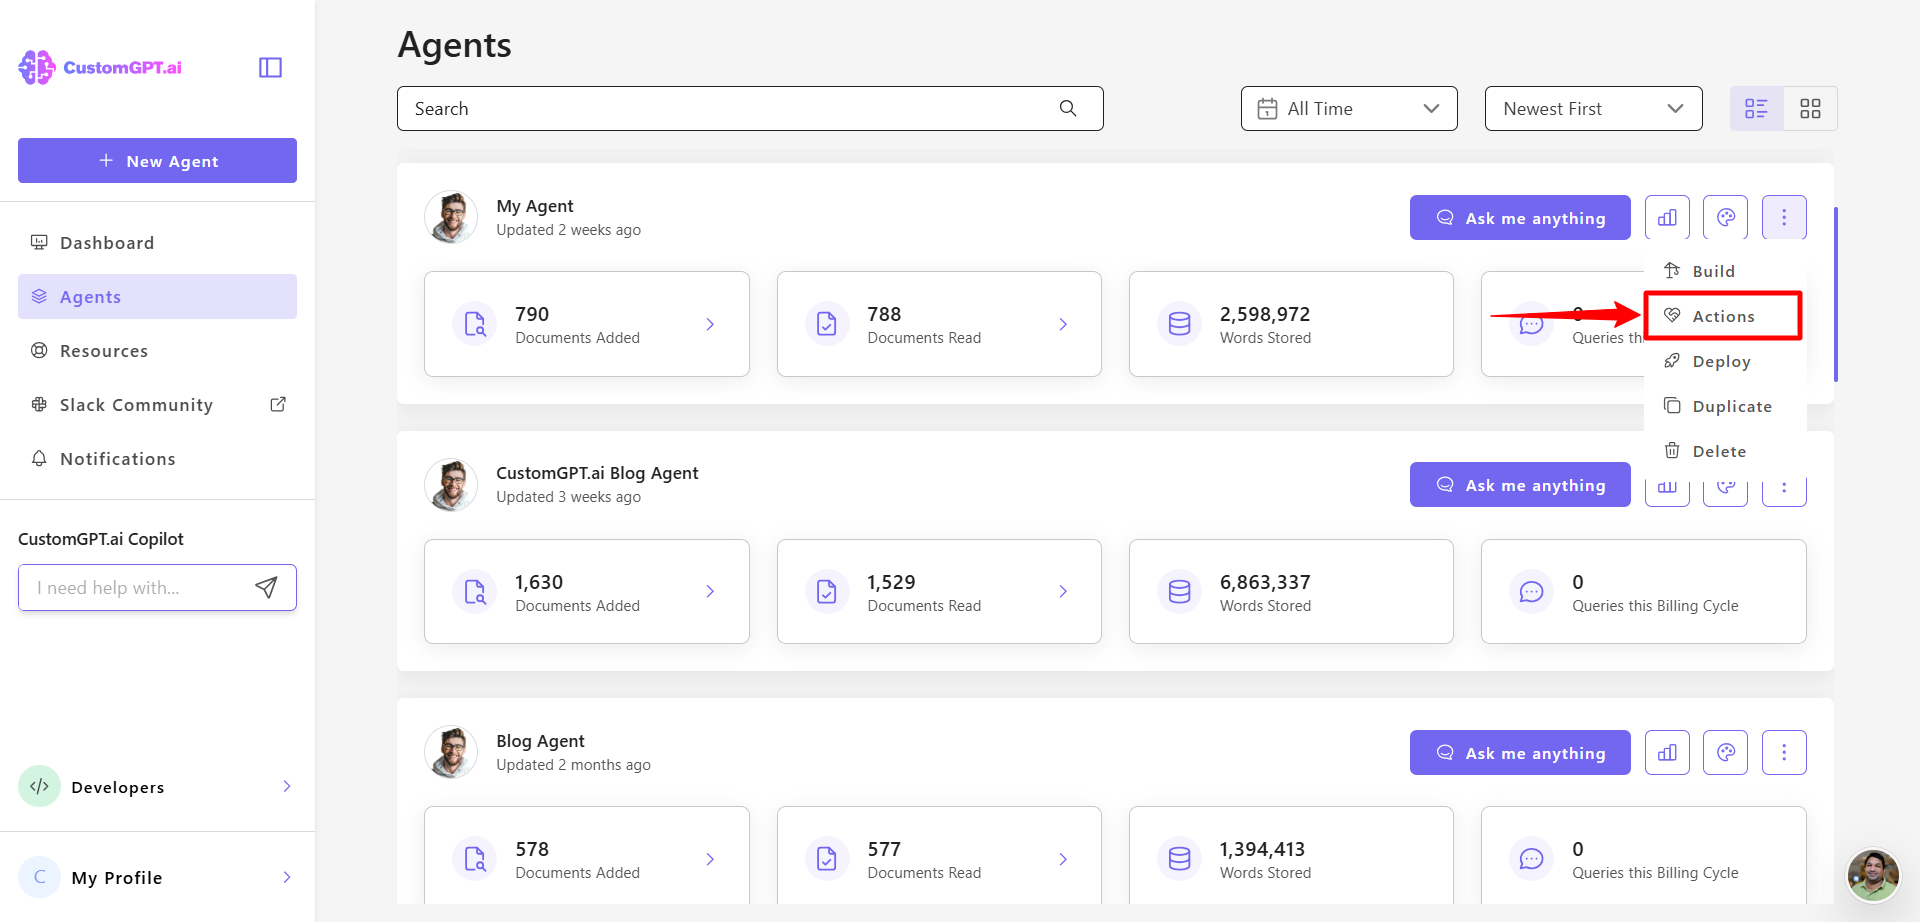
- Click Actions.
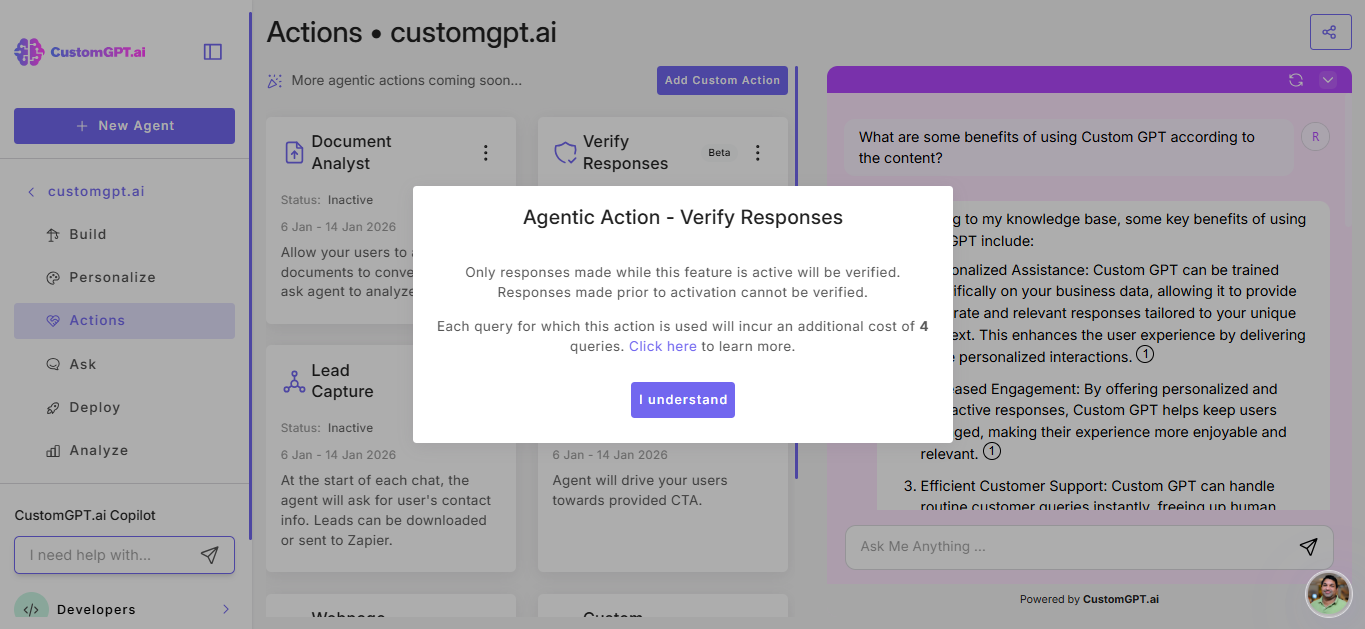
- Find Verify Responses and toggle it On. (Alternative: To verify only specific responses without enabling the feature globally, skip to step 5. Click the shield icon next to any AI response and click Run for this response when prompted.)

- Confirm your choice by clicking the I understand button.
- Start a conversation with your agent on the Ask page and wait for the AI to respond.
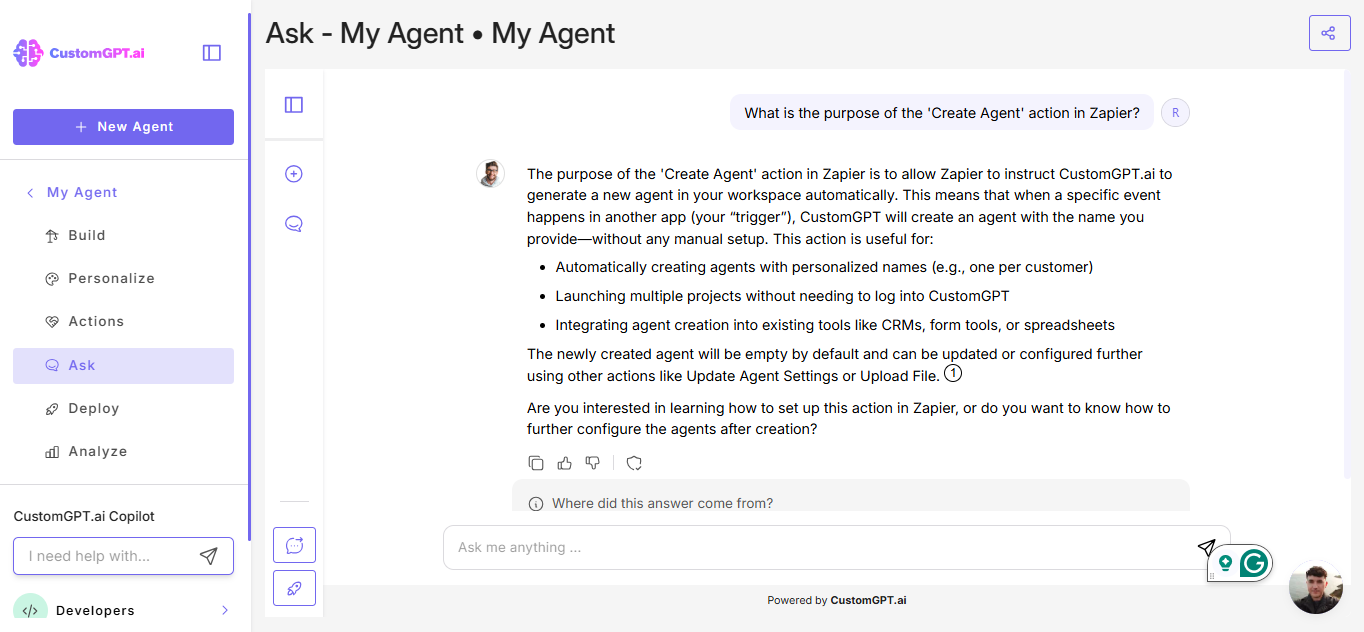
- Click the shield icon that appears after the AI response.
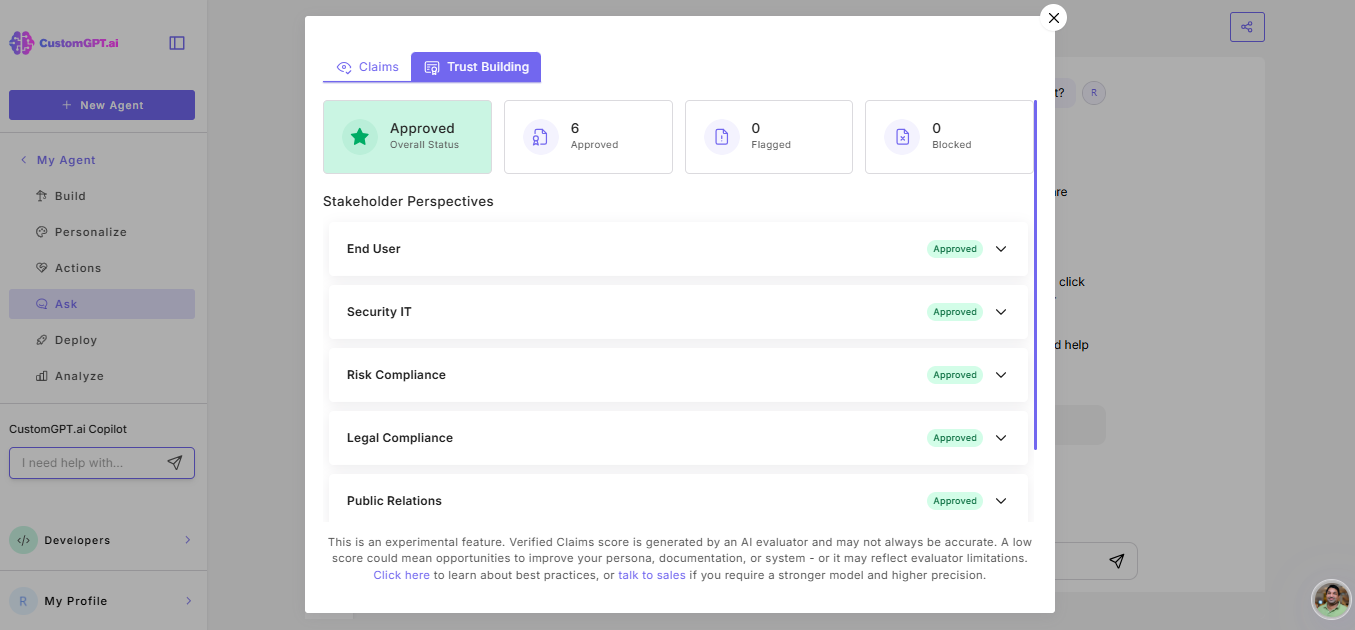
- Wait for the analysis to complete. The Verify Responses pop-up window will show:
- Claims- extracted claims with source verification and verified claims score

- Trust Building — stakeholder satisfaction status and recommendations
Note: Verify responses uses additional query credits when enabled. See Actions cost for pricing details.
Related articles
Updated 6 months ago
Did this page help you?