Enable AI vision for uploaded images
This guide explains how to enable AI Vision when uploading images to your agent. With AI Vision, your agent can automatically analyze and summarize images—transforming visual content into useful knowledge.
What is AI Vision
AI Vision allows your agent to intelligently process uploaded images using advanced computer vision models. It identifies what’s happening in the image, generates a natural-language description, and adds that summary directly to the agent’s knowledge base.
This feature supports:
- Photos
- Charts and diagrams
- Infographics
- Screenshots
- Any other image type
👉 Learn more about how this works in the How AI Vision works.
Why use AI Vision
- Converts visual data into readable summaries.
- Enhances your agent’s understanding of context-rich visuals.
- Makes data from images searchable and usable in chat.
- Auto-enables image citations for your agent.
👉 Learn more about Activate image citations
How to enable AI Vision for uploaded images
You can enable AI Vision when uploading images to an existing agent or while creating a new one.
For existing agents
- Click the three dots next to your agent’s name, then select Build.

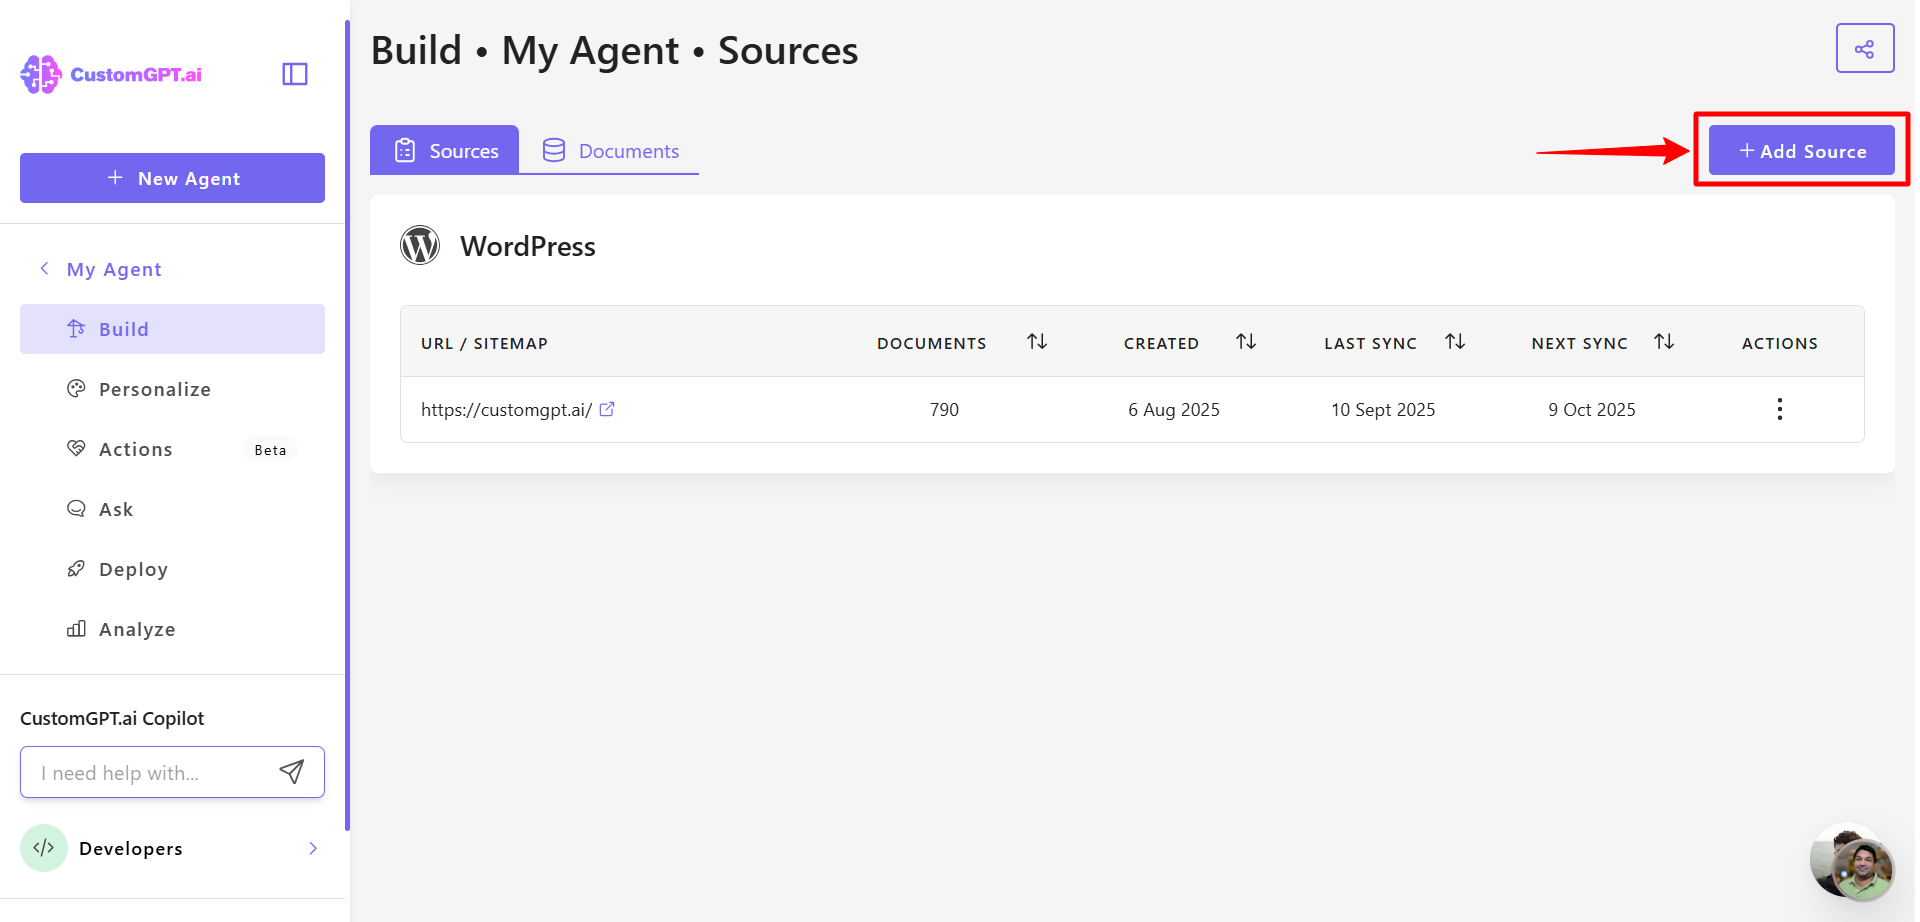
- Click Add Source.
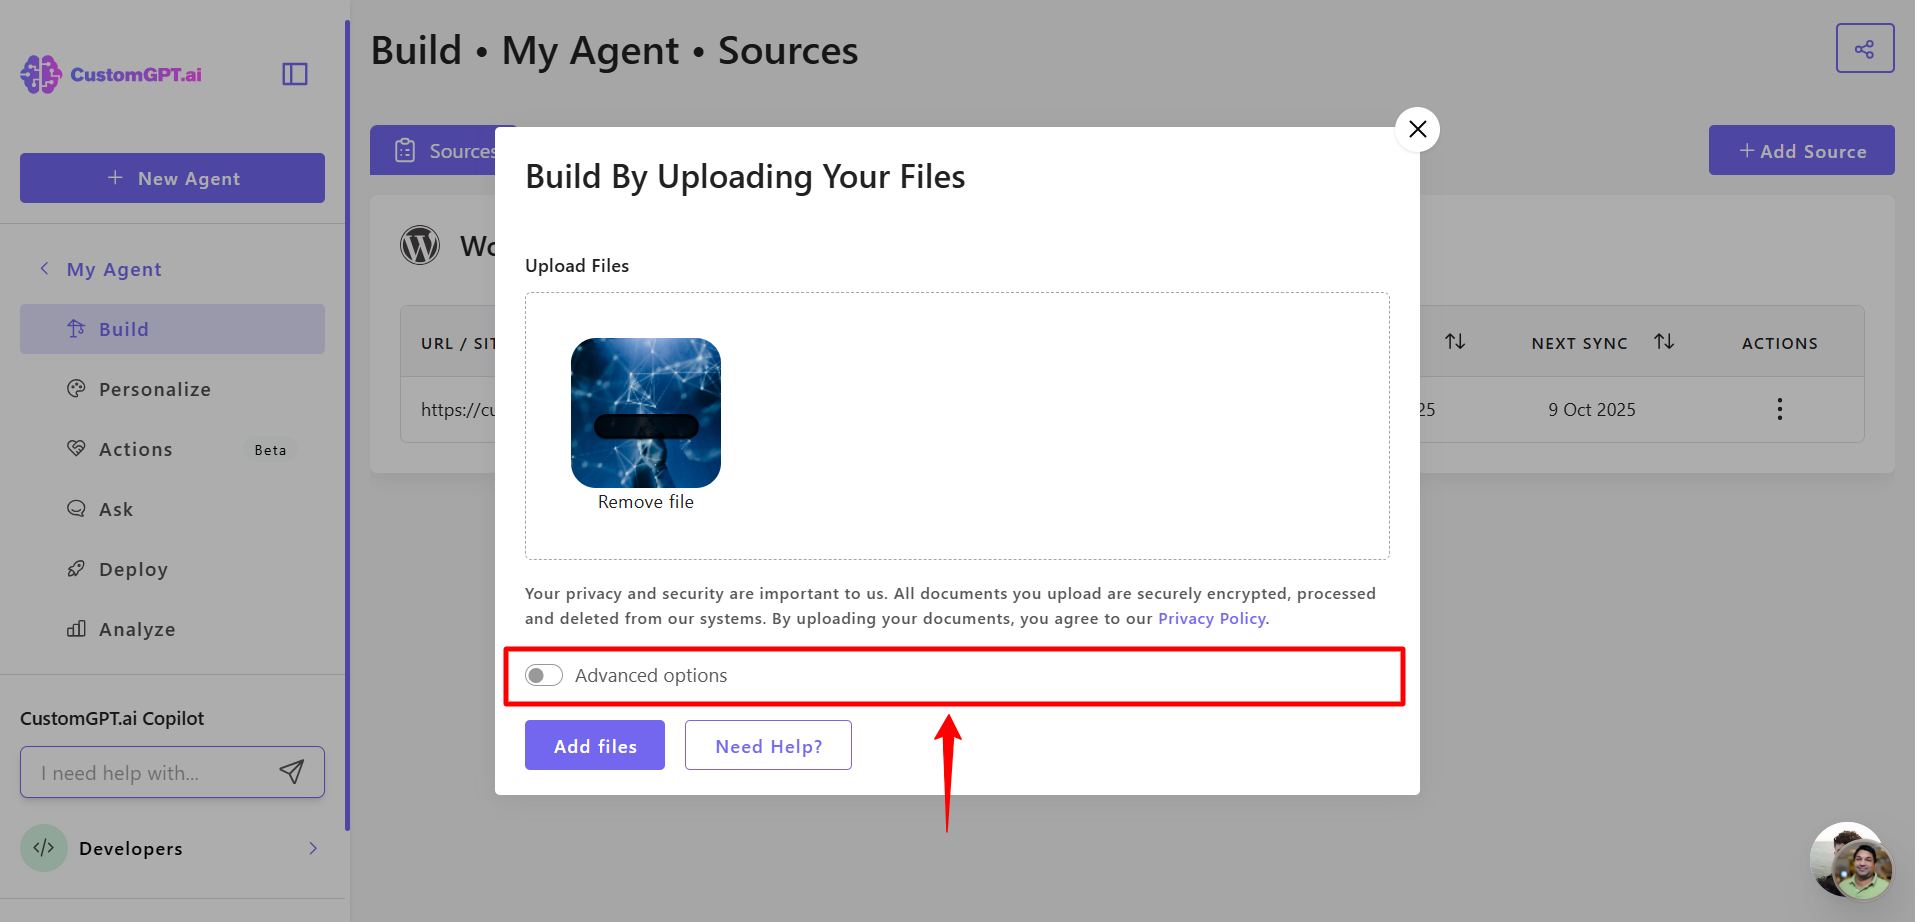
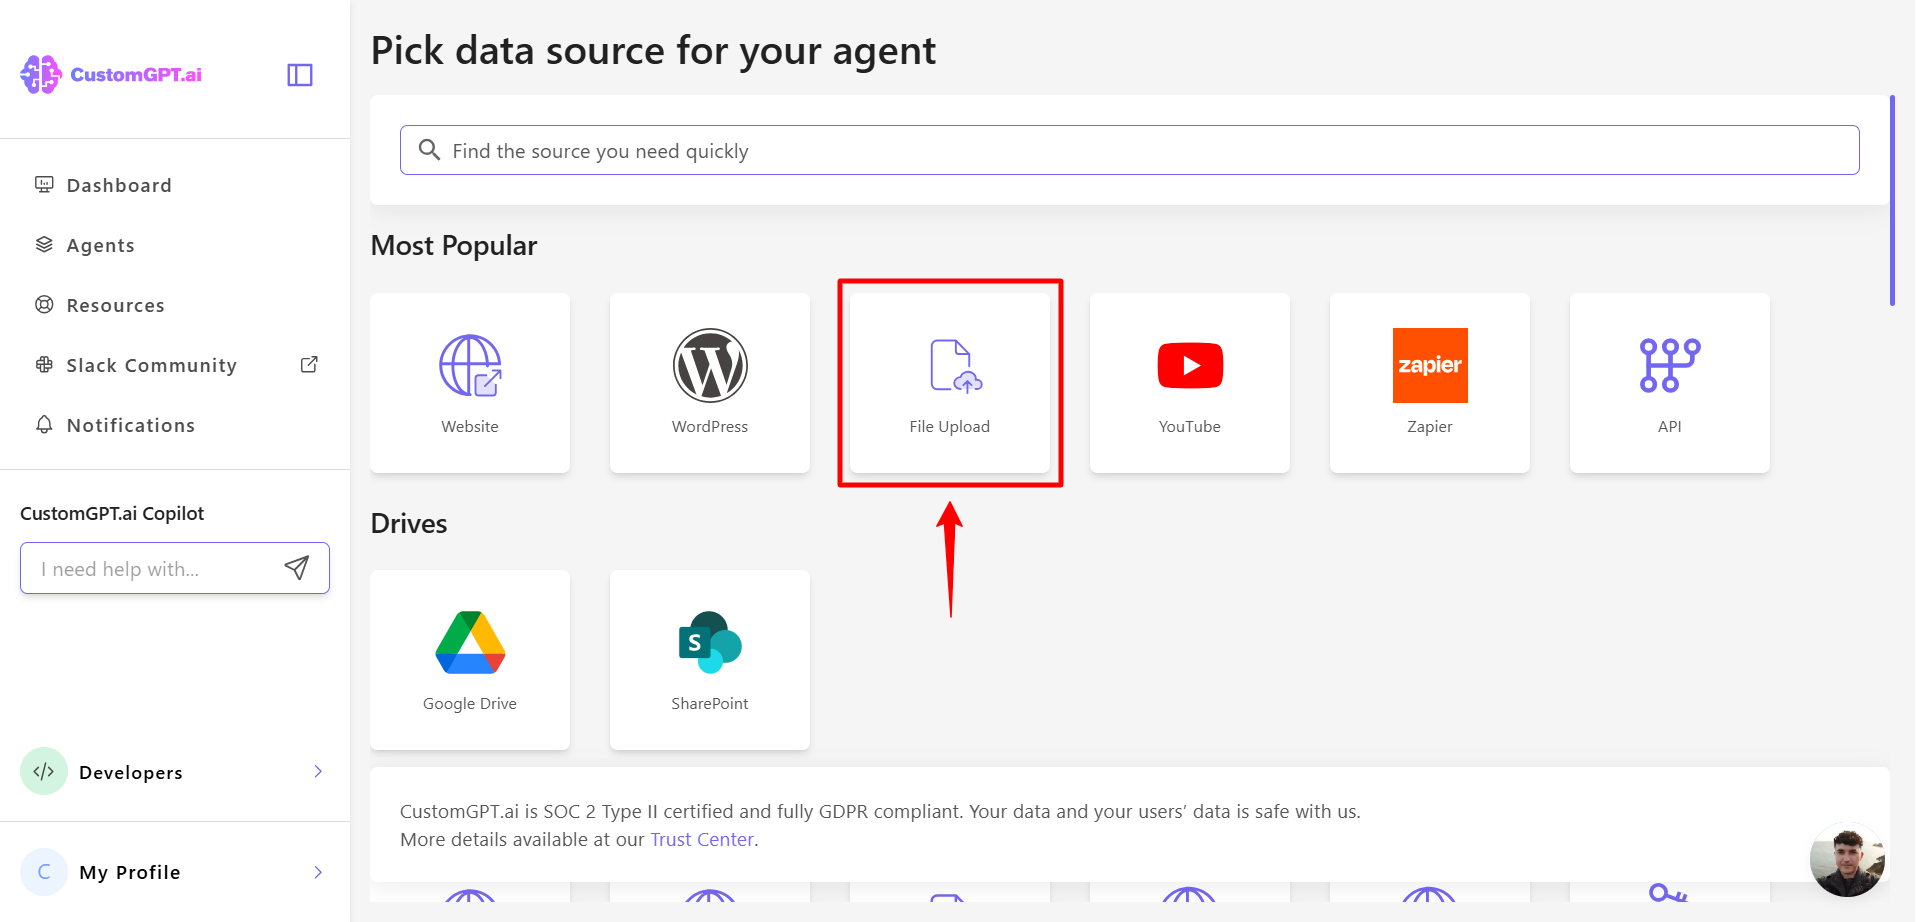
- Select File Upload.

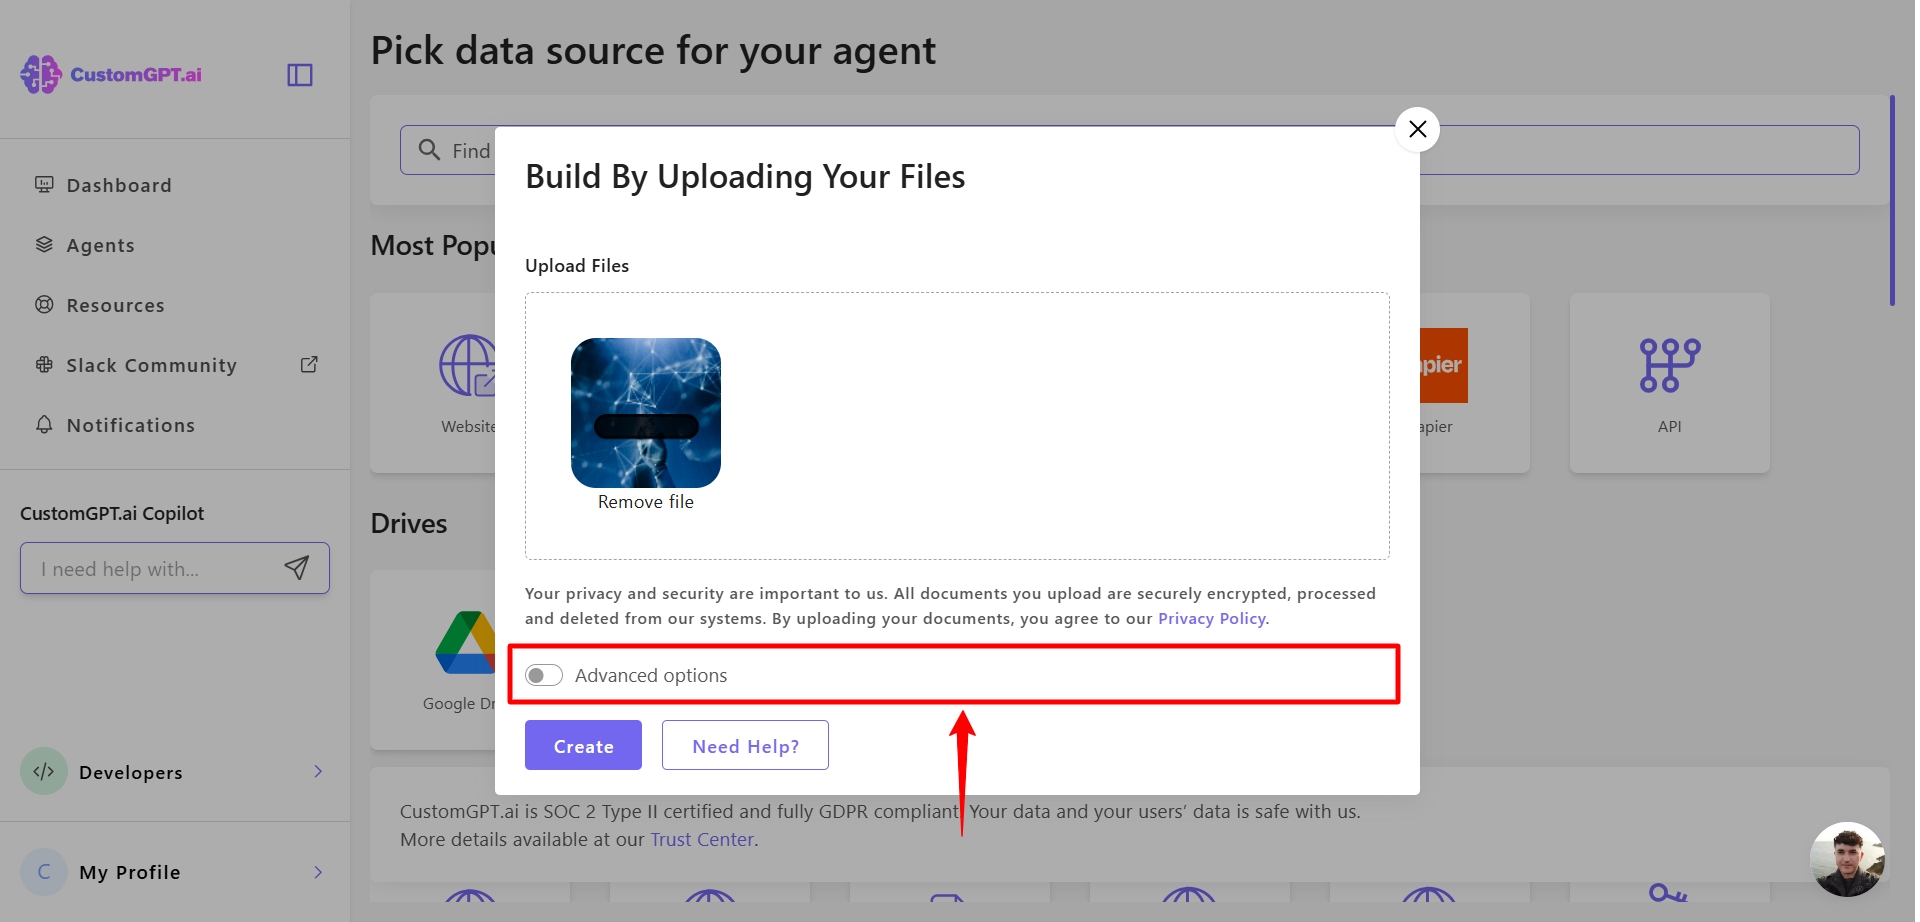
- Select one or more image files (PNG, JPG, JPEG, GIF, or WEBP) and click on Advanced Options.
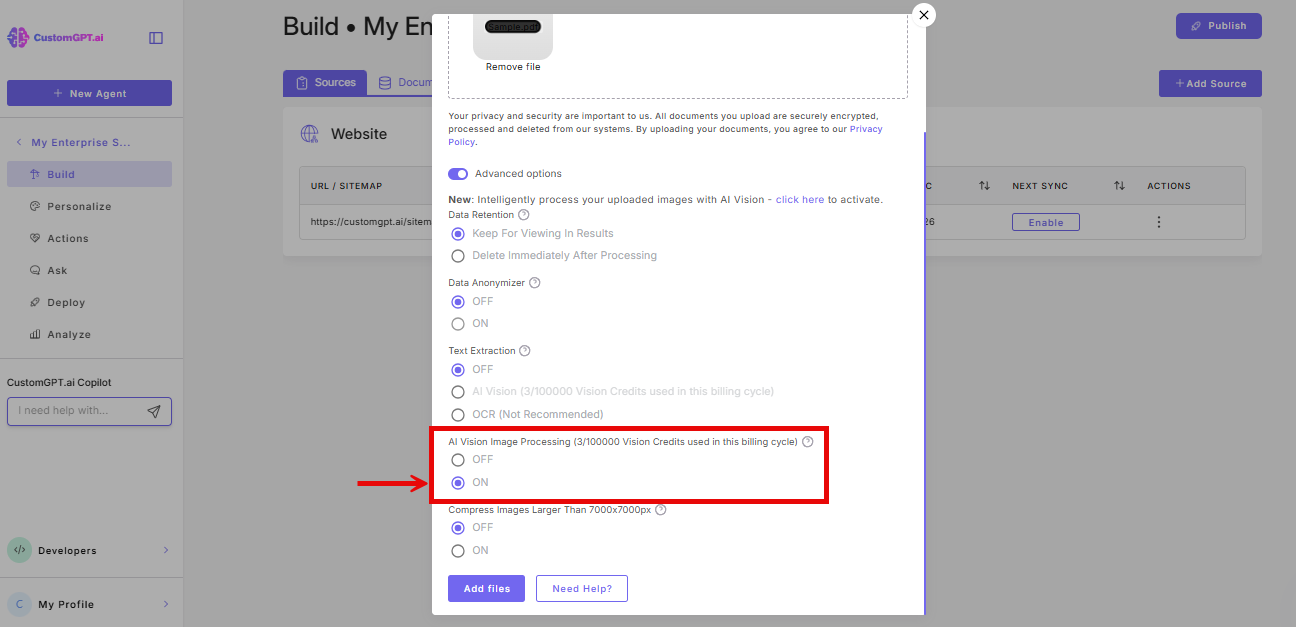
- Scroll down and toggle AI Vision Image Processing on to enable intelligent image analysis.
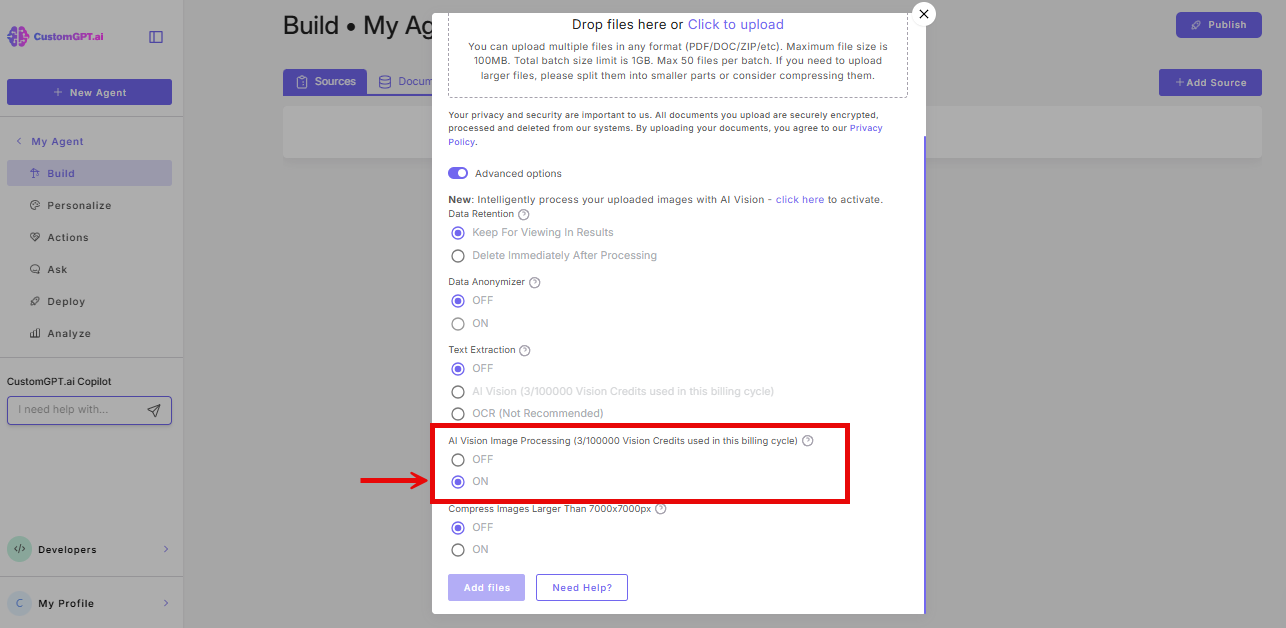
This setting must be turned on for each file upload batch. When AI Vision Image Processing is on, the AI Vision option under Text Extraction is not available for that batch. To use AI Vision for PDF text extraction in the same agent, upload your PDFs in a separate batch with AI Vision Image Processing turned off.
- Click Add Files to confirm the upload.

When creating a new agent
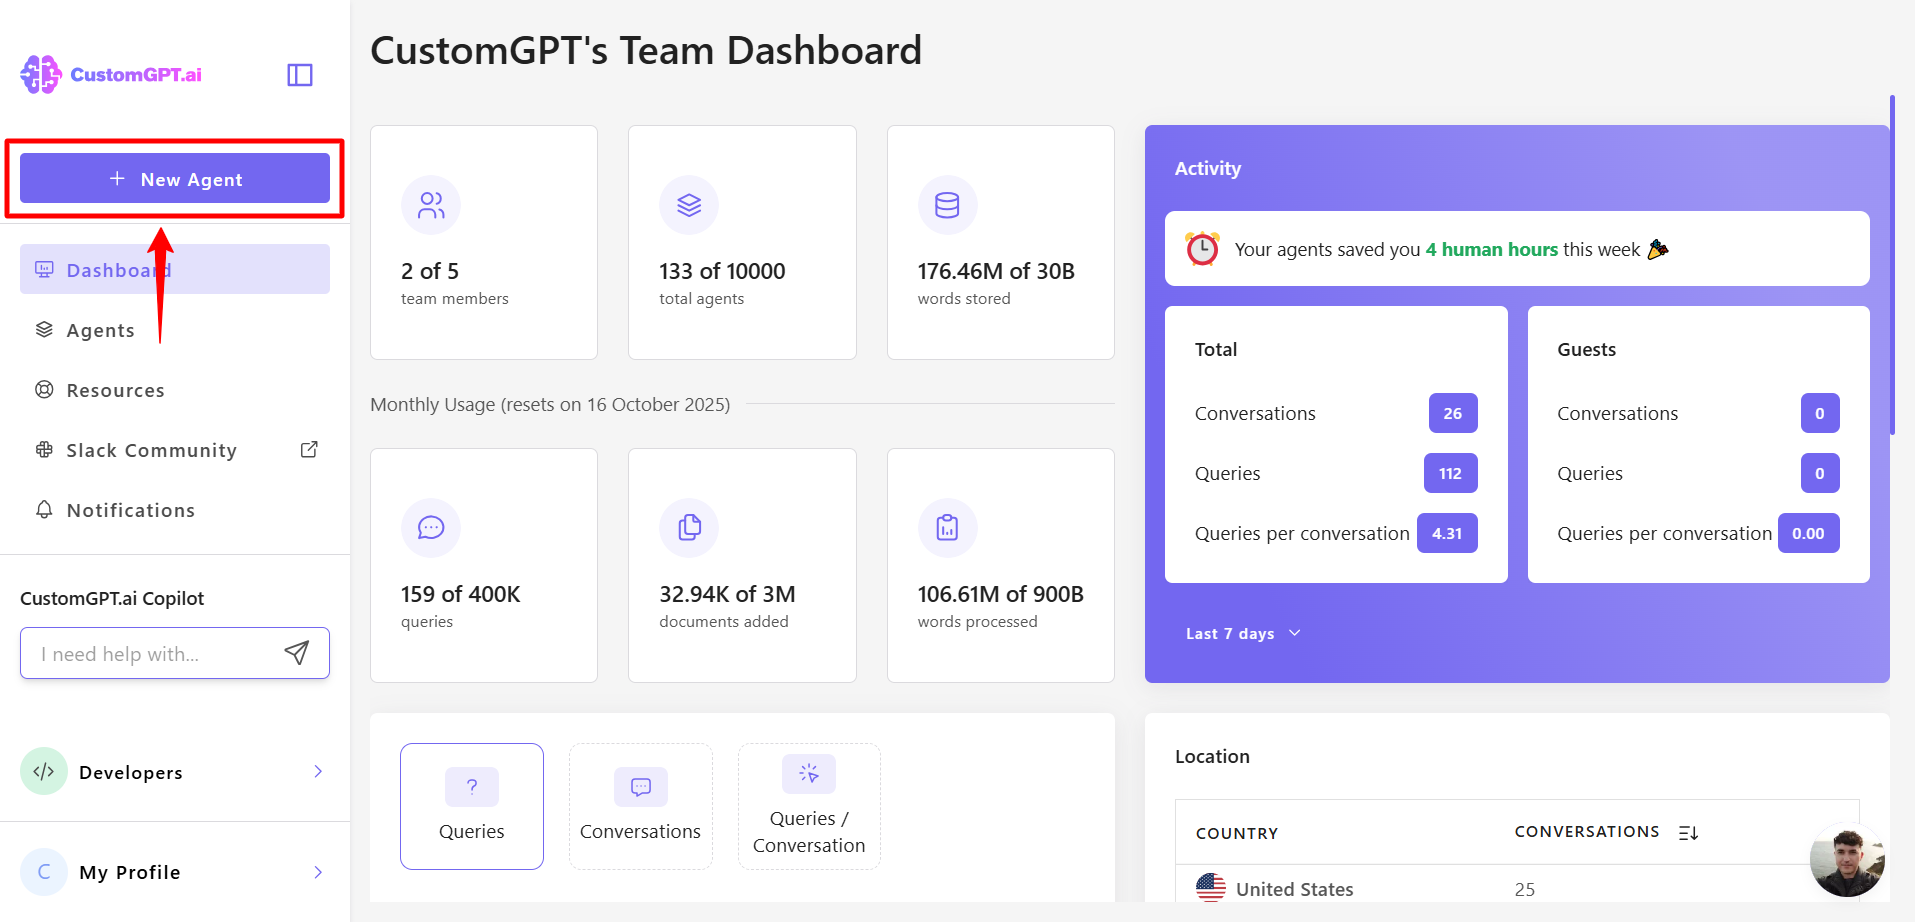
- On your CustomGPT.ai dashboard, click New Agent.
- Click Upload.
- Upload your image and click Advanced Settings.
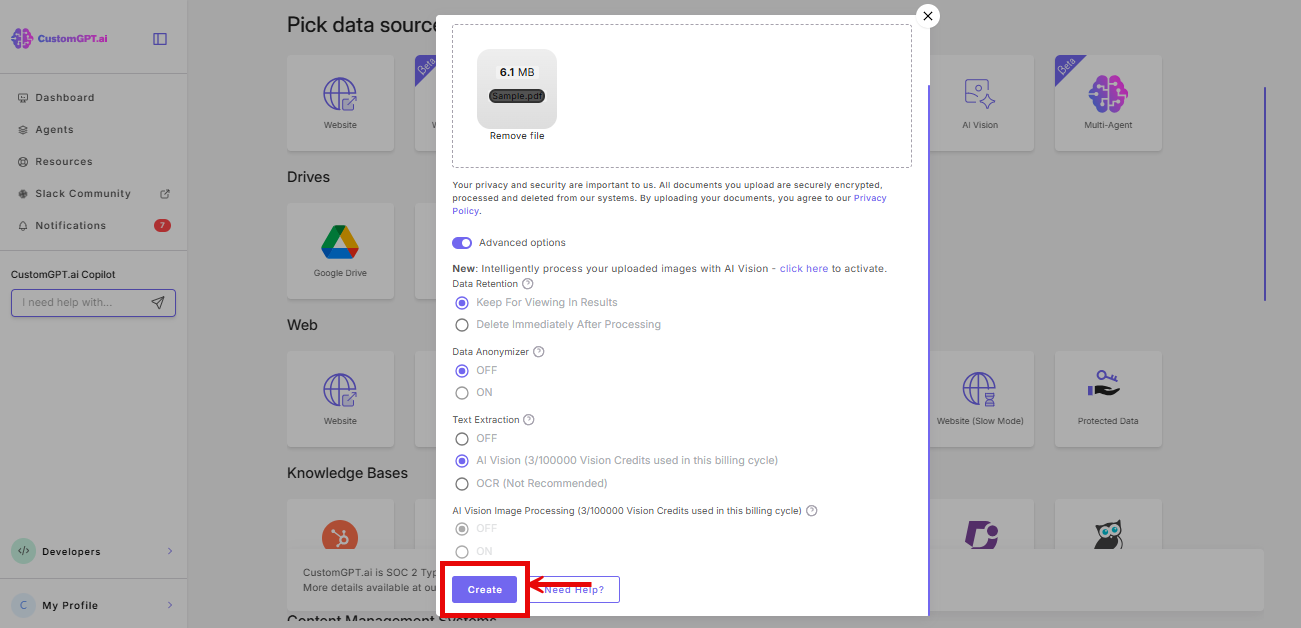
- Scroll down and toggle AI Vision Image Processing on to enable intelligent image analysis.
Note: The setup flow also shows an AI Vision option under Text Extraction. That option is for extracting text from PDFs. It is a separate feature covered in Enable AI Vision for PDF Text Extraction.
- Finish setting up your agent and click Create.
When AI Vision Image Processing is on, the AI Vision option under Text Extraction is not available during setup. To add PDFs with AI Vision text extraction to the same agent, upload them as a separate source after the agent is created.
Related articles:
Updated 4 months ago