Assign labels to your knowledge base documents
In this article, you'll learn how to assign labels to your knowledge base pages and manage your label library:
Labels tag knowledge base pages so your agent knows which content to use and when. You can assign labels from two places on the Build page - where you manage your agent's knowledge base and settings: the Labels tab (faster, with bulk support) or the Documents tab.
Note: Labels are available on Custom plans only. Contact your account manager to enable this feature for your account.
Before you start
- Labels must be enabled for your account. (See 👉 Enable and use agents for your knowledge base
- You need an existing agent with pages in its knowledge base.
Steps
Assign a label via the Labels tab
- On the agent whose documents you want to label, click the three-dot menu and select Build.
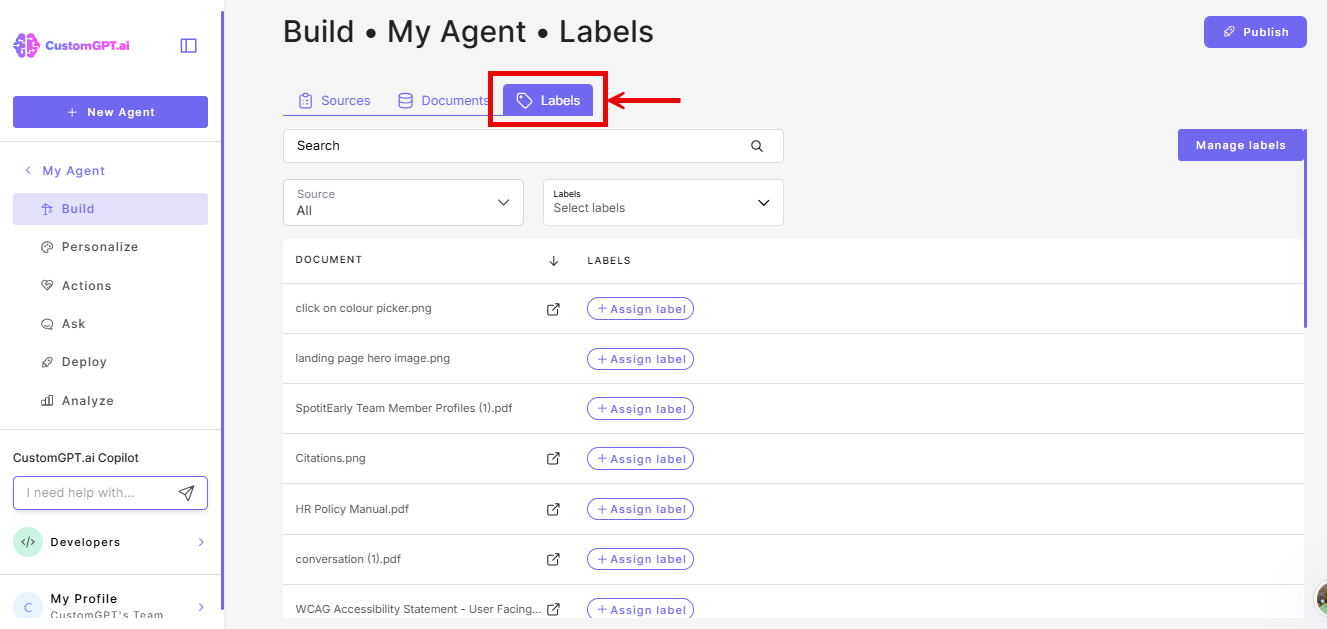
- On the Build page, select the Labels tab.
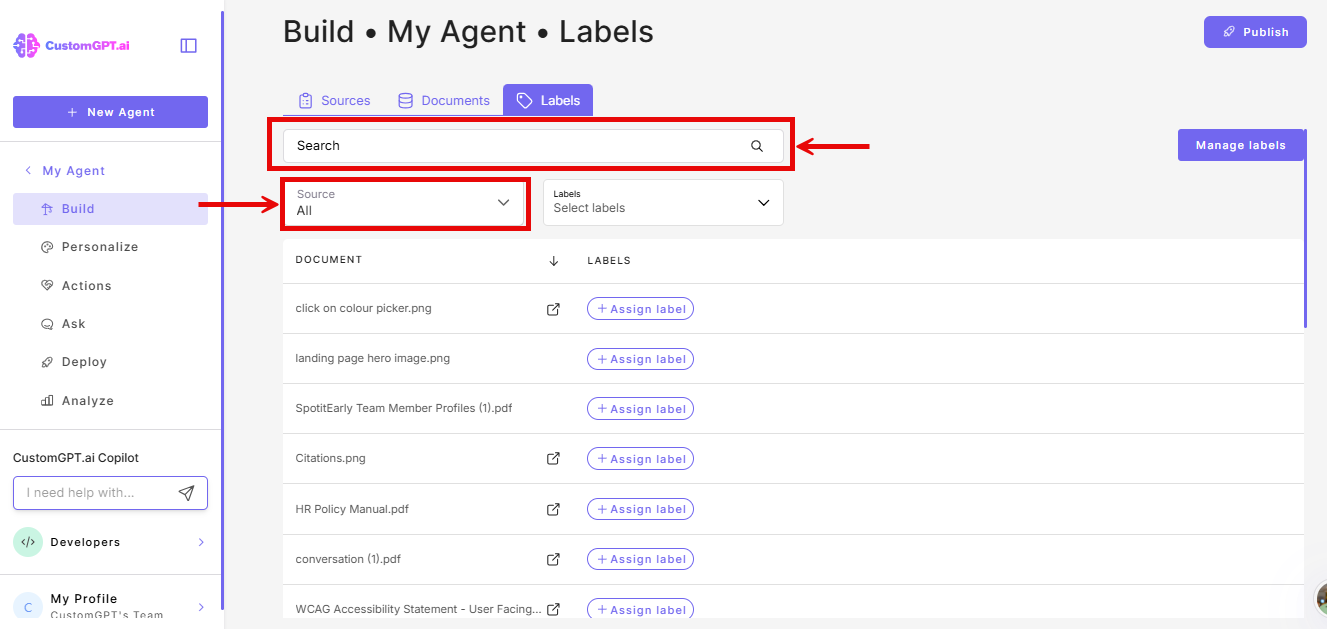
- Find the page you want to label. Use the Search or Source filters to narrow the list.
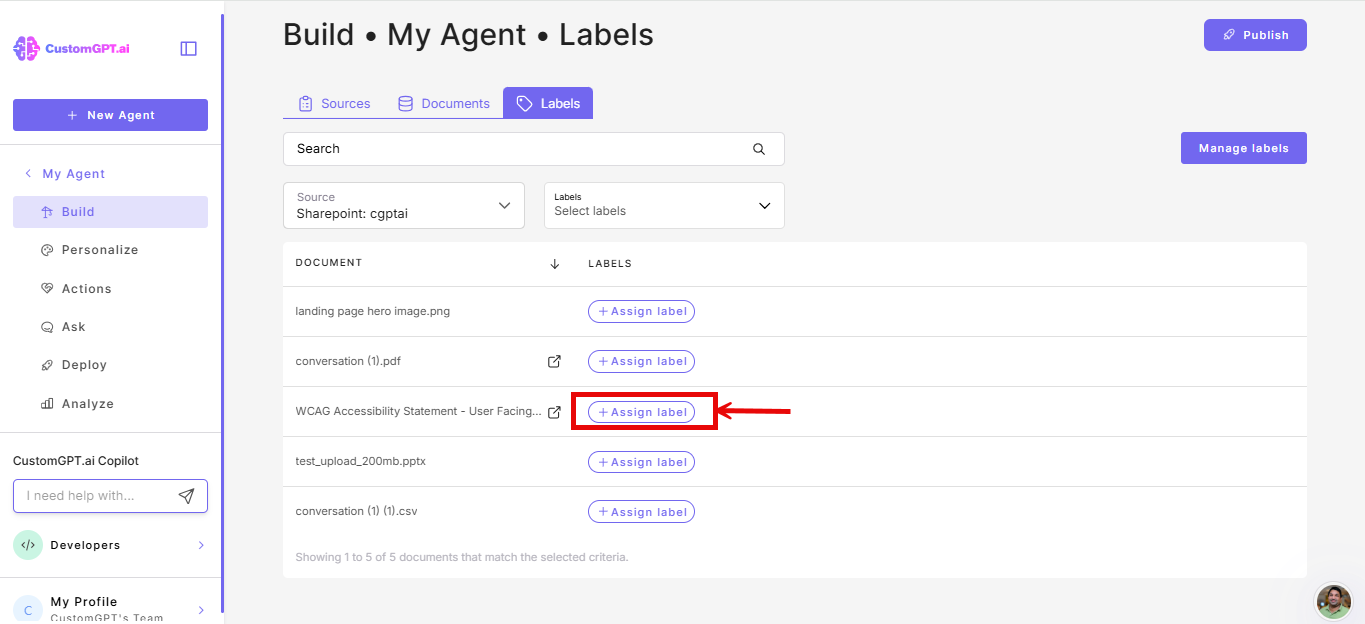
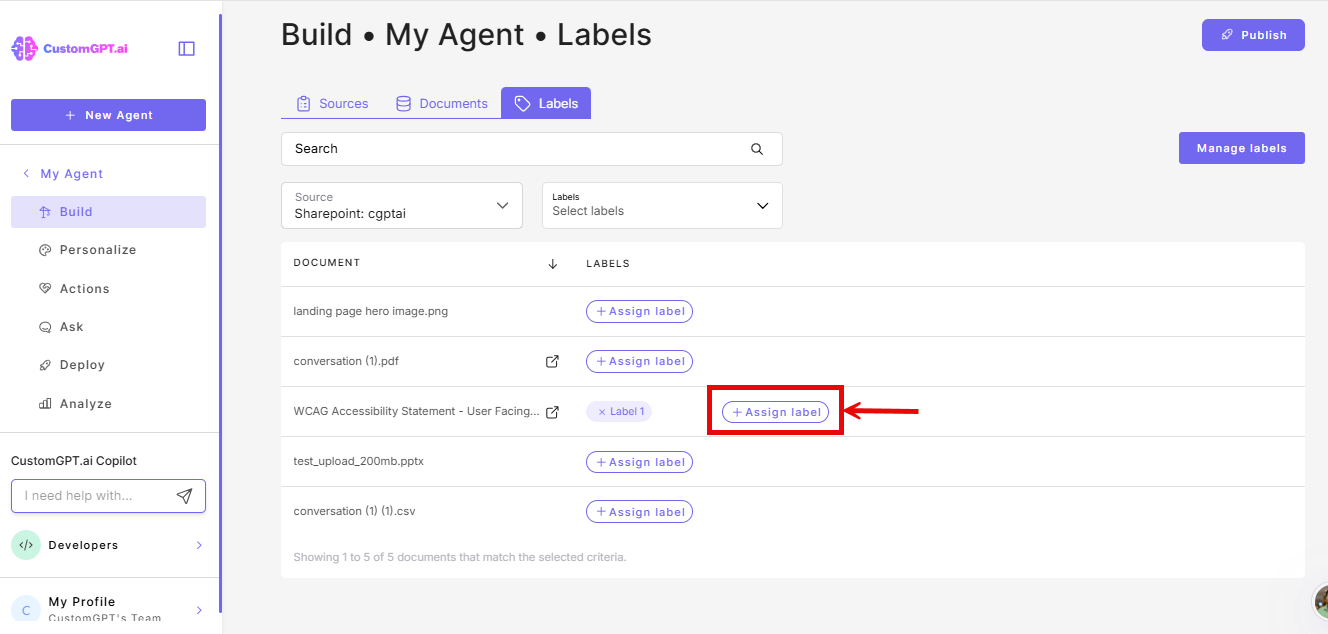
- Click Assign Label next to the page.
- Search for and select a label from the list. The label is applied immediately.
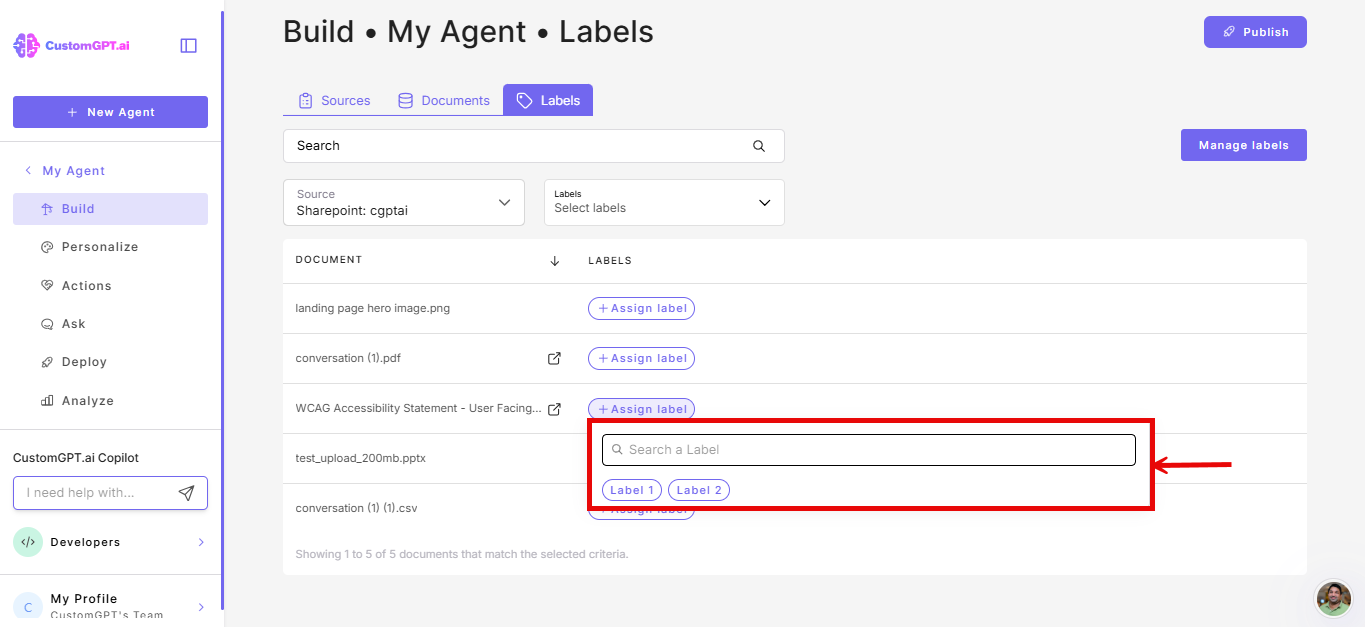
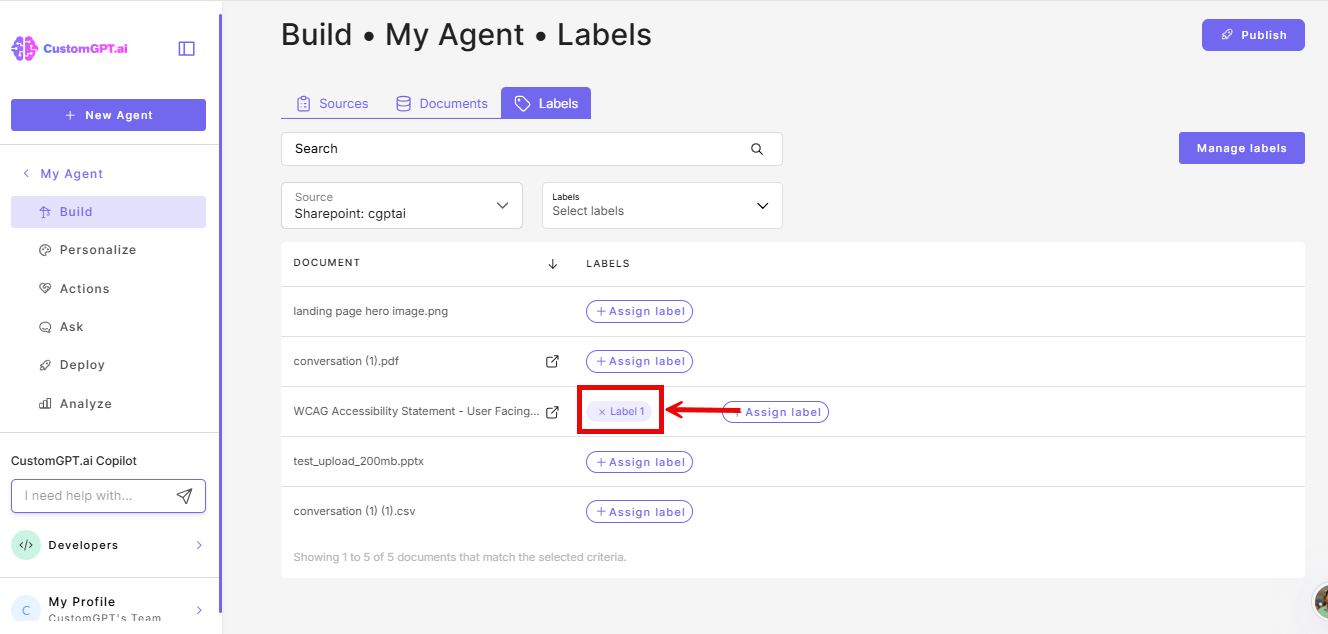
- To assign more labels to the same page, click Assign Label again and select another.
Note: Only labels not already assigned to that page appear in the list.
- To remove a label, click the X on the label tag next to the page.
Assign a label via the Documents tab
- On the agent whose documents you want to label, click the three-dot menu and select Build.
- On the Build page, select the Documents tab.
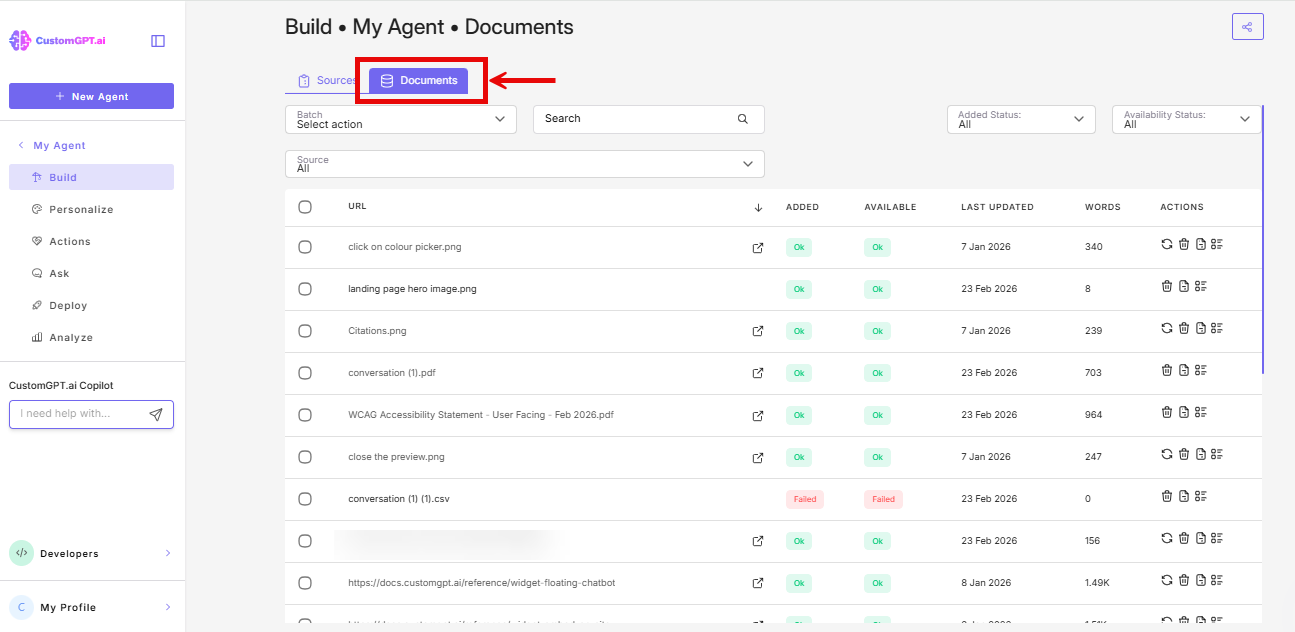
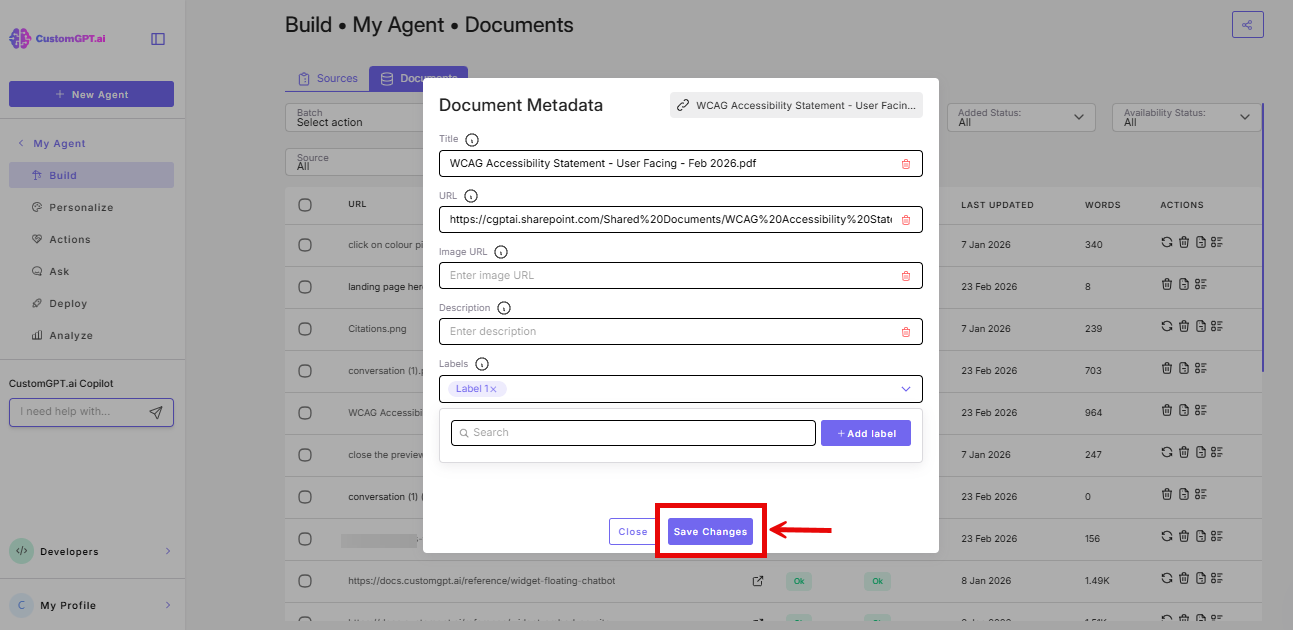
- Locate the document you want to label and click its metadata icon.
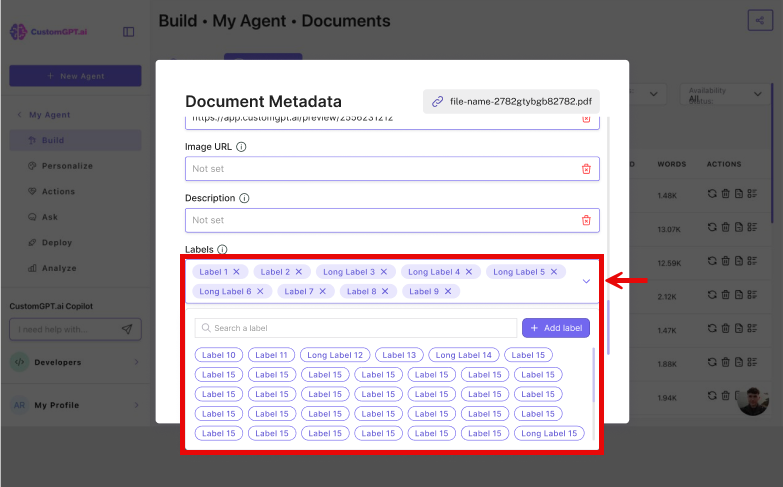
- In the pop-up, scroll down to the Labels field.
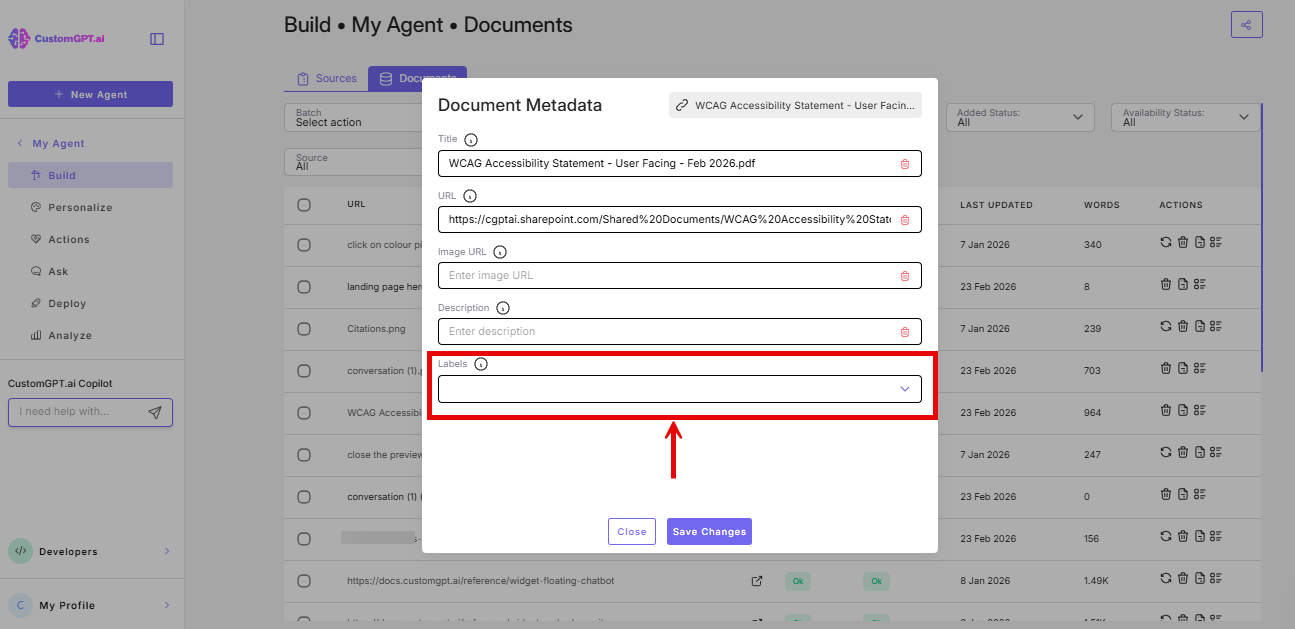
- Click the Labels field. A dropdown appears showing all labels in your agent's label library. Select a label to assign it to the document. You can assign more than one label to a document.
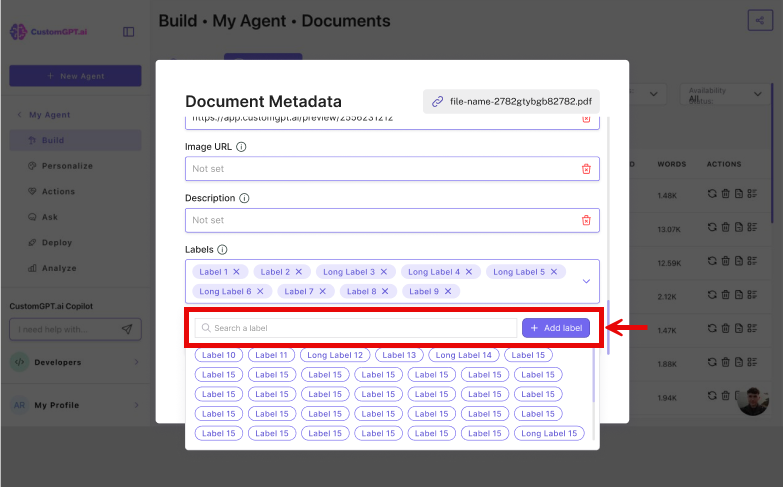
- If the label you need does not exist yet, type it directly into the Labels field and click Add label.
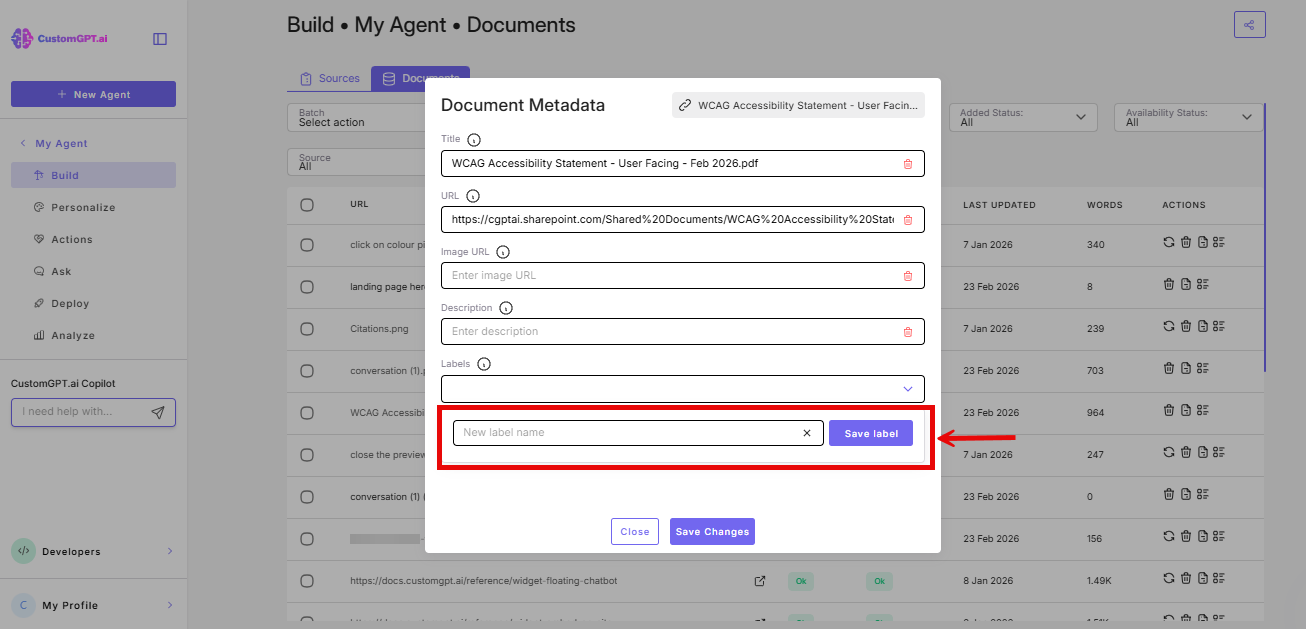
- Enter the label name once again and click Save Label. The new label is saved to your agent's label library and assigned to the document at the same time. It will appear in the dropdown for all other documents going forward.
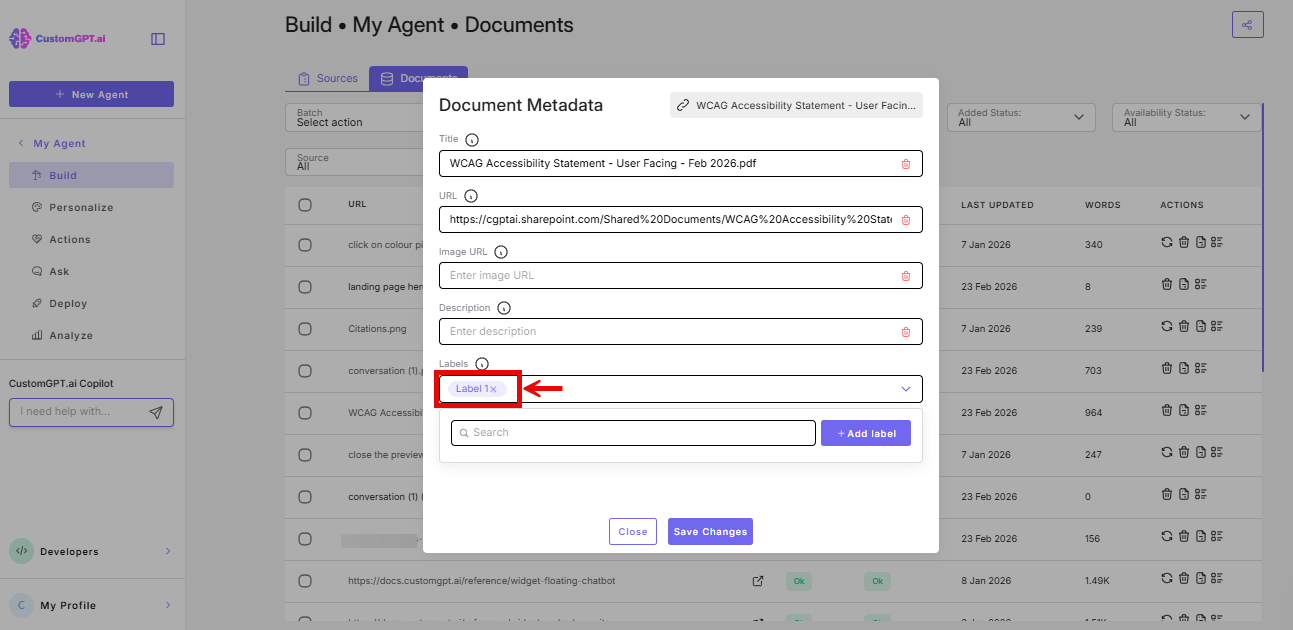
- To remove a label, In the Labels field, click the label you want to remove and deselect it. The label is removed from the document but remains in your agent's label library for future use.
- Click Save Changes
Manage your label library
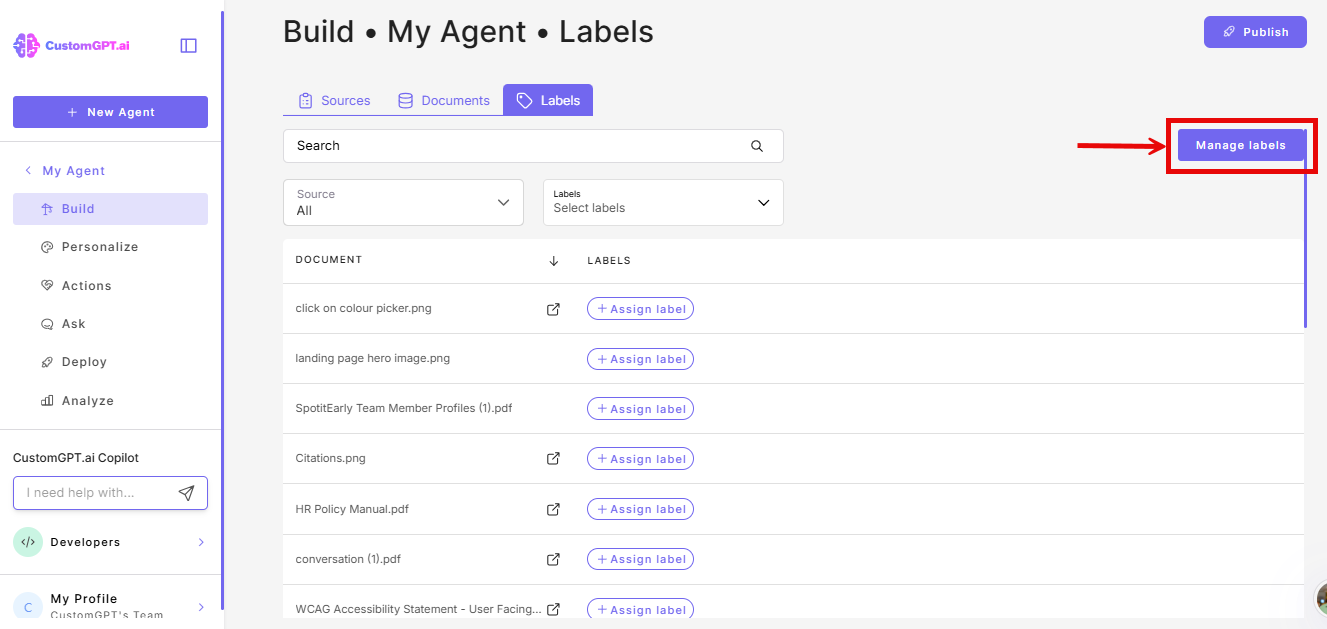
Use the Manage Labels button at the top of the Labels tab to create, edit, or delete labels.
- Go to your agent's Build page and select the Labels tab.
- Click Manage Labels.
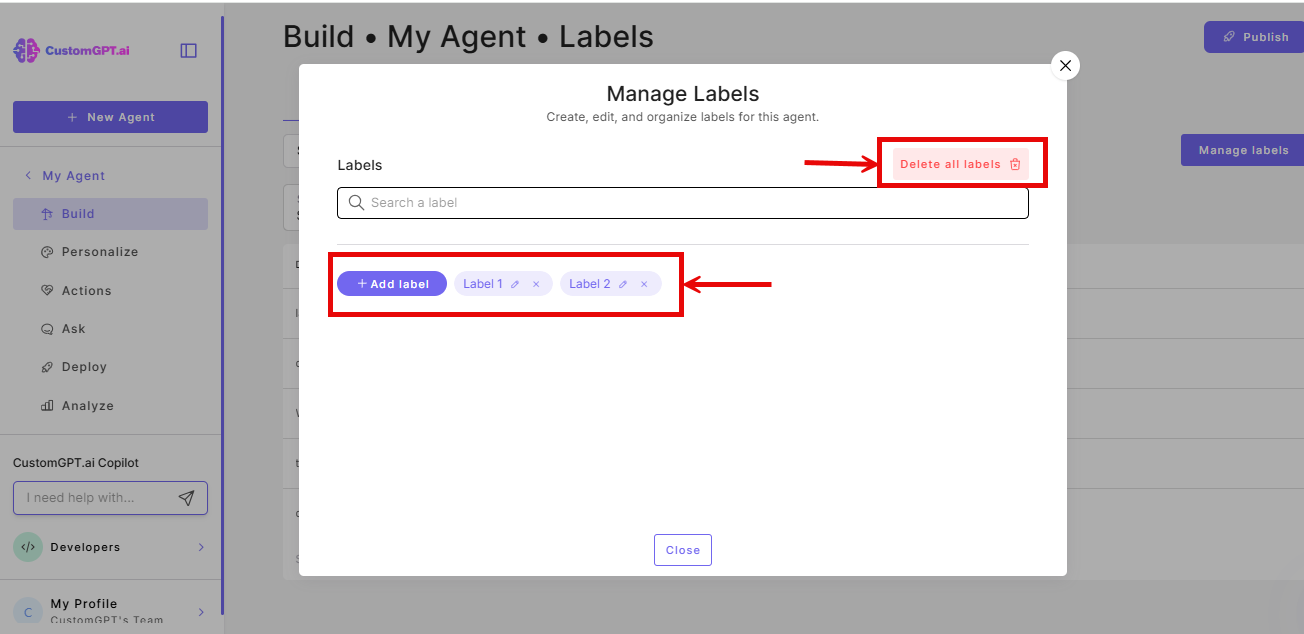
- In the pop-up, create a new label, edit an existing label name, or delete a label.
What happens next
Once documents are labelled, you can use those labels to control which pages your agent draws from when responding to users. See Enable and use labels for your agent for how to configure filtering in your deployment.
Early Access: The Labels feature is currently in Early Access and available on Custom plans only. Behavior and availability are subject to change.
Related articles
Updated 3 months ago