Add a Custom Action with OAuth 2.1
Connect an MCP server to your agent using OAuth 2.1- the recommended authentication method for custom actions. OAuth handles authorization with the third-party service directly, without managing tokens manually.
Use this when the MCP server you want to connect requires OAuth 2.1 authentication.
Before you start
- You need access to the MCP server you want to connect. If the server requires manual OAuth configuration (Client ID, Client Secret, endpoints), have those credentials ready.
Steps
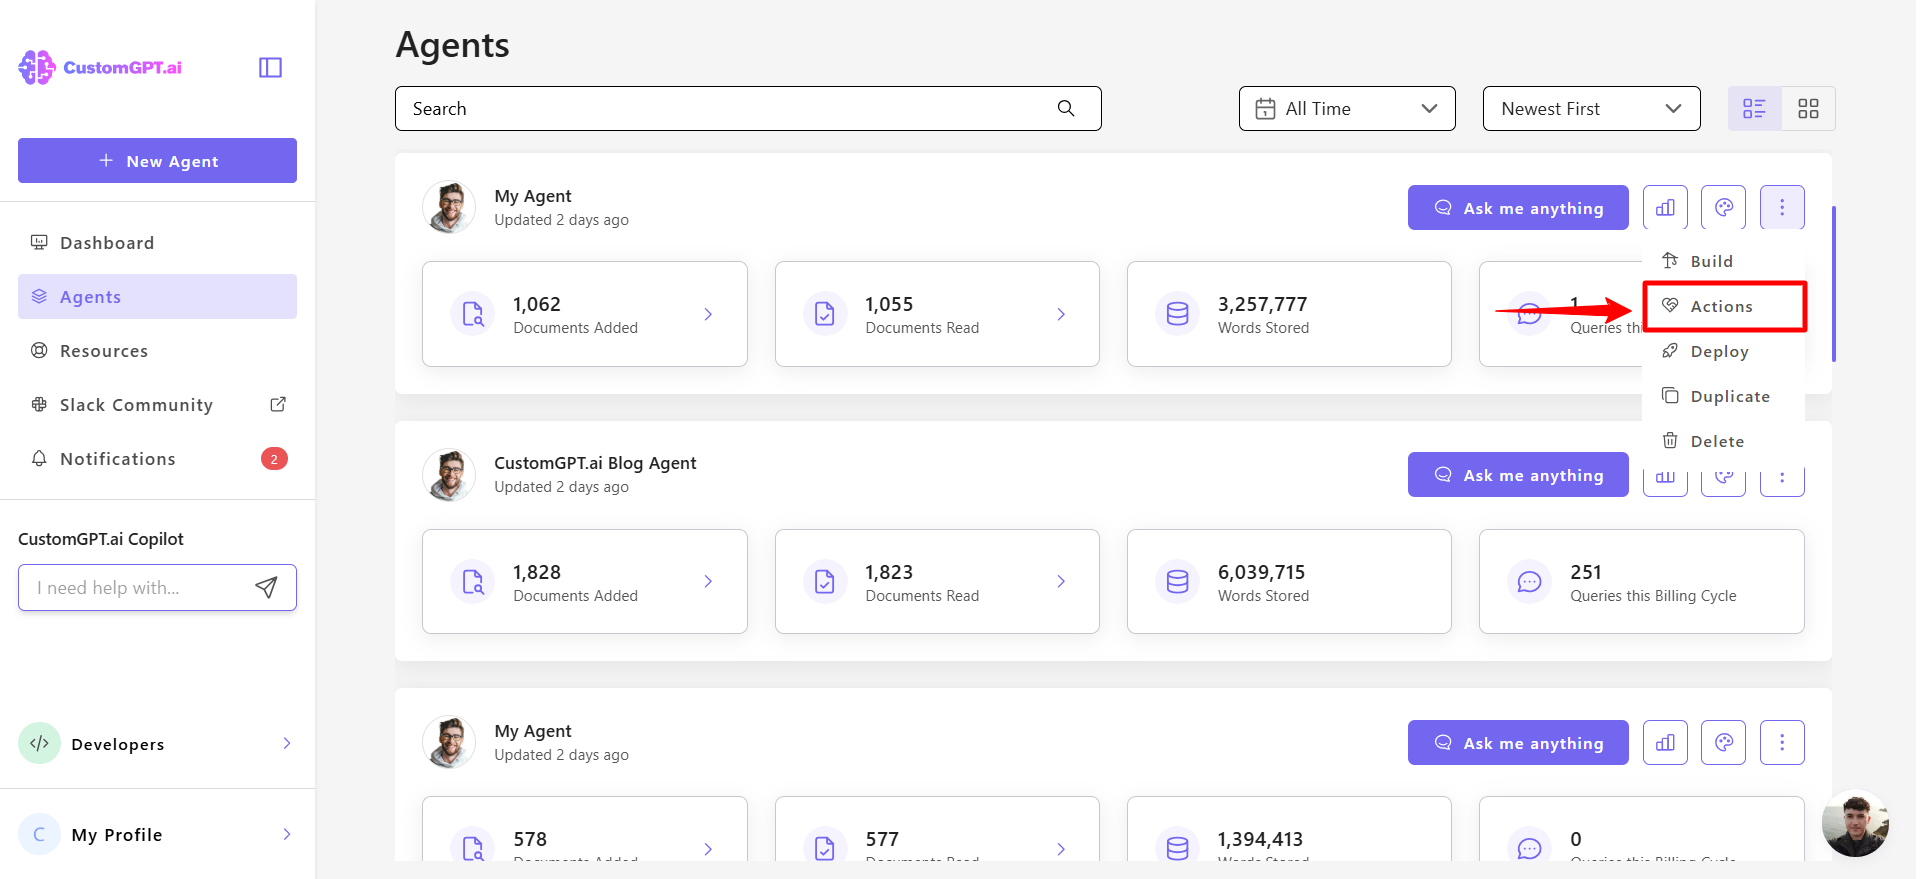
- Click the three dots (⋮) next to the agent you want to configure and select Actions from the dropdown menu.
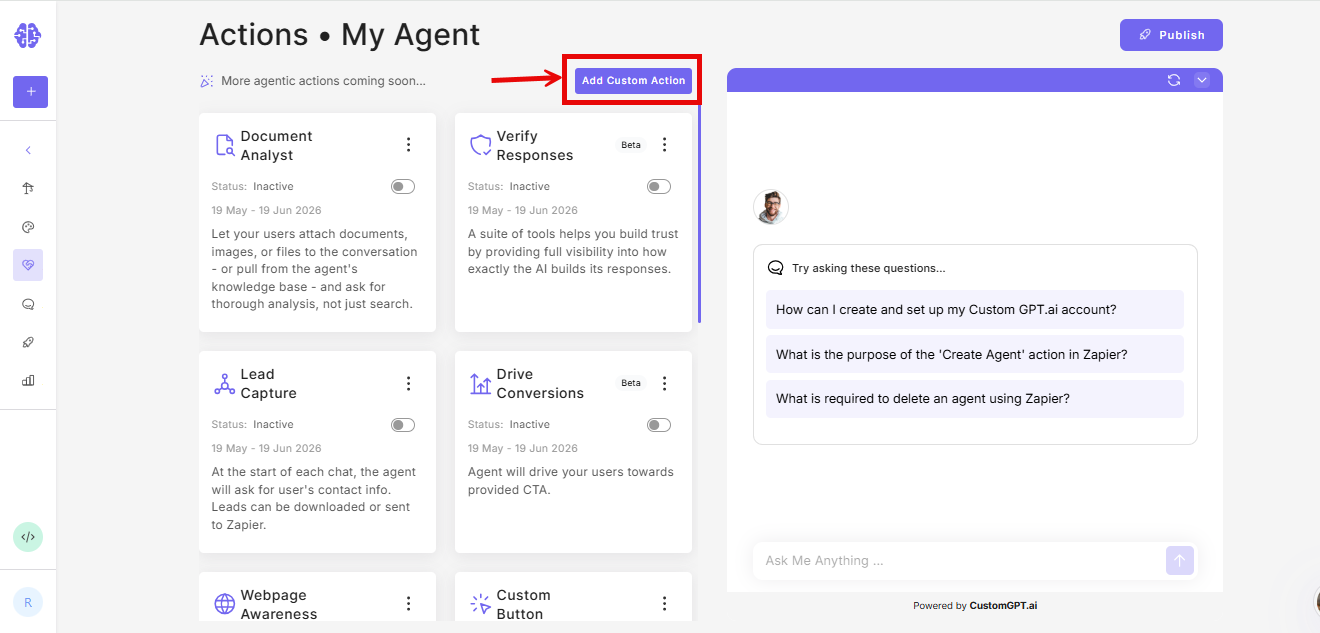
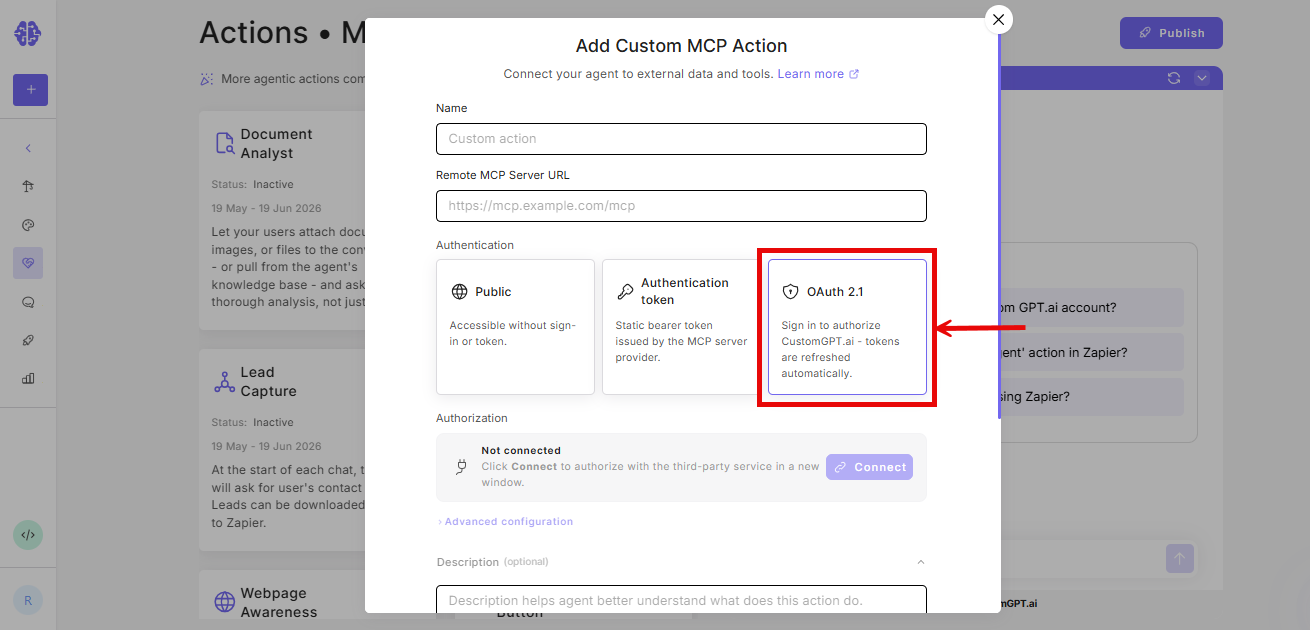
- Click Add Custom Action.
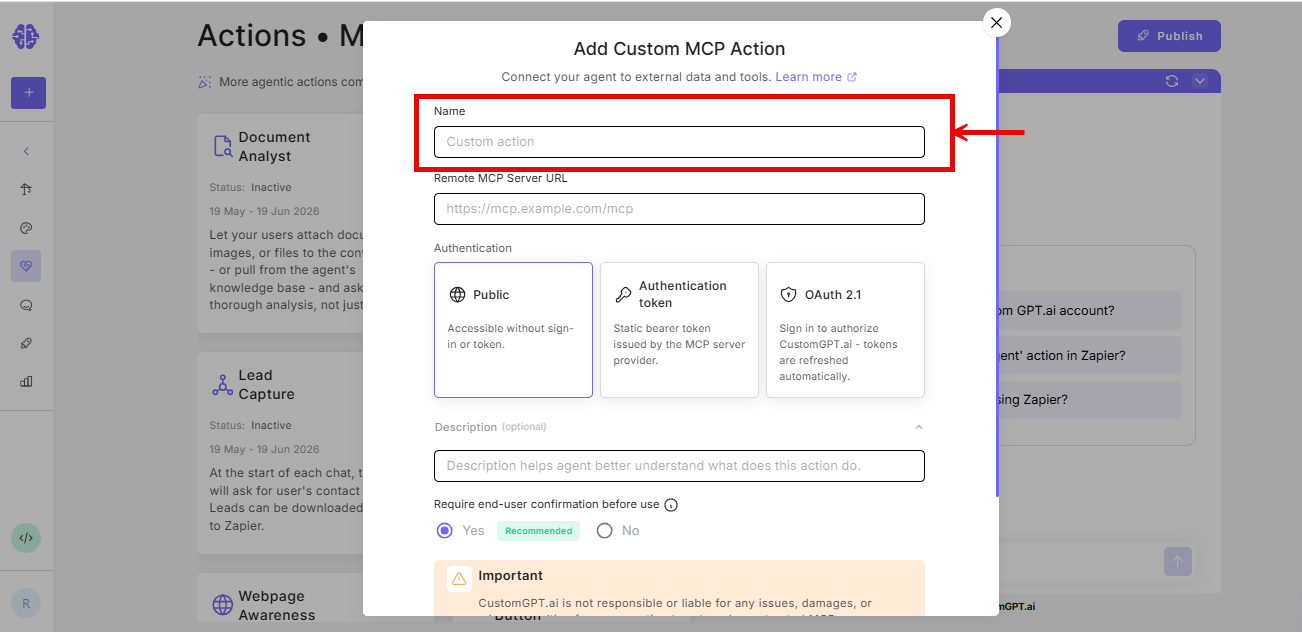
- Enter a name for the custom action in the Name field.
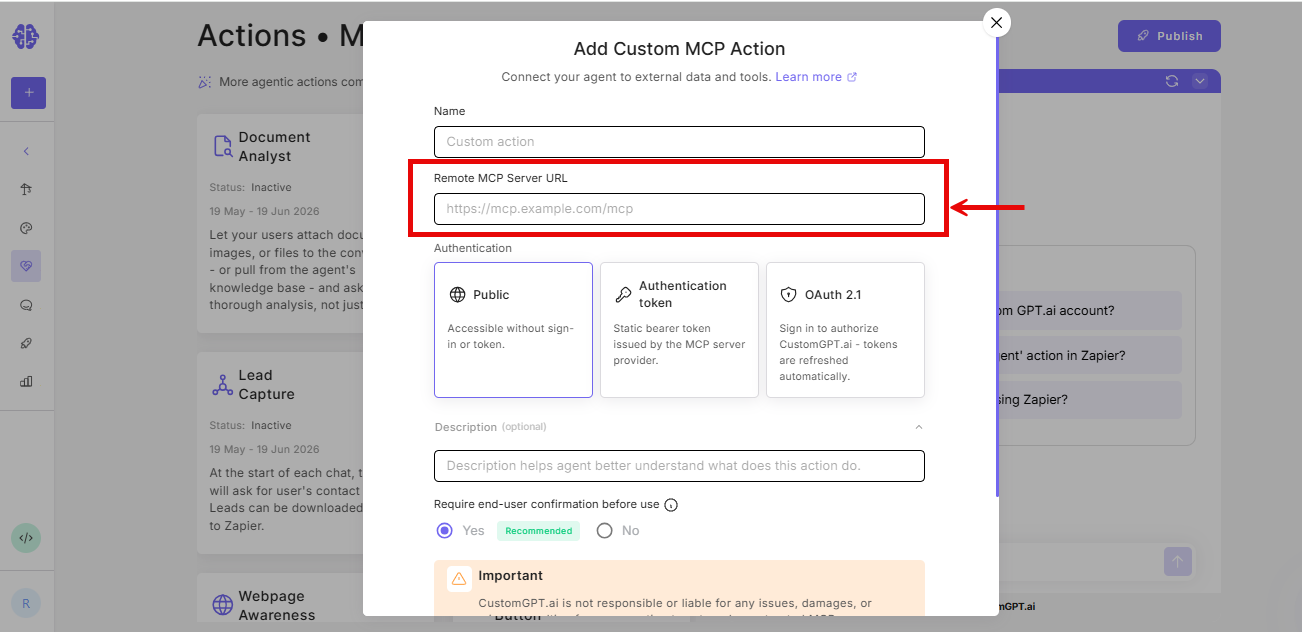
- Enter the server URL in the Remote MCP server URL field.
- Under Authentication, select the OAuth 2.1 card.
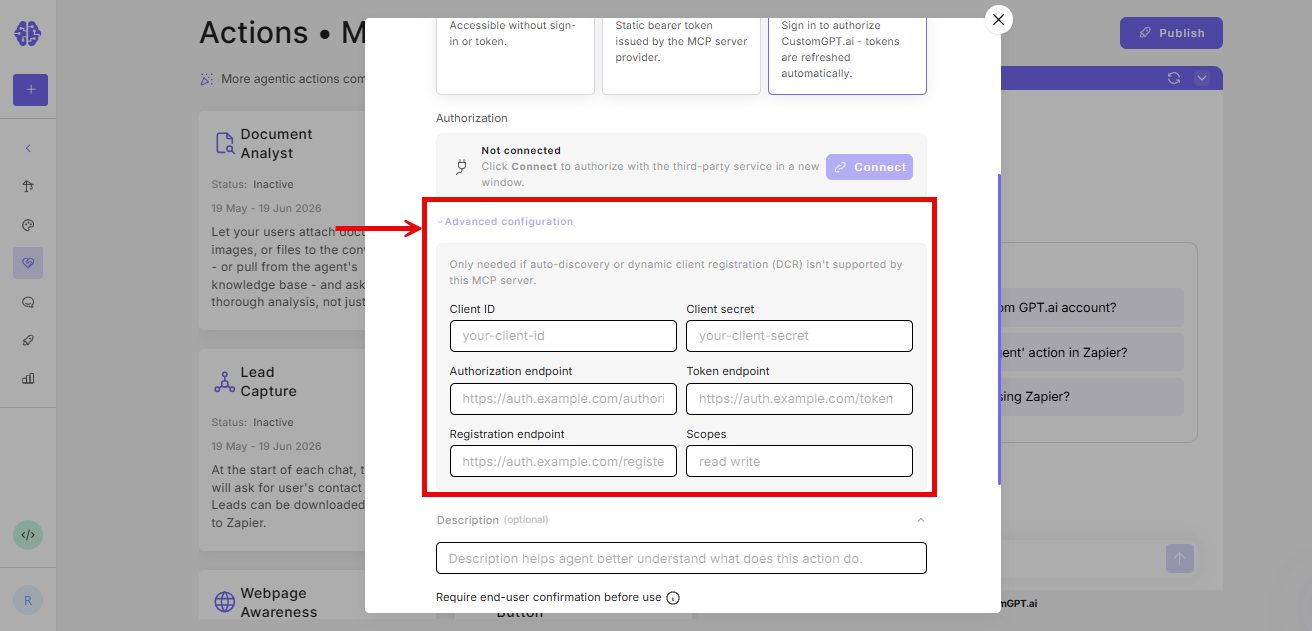
- If your server does not support auto-discovery or dynamic client registration (DCR), expand Advanced configuration and enter your credentials:
- Client ID
- Client Secret
- Authorization endpoint
- Token endpoint
- Registration endpoint
- Scopes
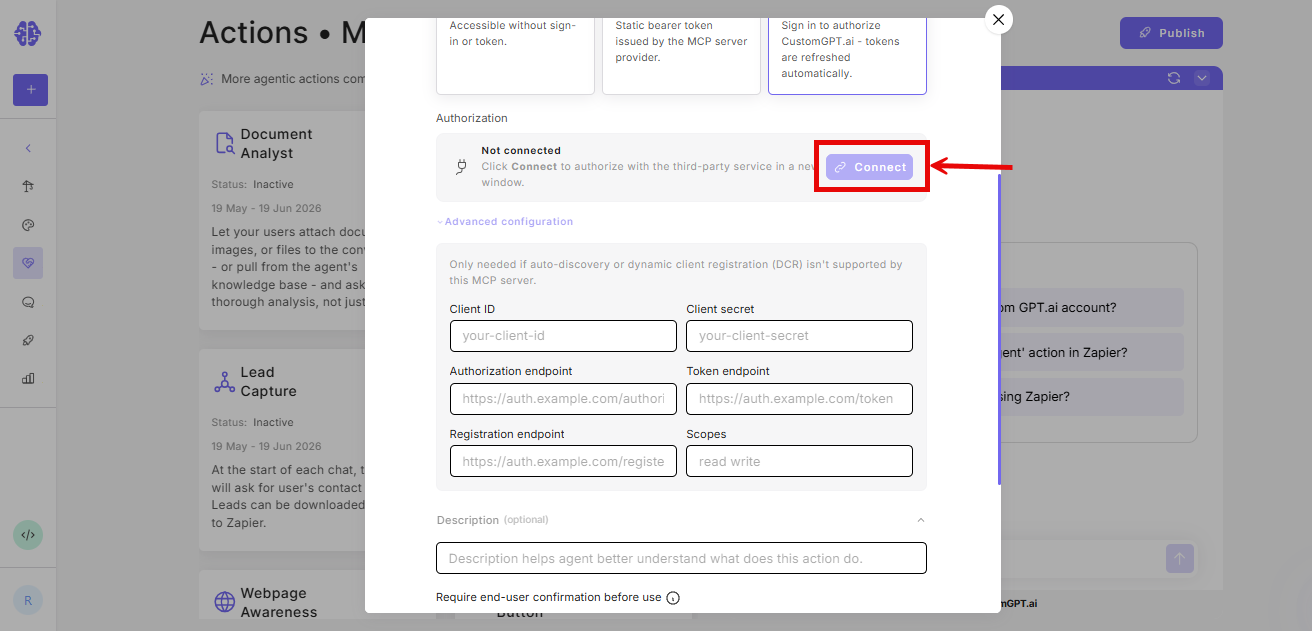
- Click Connect.
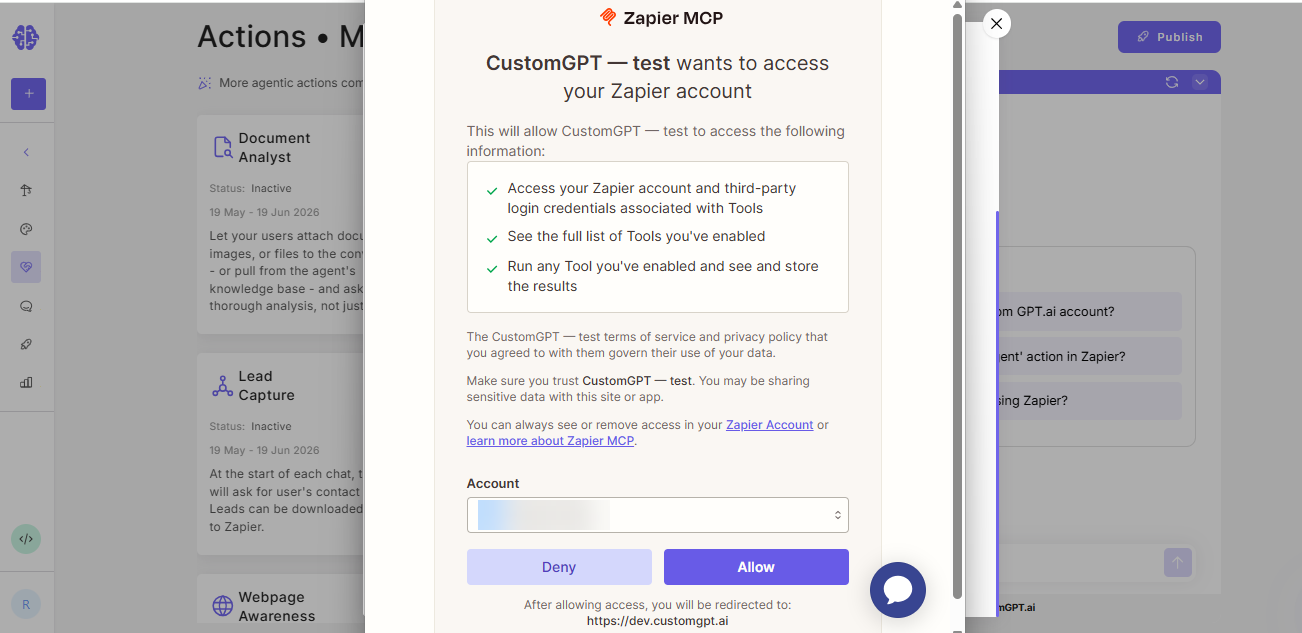
- Complete the authorization in the OAuth popup.
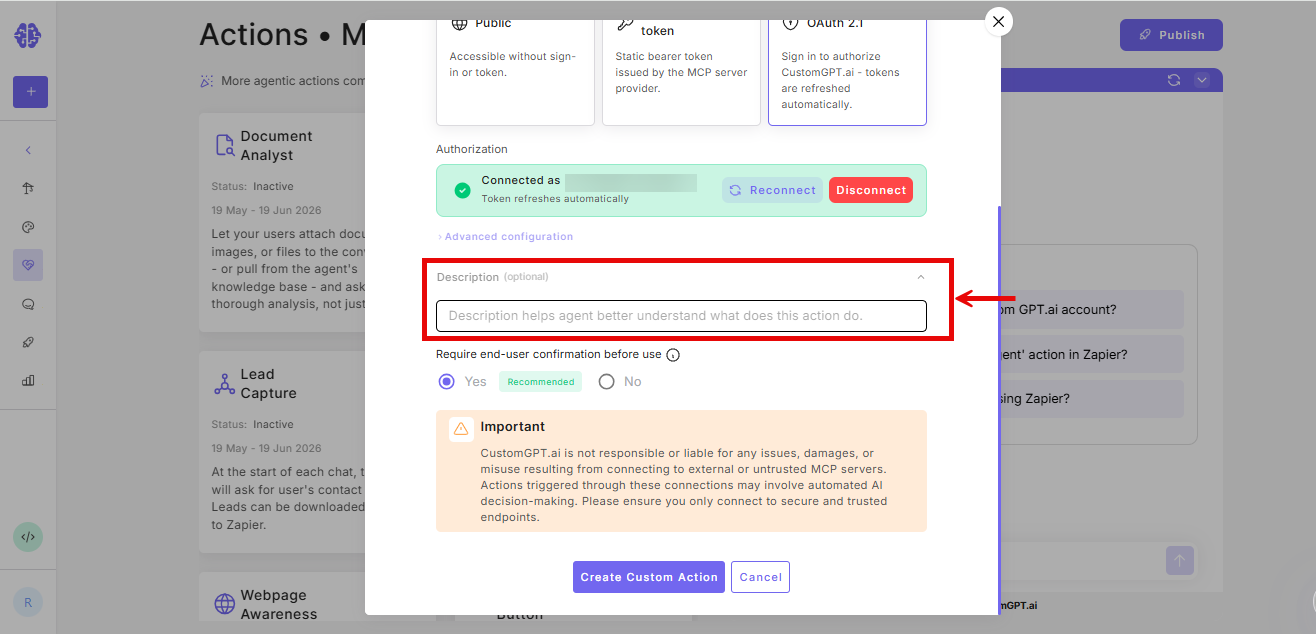
- (Optional) Enter a Description for the action.
- Under Require end-user confirmation before use, select Yes or No.
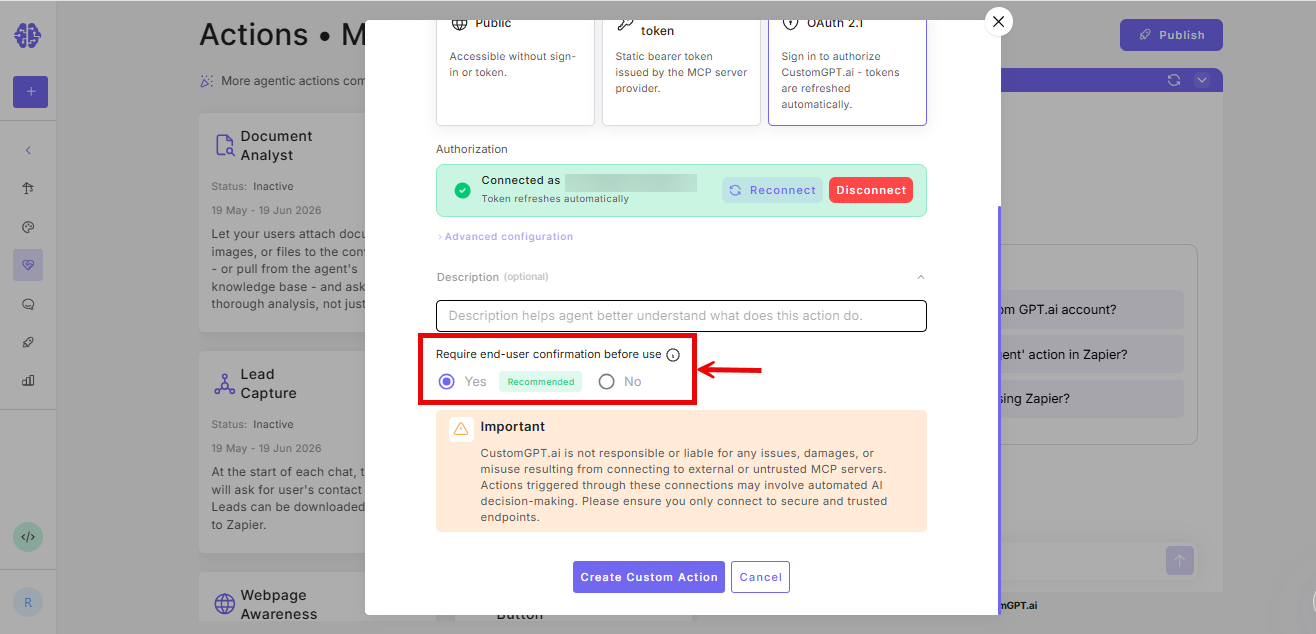
Note: Yes - the agent asks the end user to approve before executing the action. Each confirmation uses one additional query. No - the agent executes the action automatically.
- Click Create Custom Action.

Troubleshooting
- Authorization succeeds: The popup shows Connected as [your email address] with Disconnect button.
- Advanced settings not visible: Advanced settings only appear after selecting the OAuth 2.1 card. Confirm OAuth 2.1 is selected.
- Connection fails without advanced settings: If clicking Connect produces an error, your server likely does not support auto-discovery or DCR. Expand Advanced settings, enter your credentials, and try again.
- Authorization failed: The popup shows Authorization failed with a Try again button. Click Try again. If the problem persists, expand Advanced settings, verify your credentials, and reconnect.
Related articles
- How Custom Actions Work
- Add a Custom Action
- Enable a Custom Action
- Custom Action - Ask End User for Confirmation
- Limits and Cost
Updated about 1 month ago
Did this page help you?