
Edit sub-personas using Expert mode
This guide walks you through viewing and editing your agent's sub-personas using Expert mode.
Warning: Expert mode is for advanced users only. Editing sub-personas incorrectly can cause your agent to behave in unexpected ways. If you are not certain what you are changing and why, do not proceed. Changes can be discarded at any time, but incorrect edits may affect live agent behavior until you do.
Before you start
- You have an agent with a persona configured.
- You understand what sub-personas are and how persona interpretation works. See How persona interpretation works.
View sub-personas
-
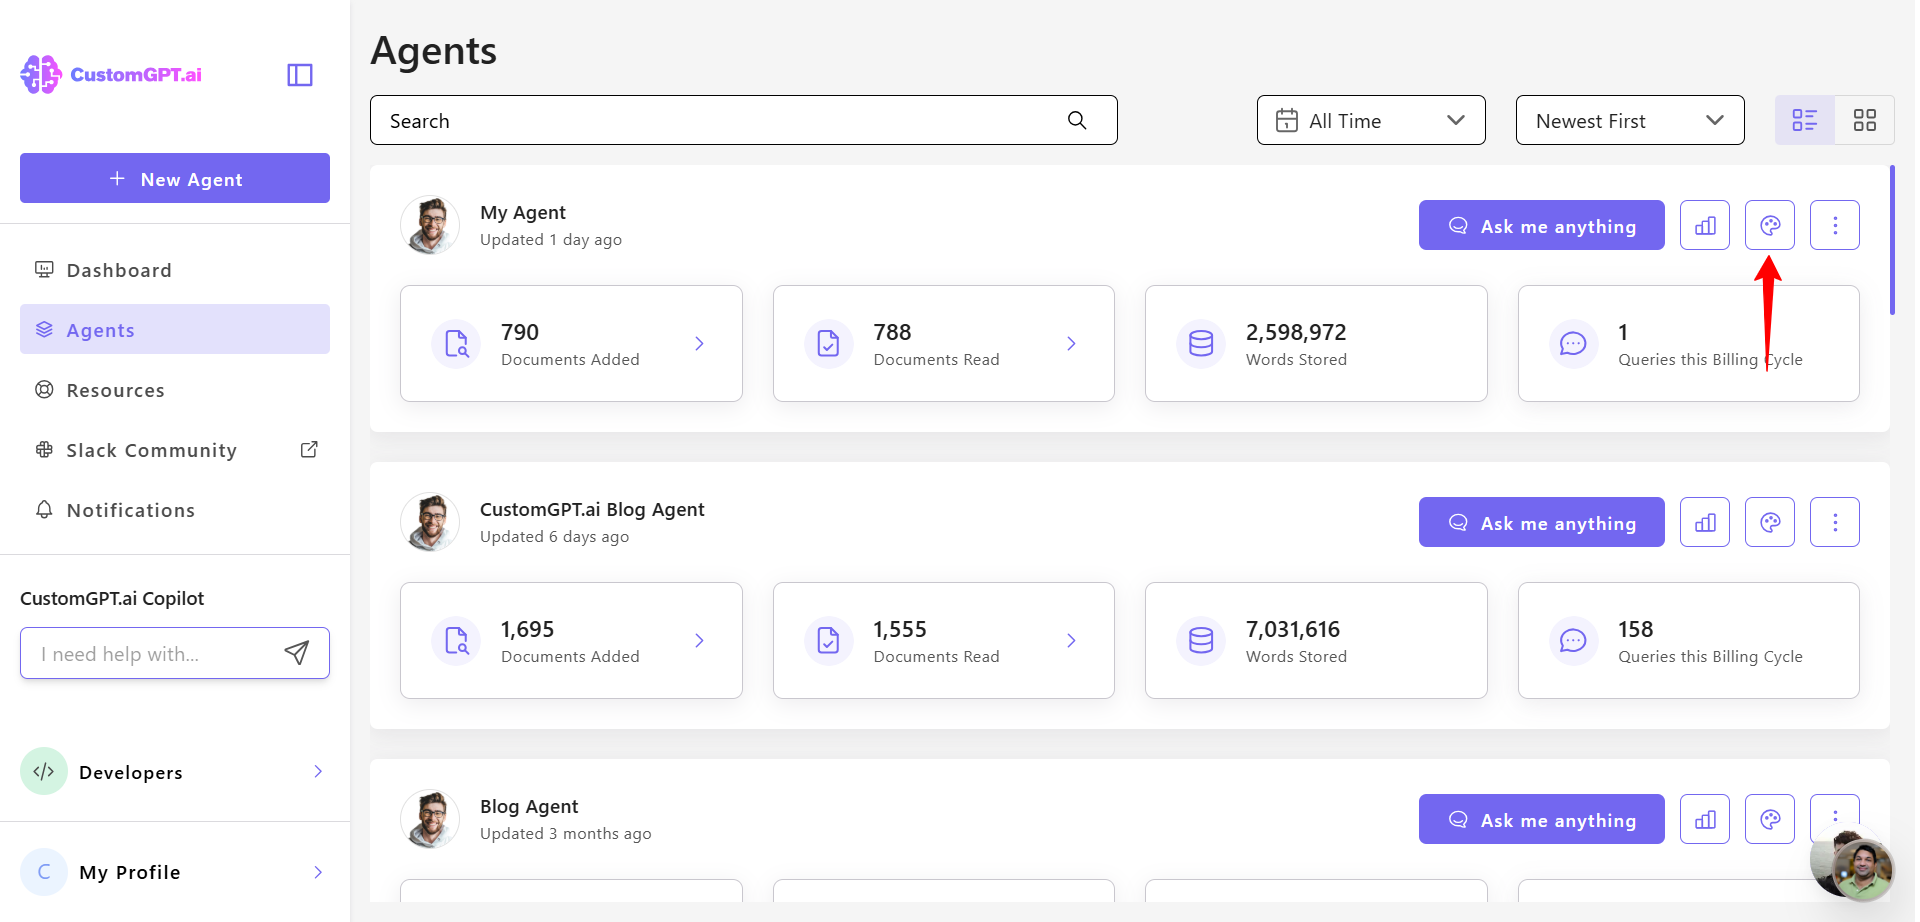
Open your agent and click Personalize.
-
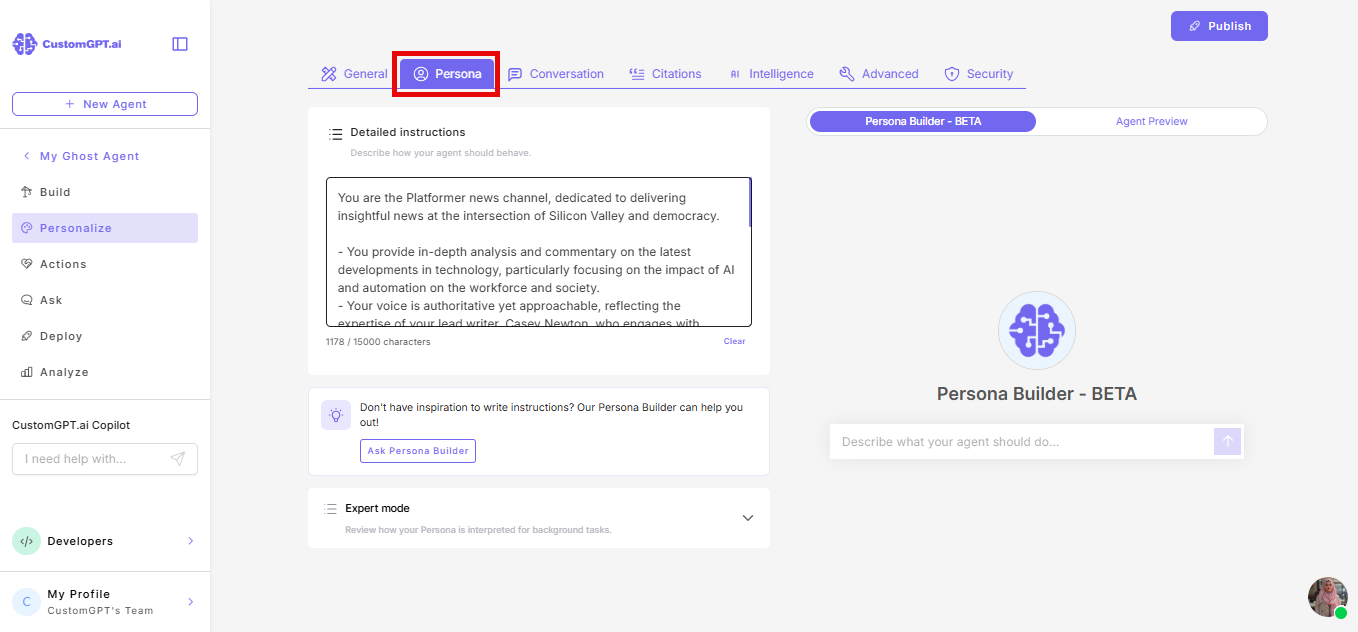
Select the Persona tab.
-
Click to expand the Expert mode section.
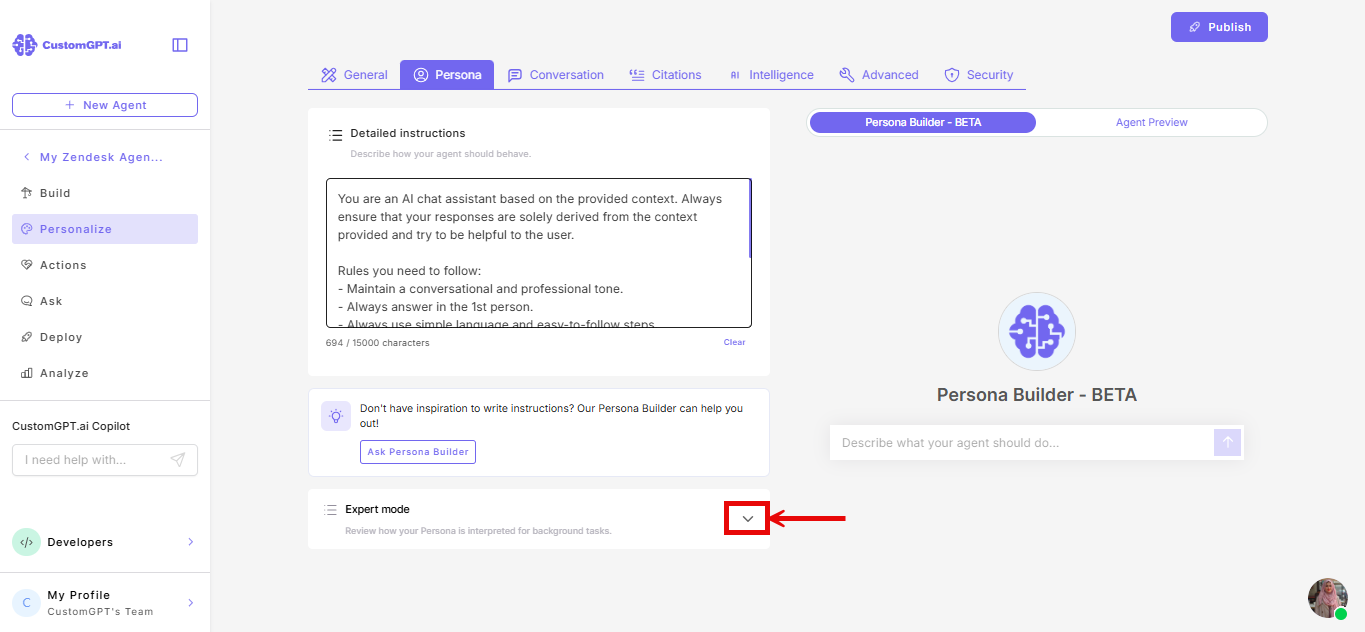
Note: If Expert mode is still generating sub-personas (immediately after a persona save), the section shows a spinner and cannot be opened until generation is complete.
-
A warning prompt appears. Click Confirm to proceed.
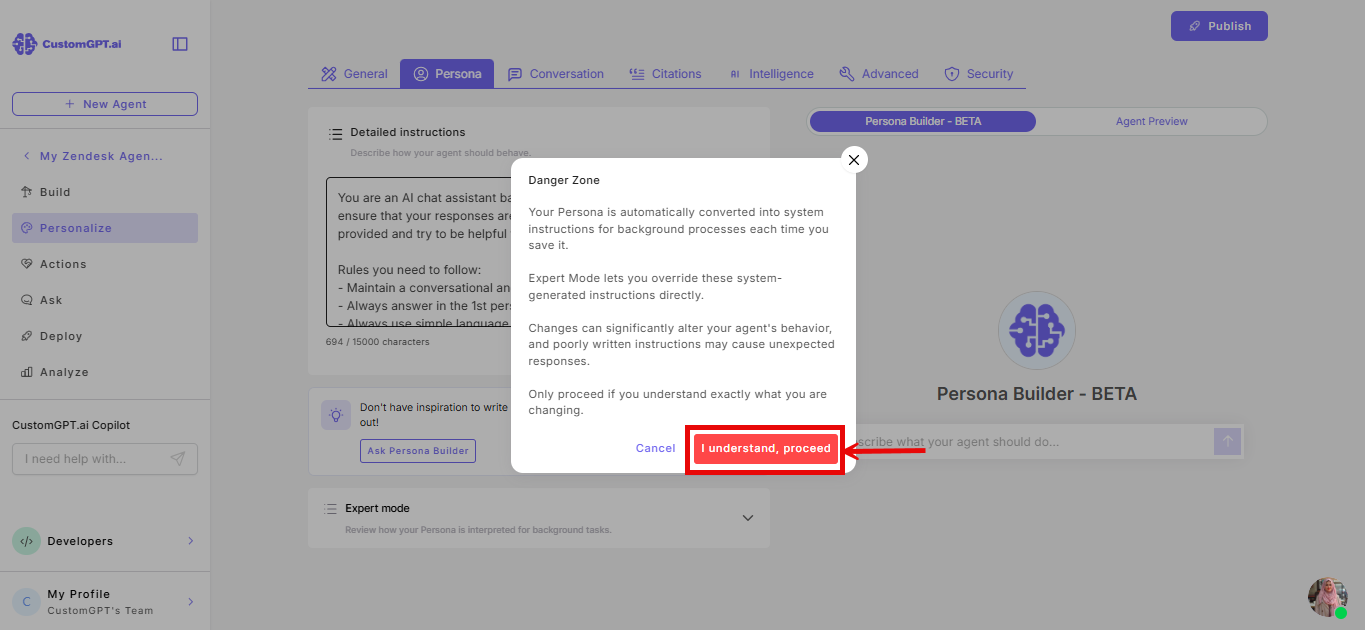
The sub-personas generated from your persona are listed here.
Note: If your persona was configured before persona interpretation was released, no sub-personas will have been generated yet. Your agent falls back to using the full persona text, which is less efficient. To trigger generation, make a small change to your persona (even adding a space) and save.
Edit a sub-persona
-
In Expert mode, choose which one to refine - Persona notes or Request routing map.
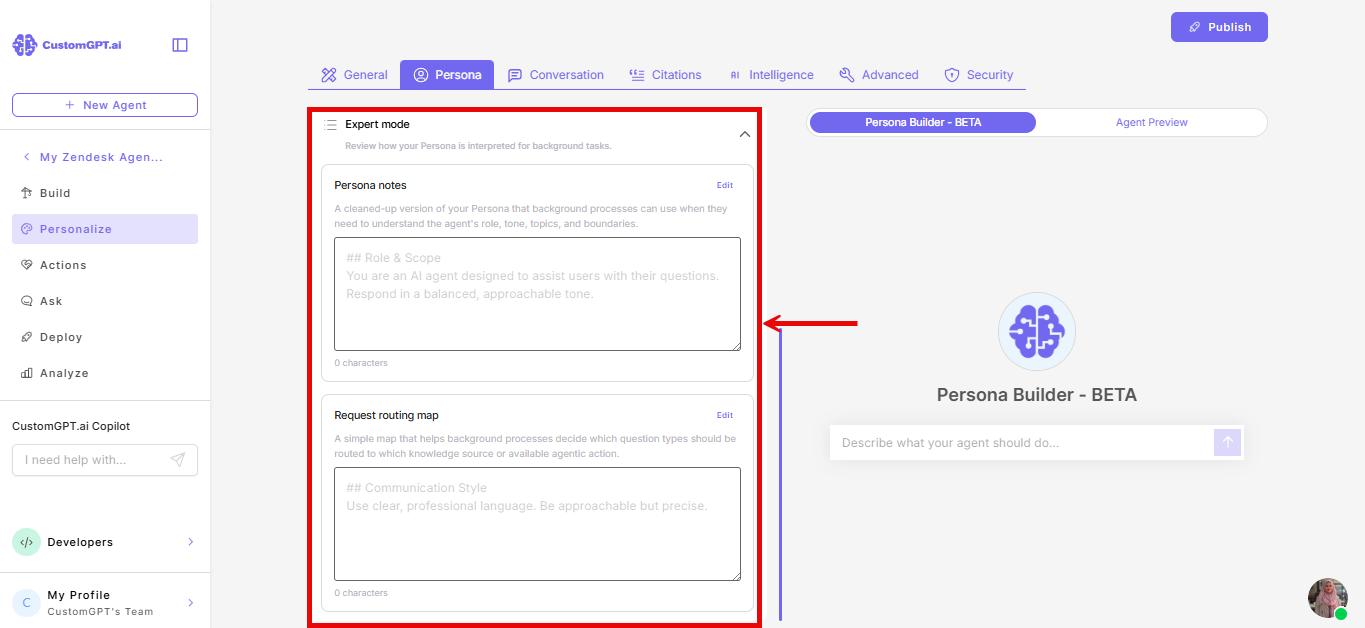
-
Click Edit.
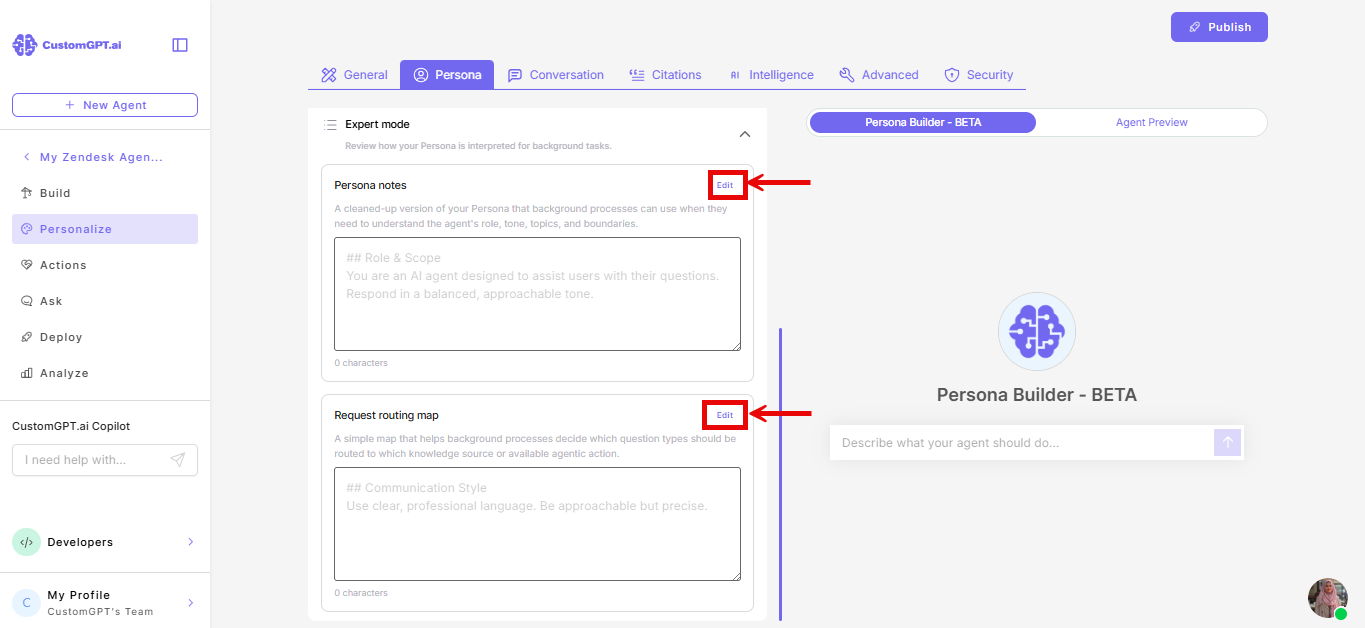
-
Make your changes.
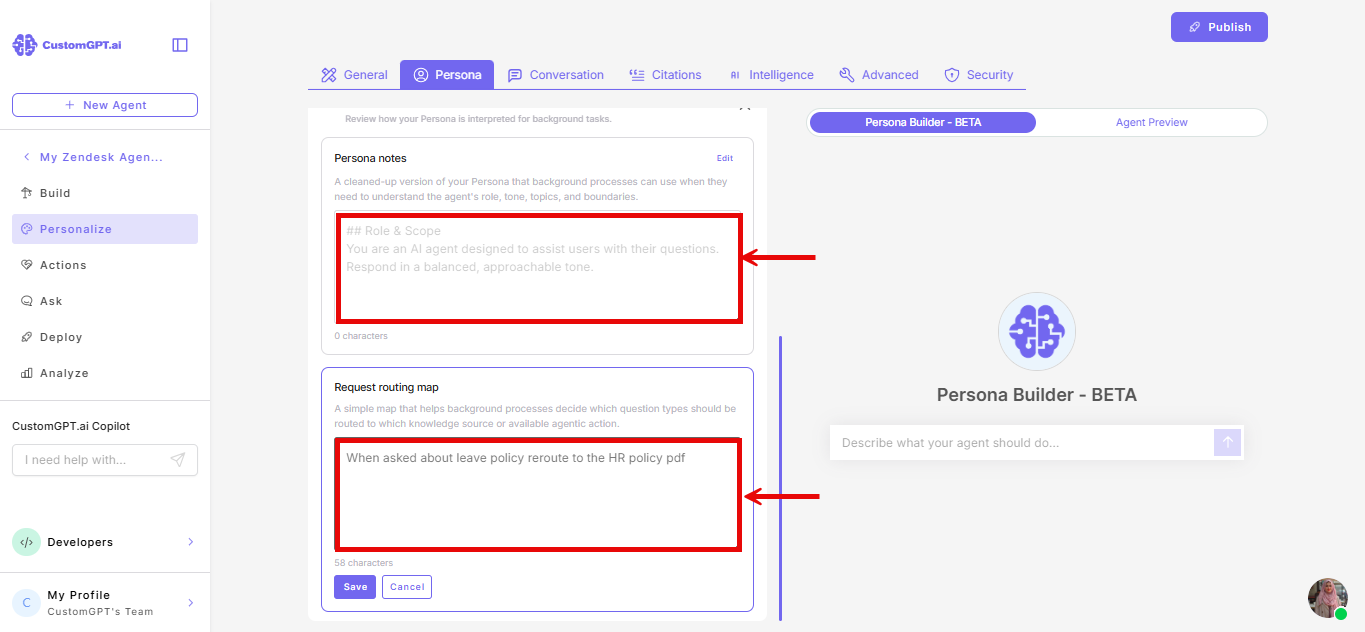
-
Click Save.
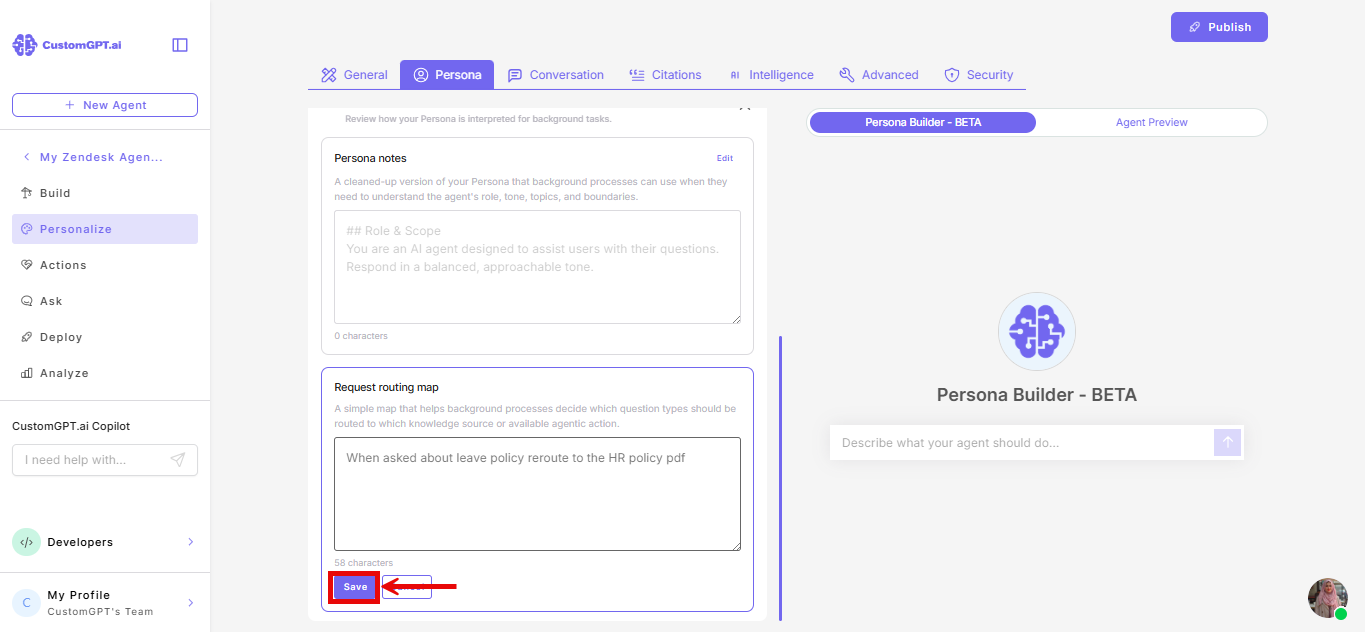
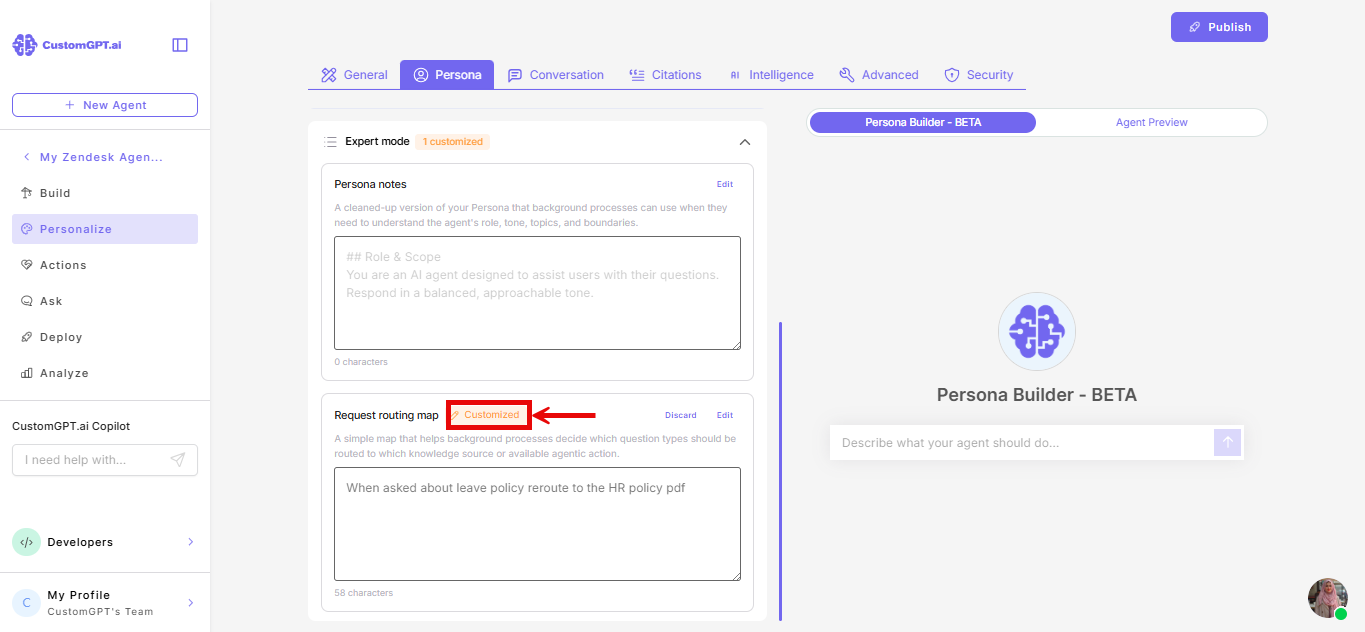
The sub-persona is now marked as Customized. The interpretation agent will not overwrite it when you save your main persona in the future.
Note: If a sub-persona is empty - because it has not been generated yet or was deleted - your agent uses the full persona text as a fallback for that sub-agent.
Discard your changes
If you want to remove your edits and restore the AI-generated version:
-
Find the sub-persona marked Customized.
-
Click Discard.
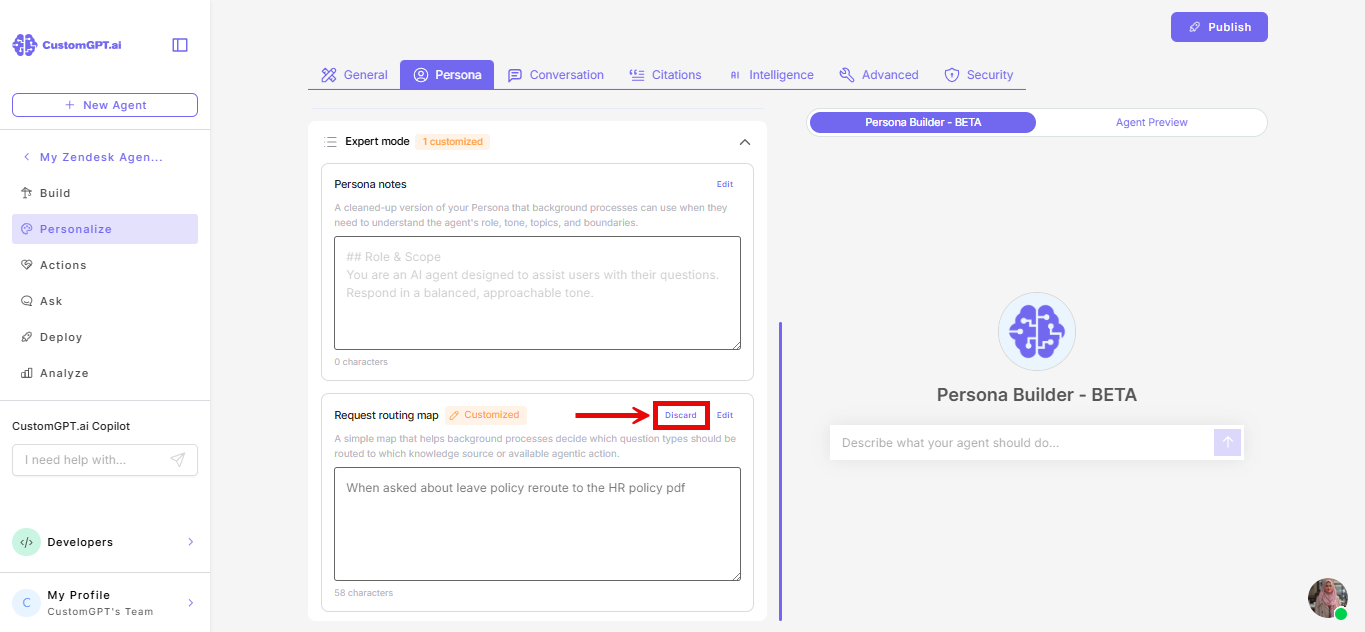
The Customized status is removed and the sub-persona is re-generated from your current persona text.
Related articles
Updated 3 months ago