How to create and manage a multi-agent
Before you start
- Multi-Agents must be enabled on your account (Premium & Enterprise plan).
- You need at least one existing agent to attach as a child agent (you can also add agents after the multi-agent is created).
- Only team members with edit access to agents can attach or detach child agents.
Create a multi-agent
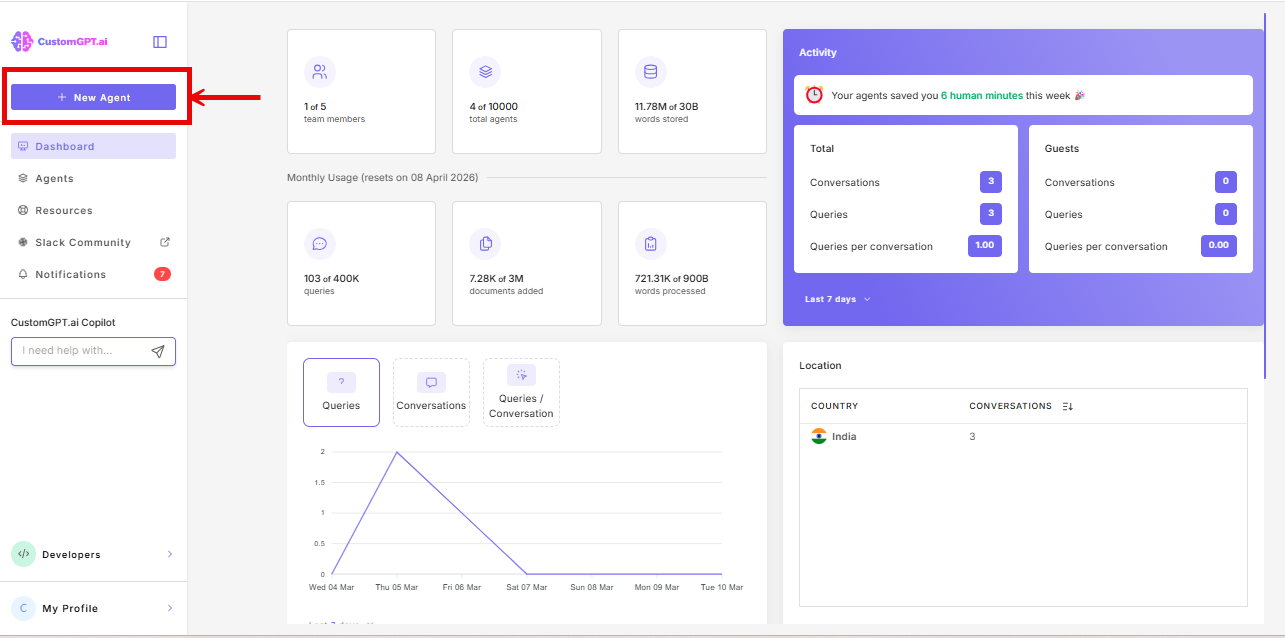
- Click New agent.
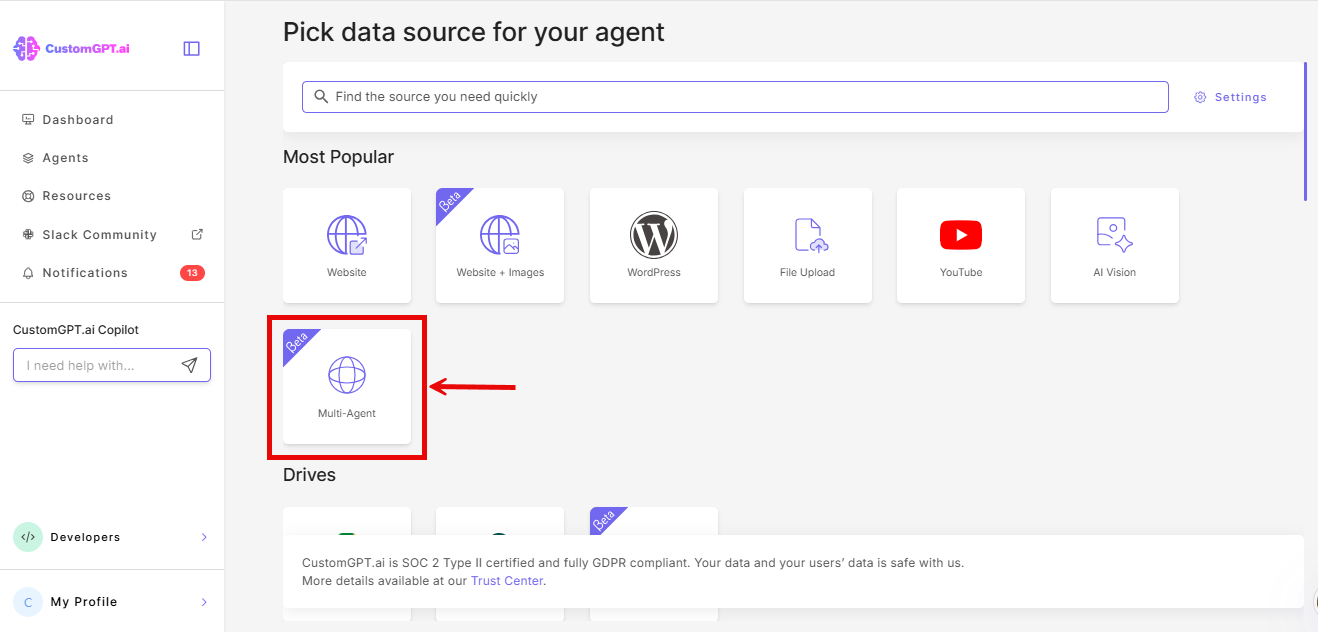
- In the Most Popular section, click Multi-Agent. It is also available in the Connectors section at the end of the Build page.
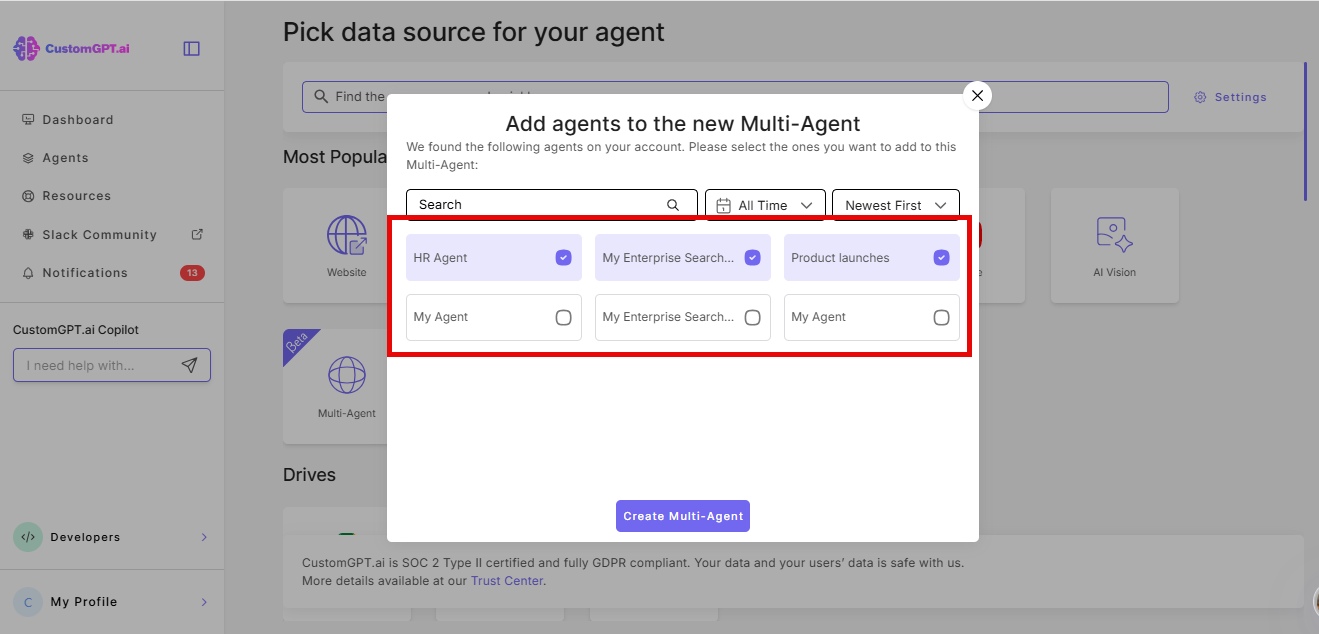
- In the pop-up window, select the agents you want to attach as child agents.
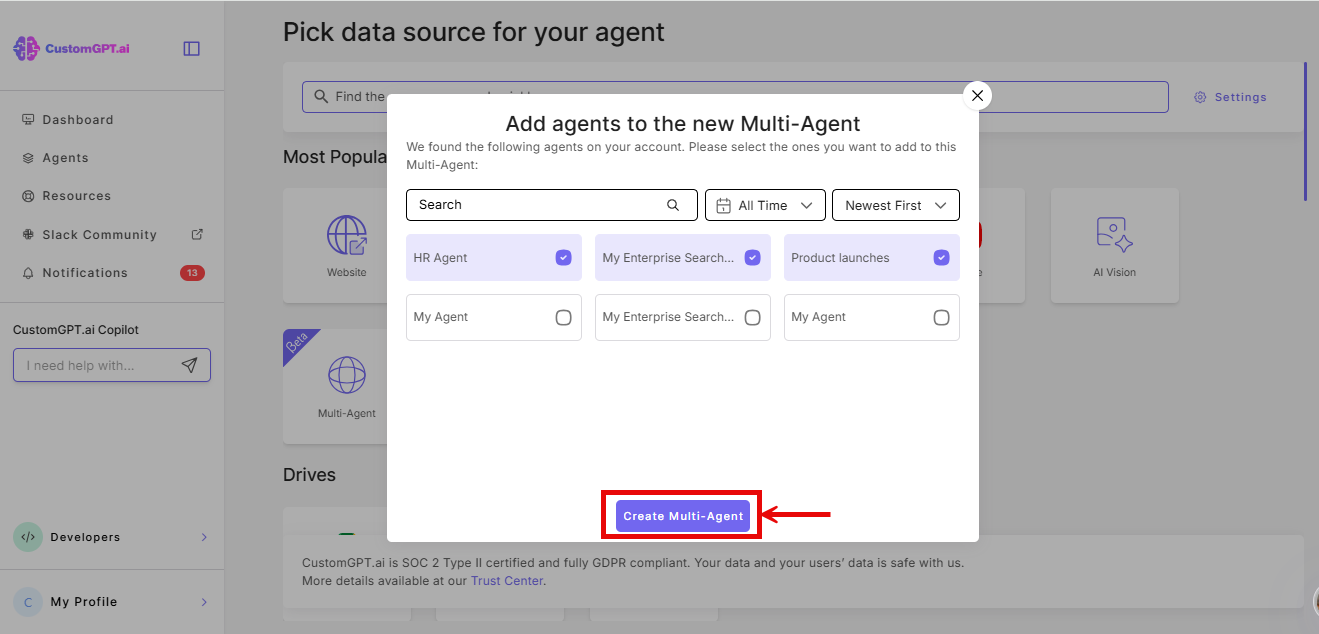
- Click Create Multi-agent.
You cannot chat with a multi-agent until at least one child agent is attached.
Add child agents to an existing multi-agent
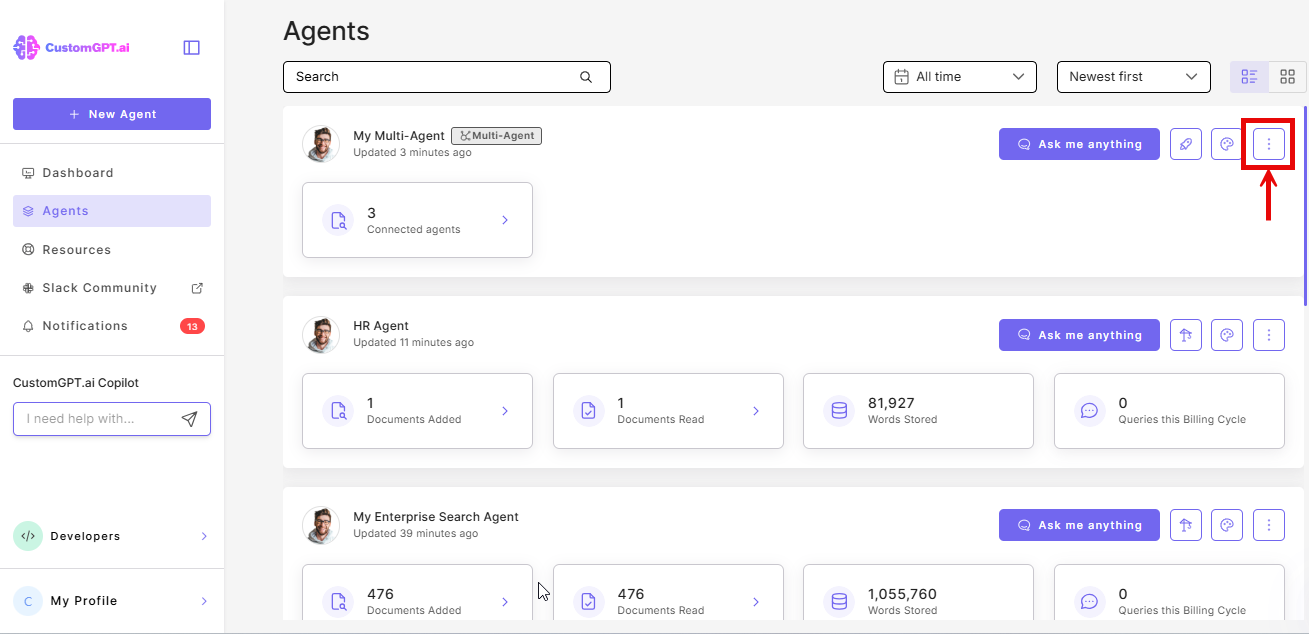
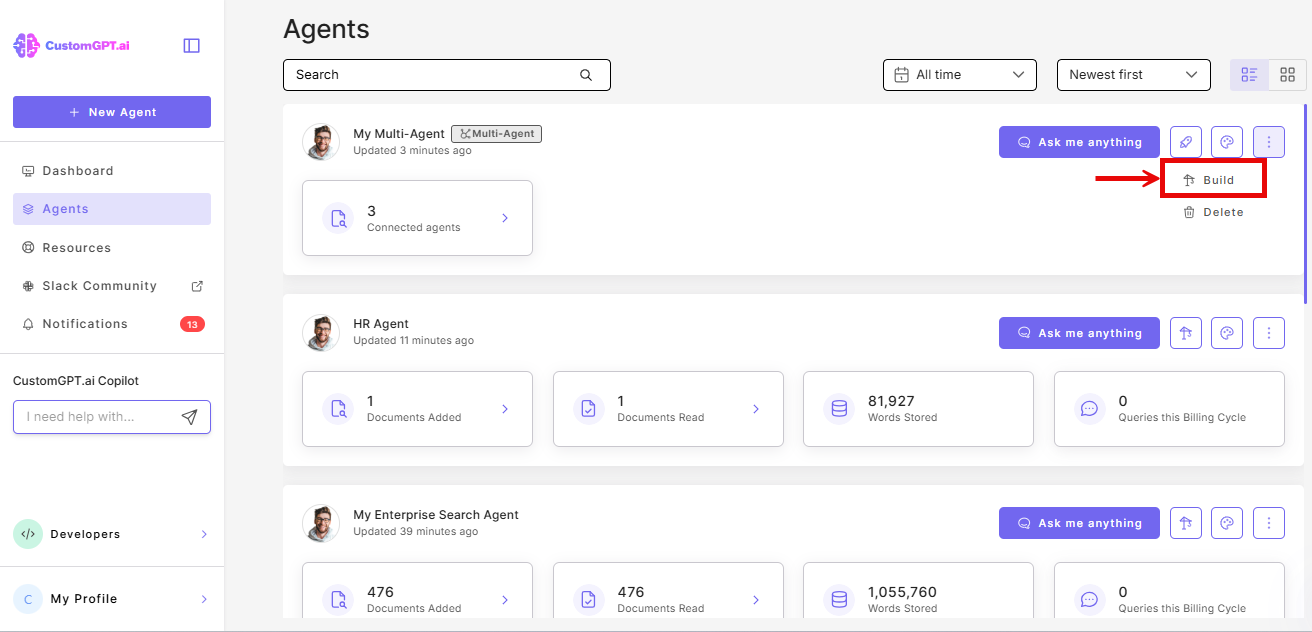
- On your multi-agent, click the three vertical dots.

- In the dropdown, click Build.

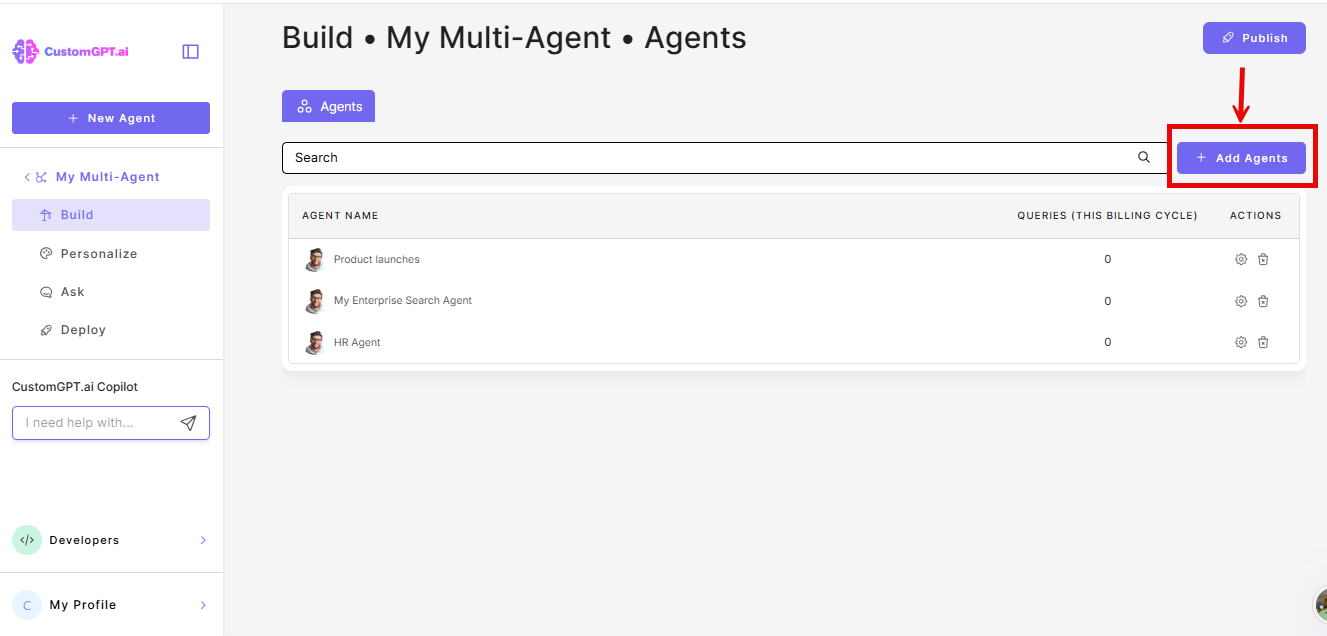
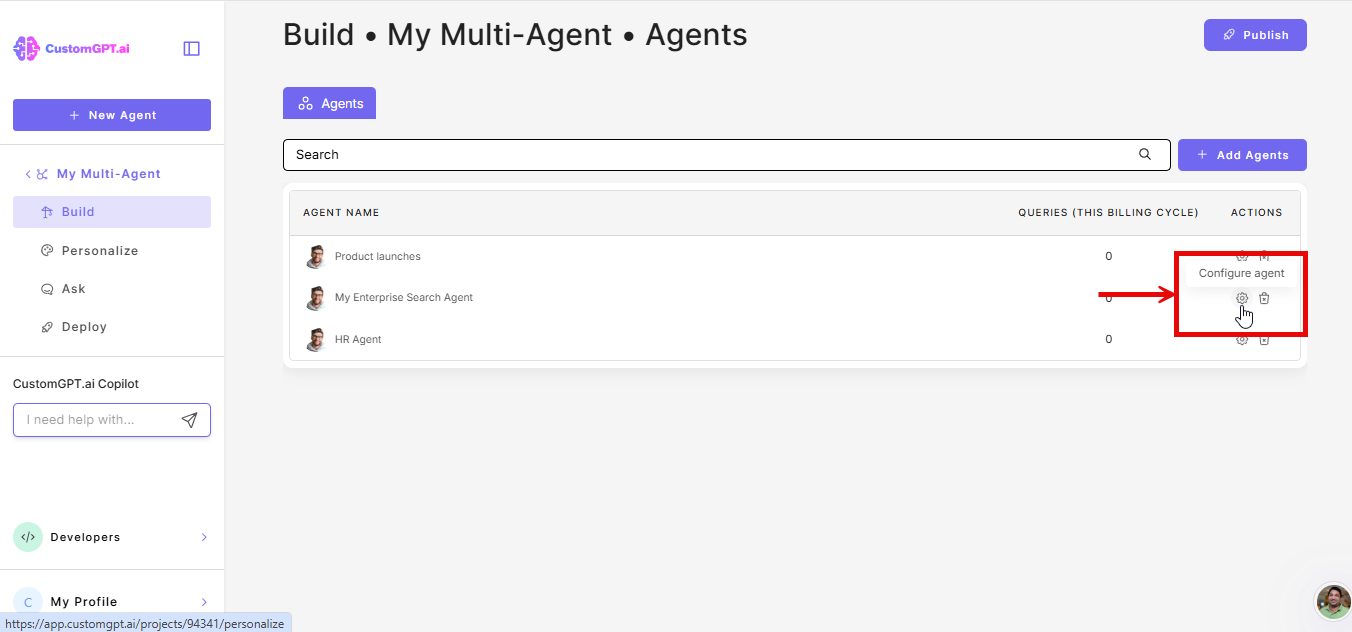
- Click Add agents.
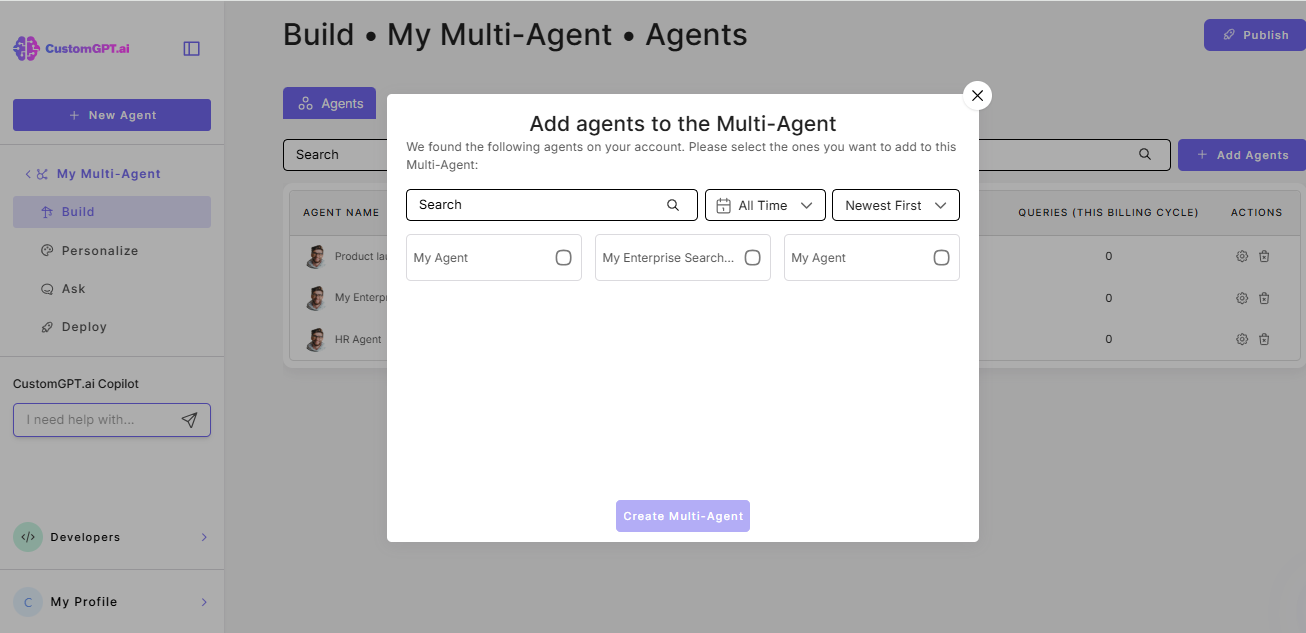
- In the pop-up, select the agents you want to add. Agents already attached to this multi-agent are hidden from the list.
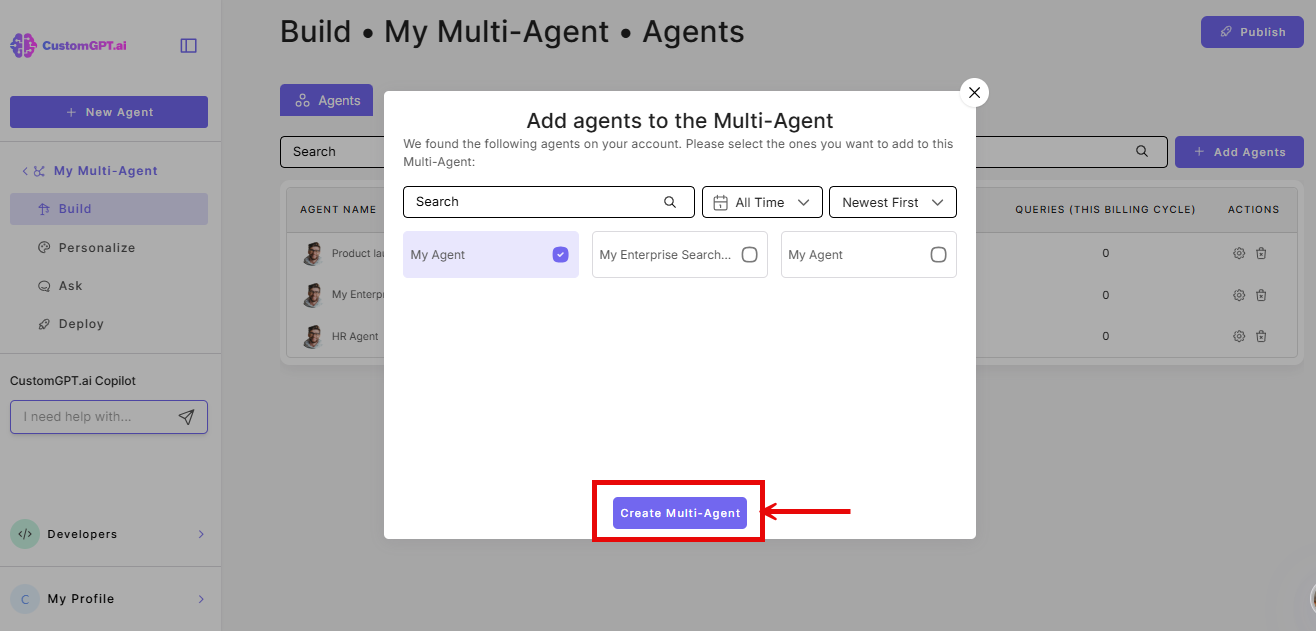
- Click Create Multi-Agent to confirm your selection.
Each multi-agent supports up to 3 child agents on the Premium plan and up to 10 child agents on the Enterprise plan. To raise this limit, contact Sales.
If a child agent is set to private, it will not appear in the end-user dropdown when the multi-agent is deployed publicly. Only agents set to public are visible to end-users.
Remove a child agent
- On your multi-agent, click the three vertical dots
- In the dropdown, click Build.
- Find the child agent in the table and click on the bin icon to remove from multi-agent.
Removing an agent detaches it from the multi-agent but does not delete it. It can still be deployed independently or added to another multi-agent.
Edit a child agent's settings
- On your multi-agent, click the three vertical dots
- In the dropdown, click Build.
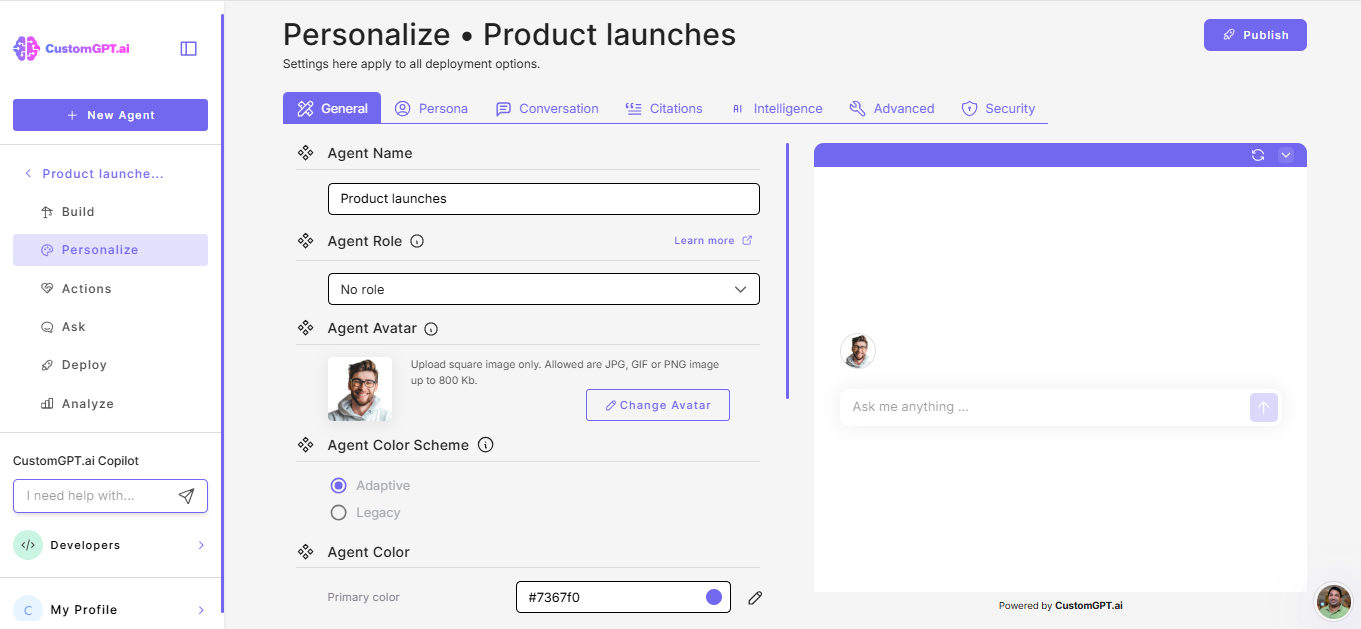
- Click the gear icon next to a child agent to configure the child agent.
This opens the child's Personalize page where you can adjust its persona, intelligence, data sources, and tools.
Adjust multi-agent settings
- On your multi-agent, click Personalize.
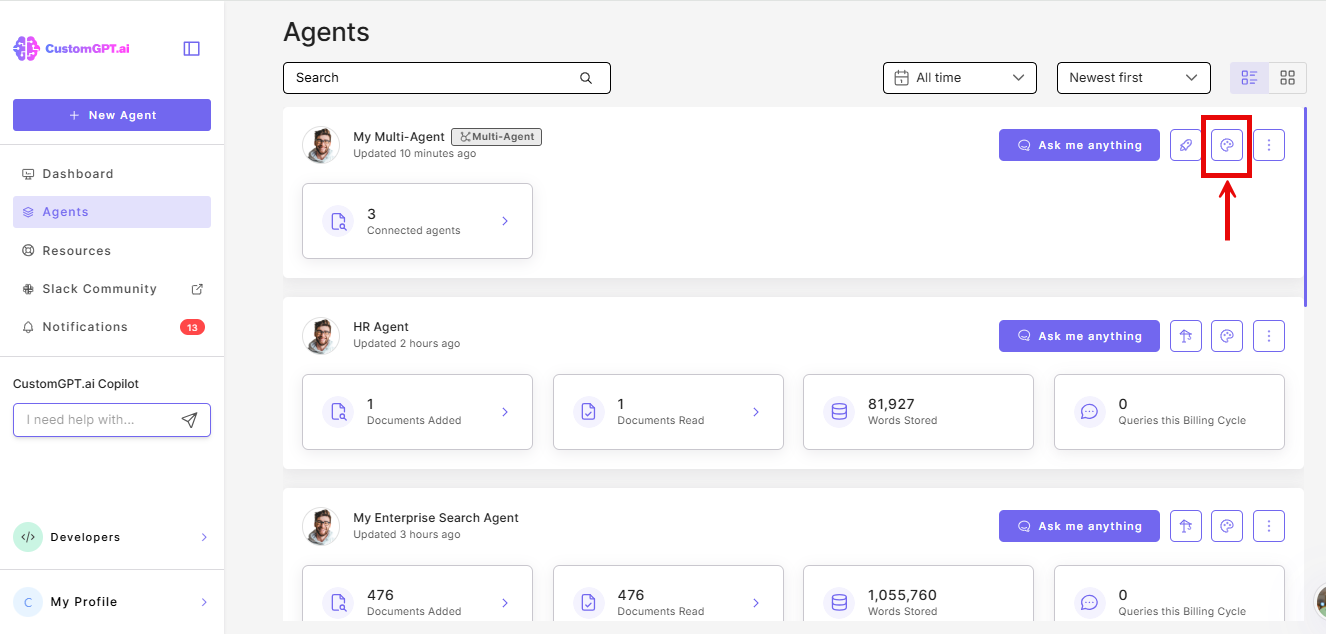
- Select the tab you want to configure: General, Conversation, Advanced, or Security.
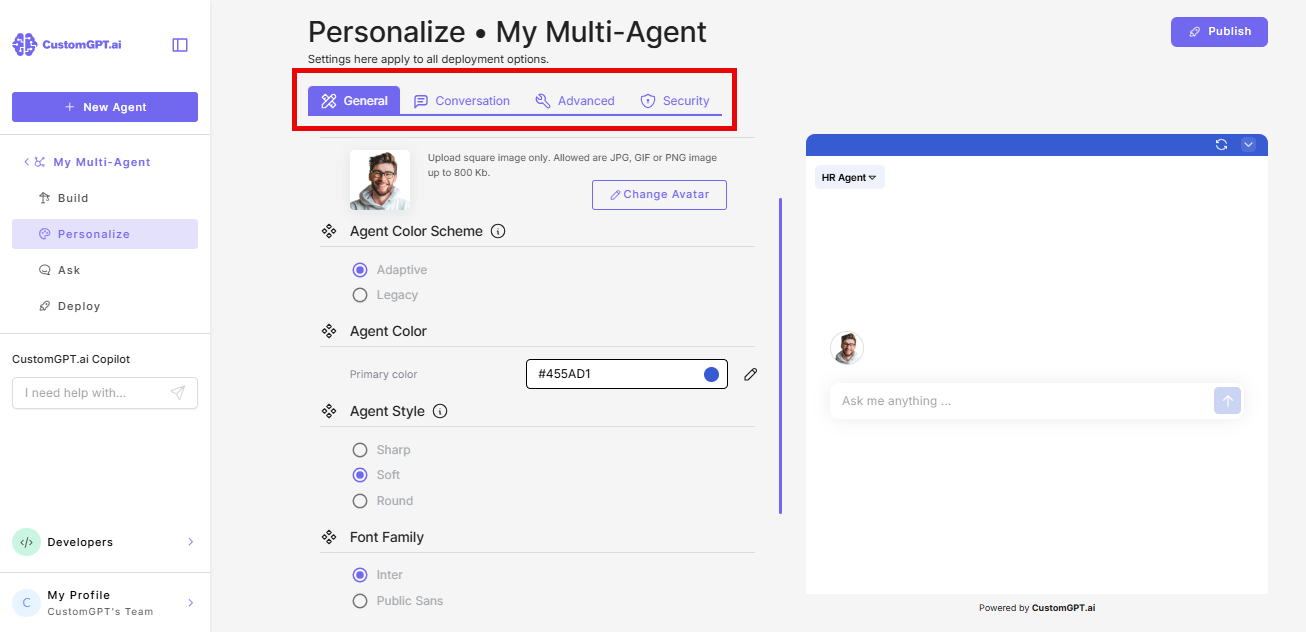
- Make your changes and click Save Settings.
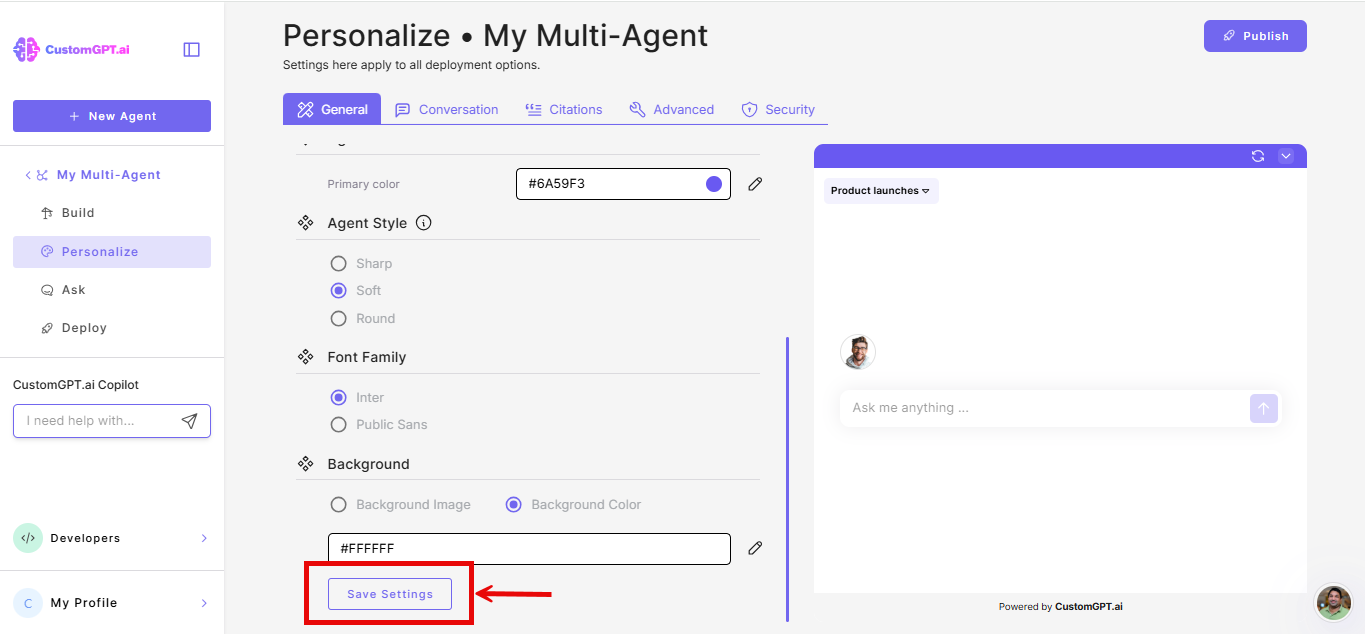
Settings here control the look and feel of the chat interface across all agents. AI behavior (persona, intelligence, data sources) is configured on each agent individually - these settings don't appear on the multi-agent.
Deploy a multi-agent
Go to Deploy on your multi-agent. Supported: Share Link, Embed, Live Chat, Website Copilot, and Instant Viewer.

API and MCP deployment are not available on multi-agent. Child agents retain their own API and MCP access.
If you already have agents deployed separately
Attaching existing agents to a multi-agent doesn't remove or change their current deployments. Once you've set up the multi-agent, decide what to do with the existing standalone links:
- Keep both running - end-users can still access individual agents directly and through the multi-agent. Useful if some users need a specific agent without the selector.
- Swap with multi-agent - replace existing share links or embed codes with the multi-agent's deployment link. Use this if you want all users to go through the unified interface.
There is no automatic redirect from individual agent links to the multi-agent. You need to update links manually.
Related articles
Updated 3 months ago