Connect Zendesk to your agent
This guide walks you through connecting your Zendesk account to a CustomGPT.ai agent. You can connect your knowledge base, your tickets, or both.
Before you start
- This integration is available on all plans.
- You need admin access to your Zendesk account to authorize the connection.
When creating a new agent
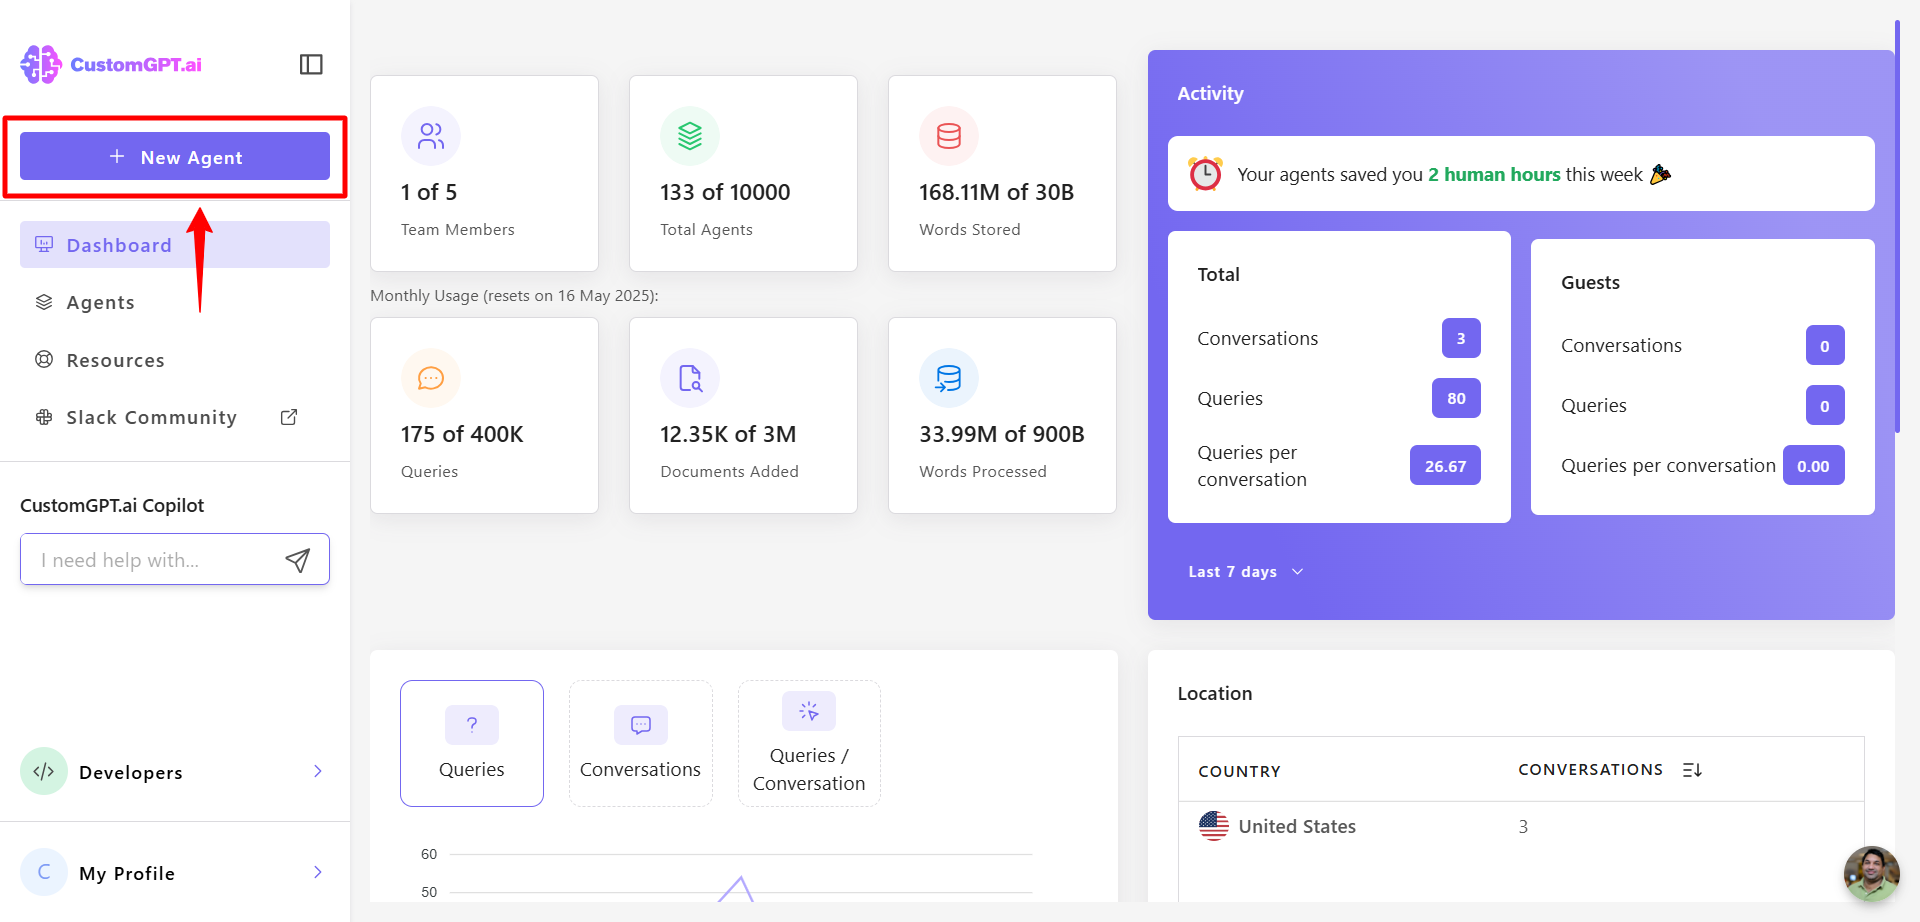
- Click New Agent.
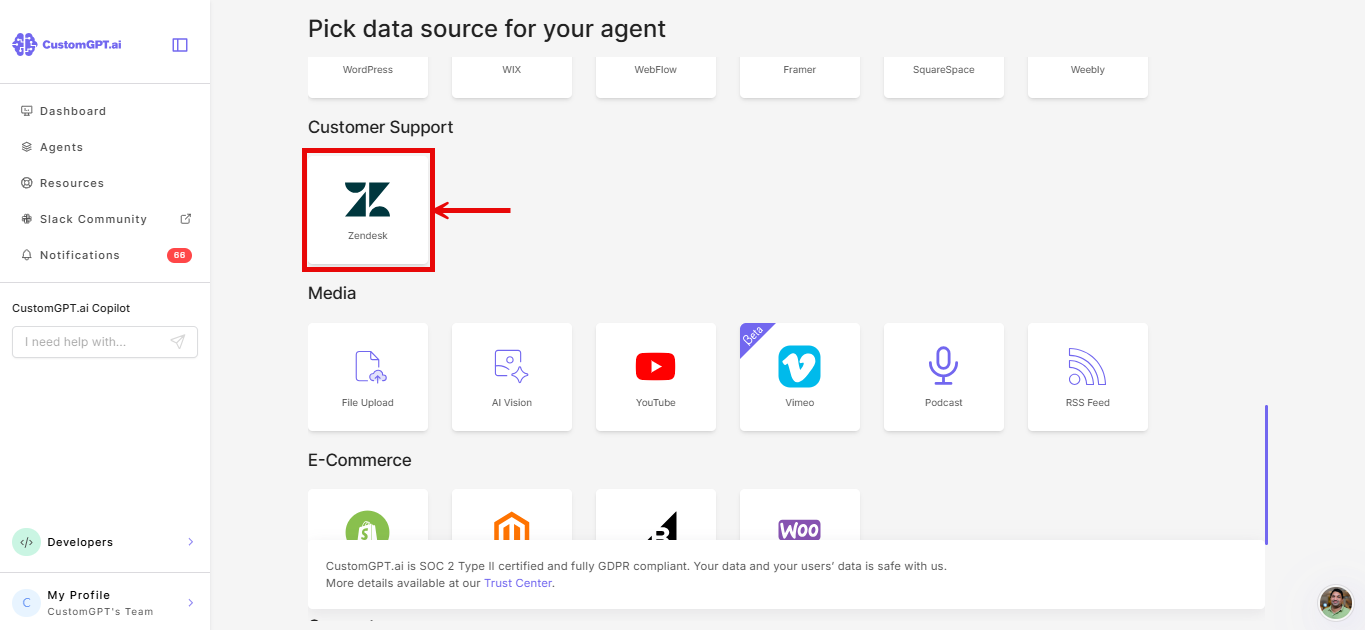
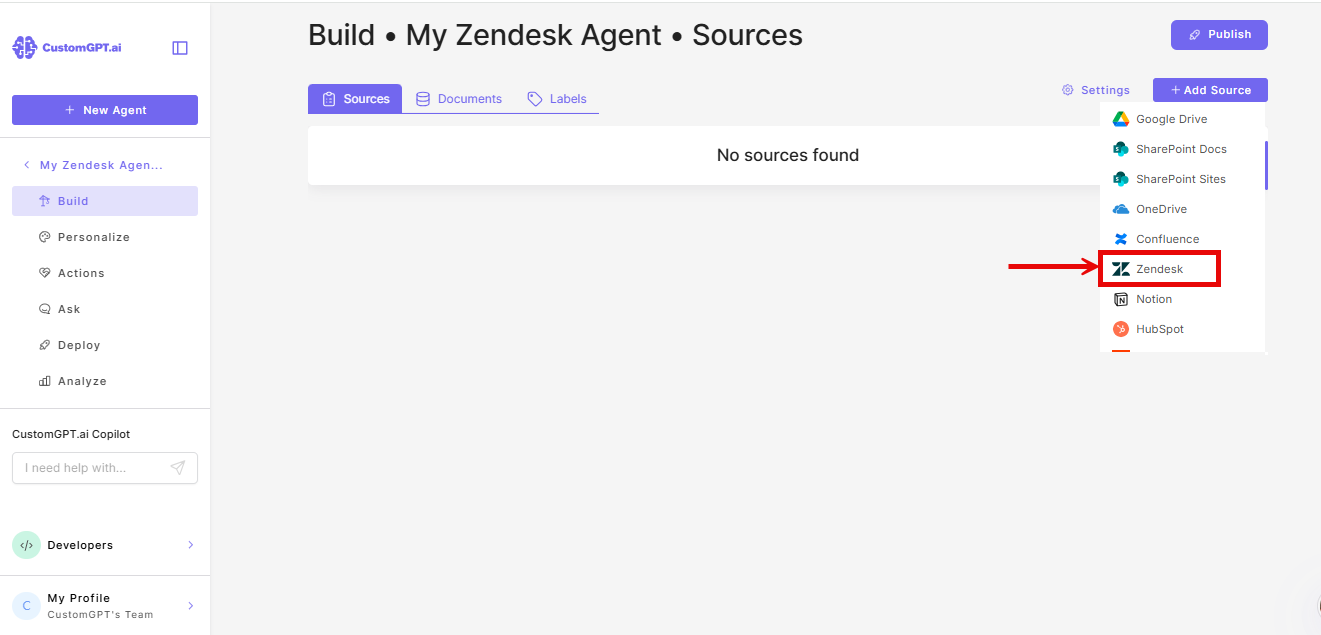
- Select Zendesk from the sources.
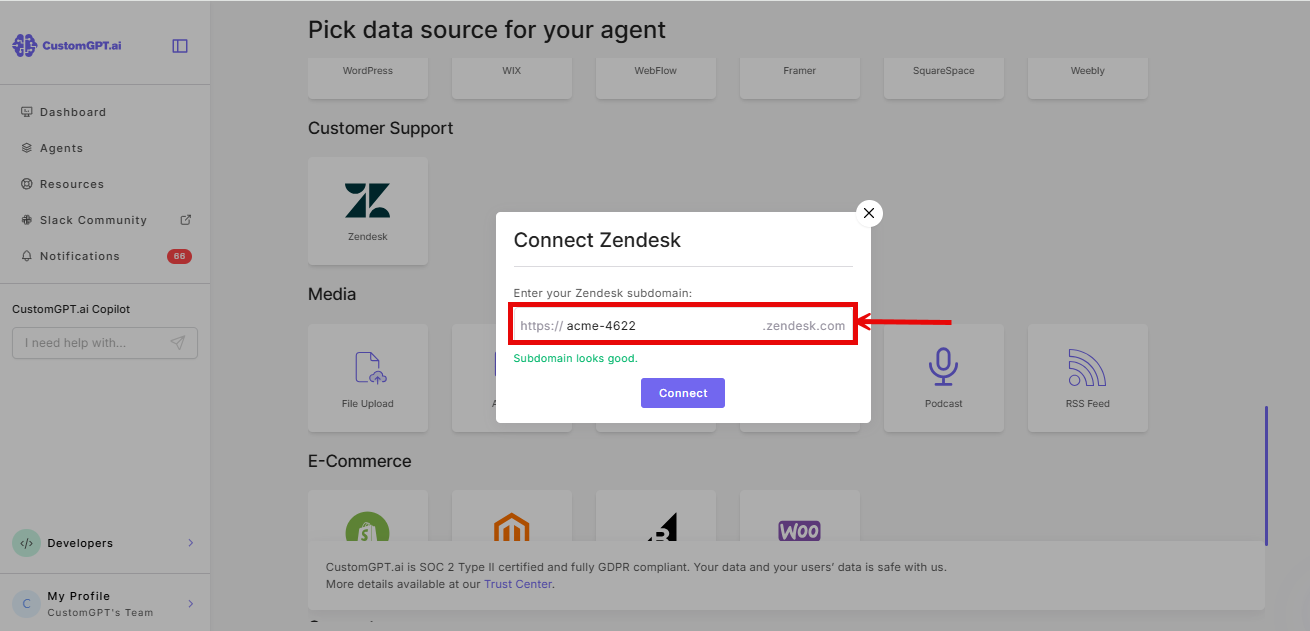
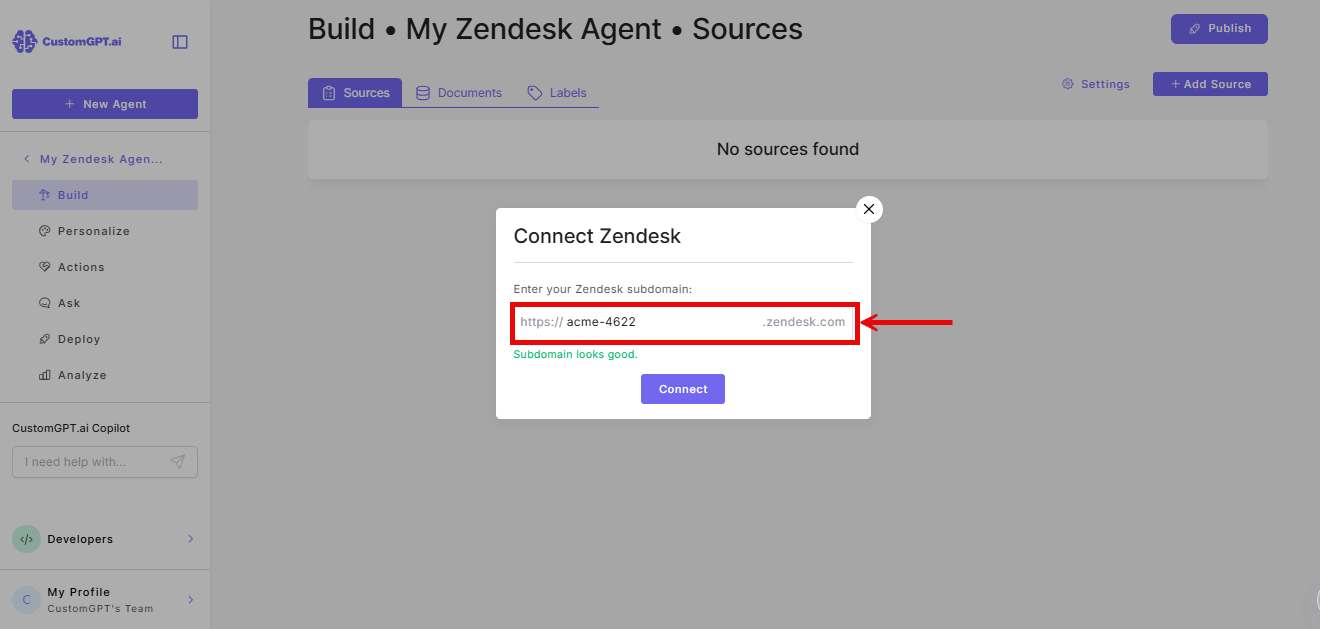
- Enter your Zendesk subdomain.
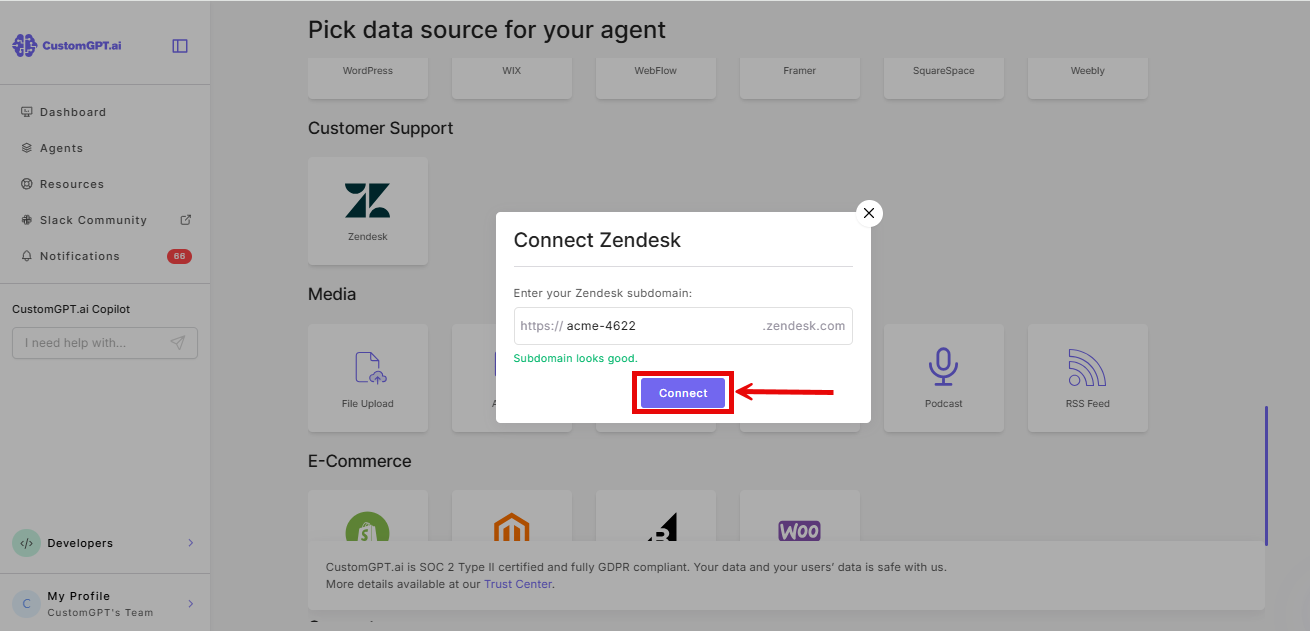
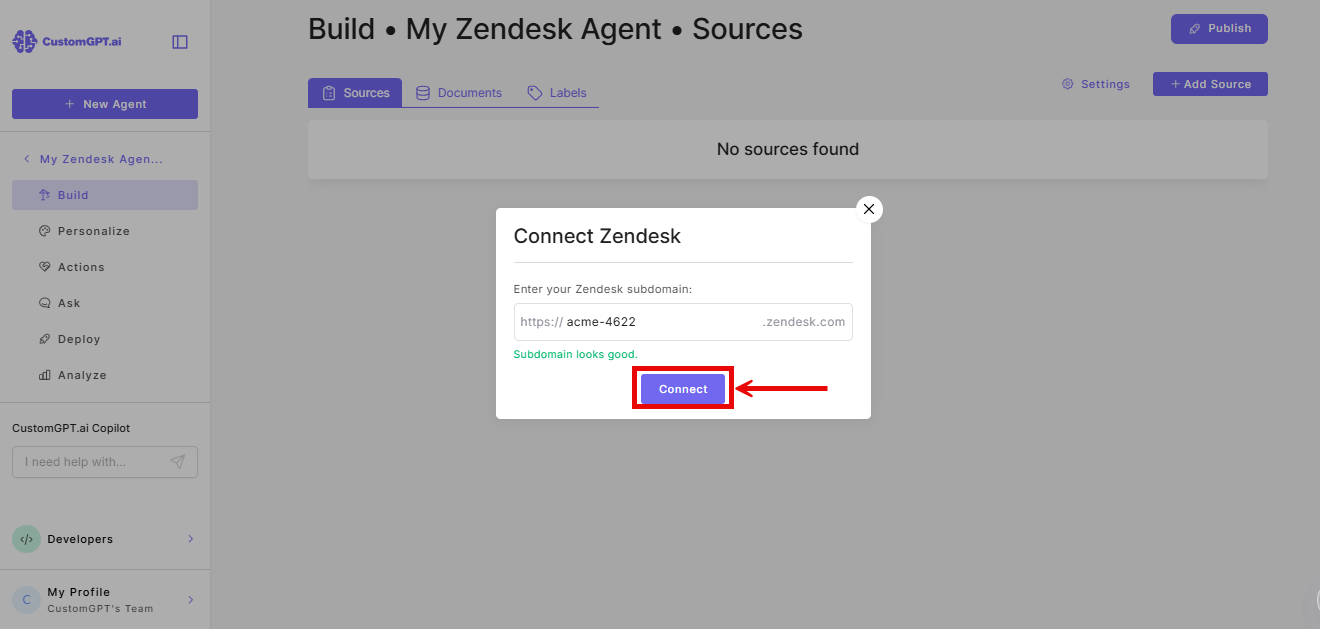
- Click Connect.
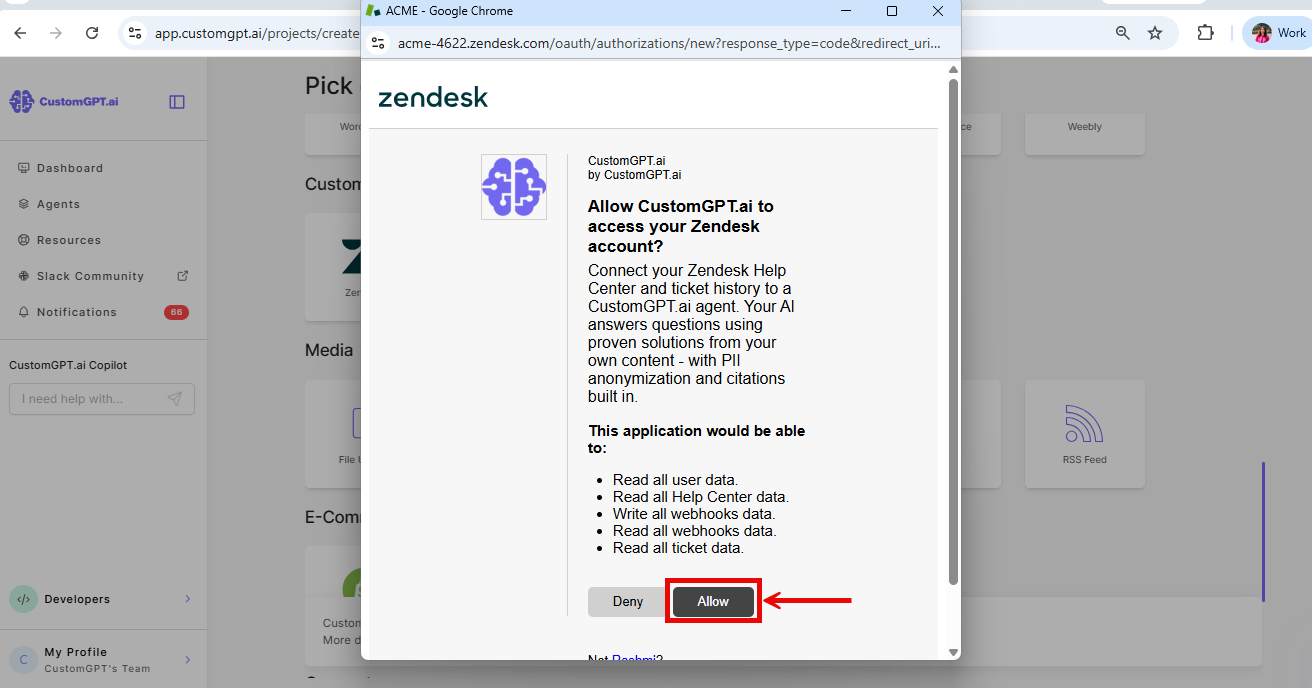
- On the Zendesk authorization page, click Allow.
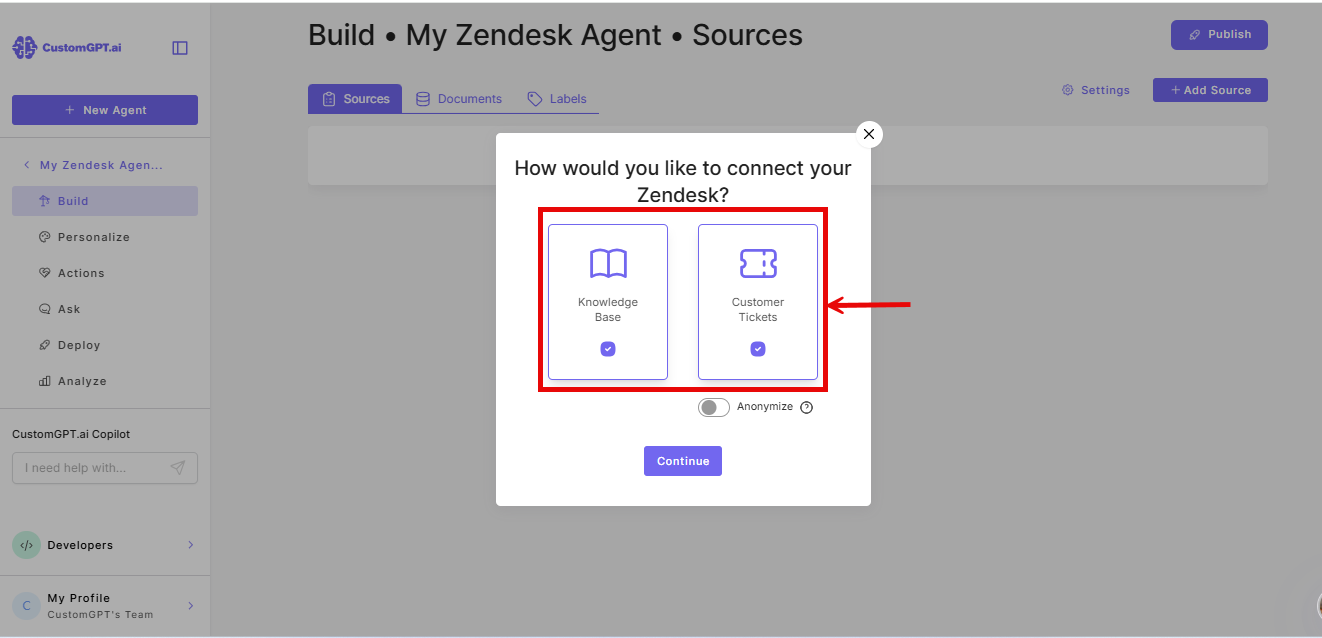
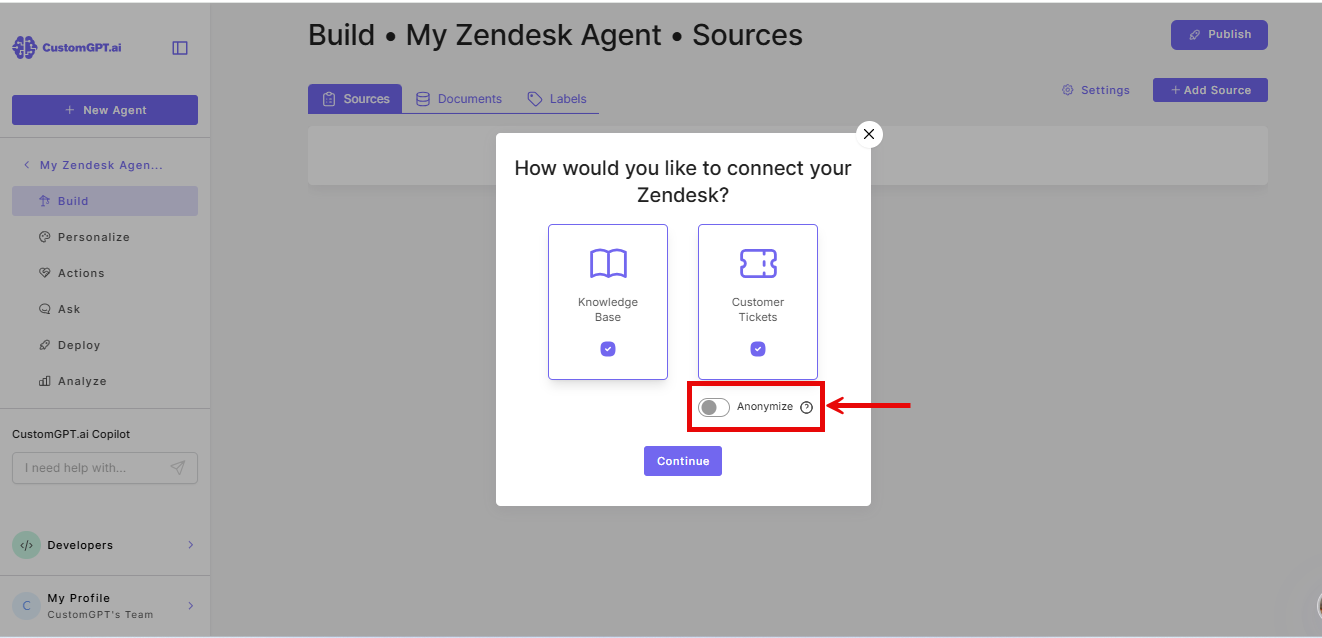
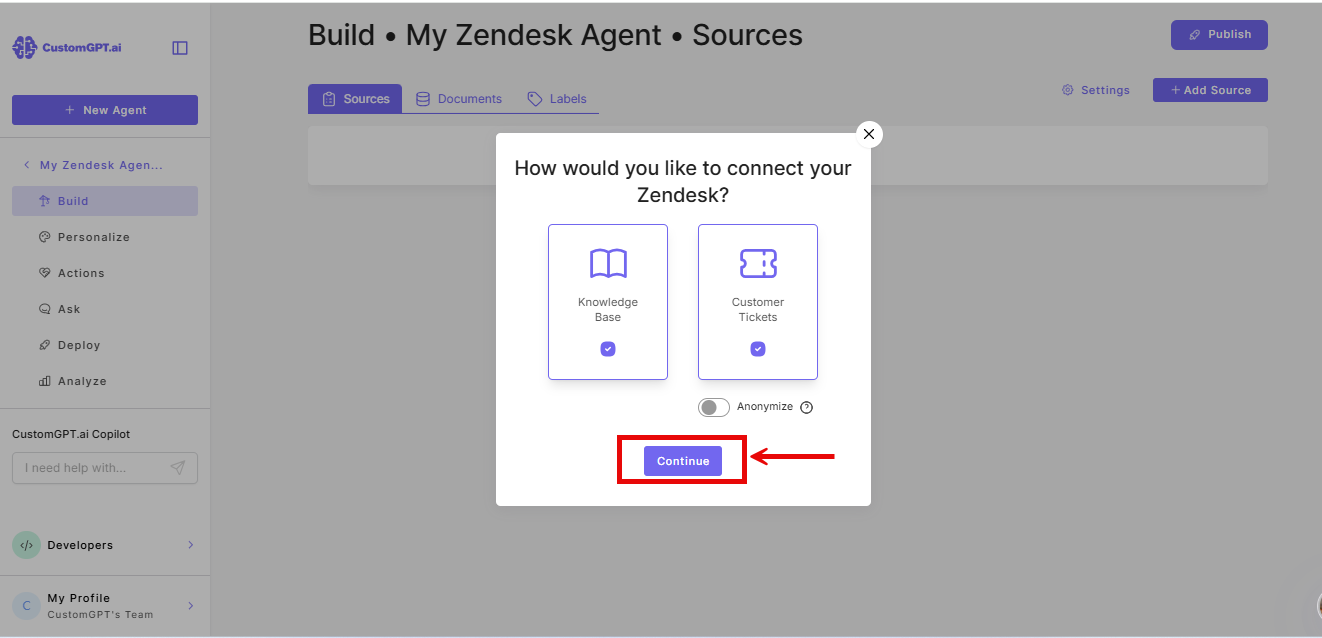
- Select Knowledge Base, Tickets, or both.
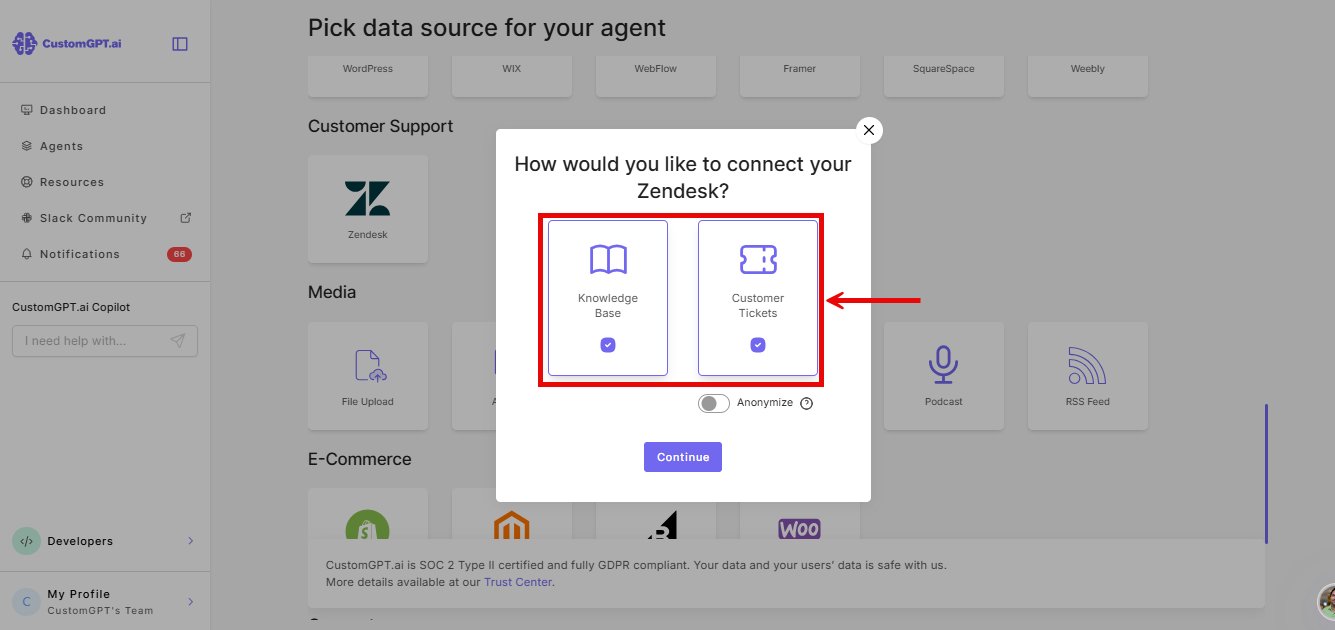
Note: Knowledge Base syncs your Zendesk help articles. Tickets syncs all tickets and their conversations.
- (Optional) Enable Anonymizer to remove personal information - names, emails, and IDs - from tickets. Use this if you plan to deploy the agent externally.

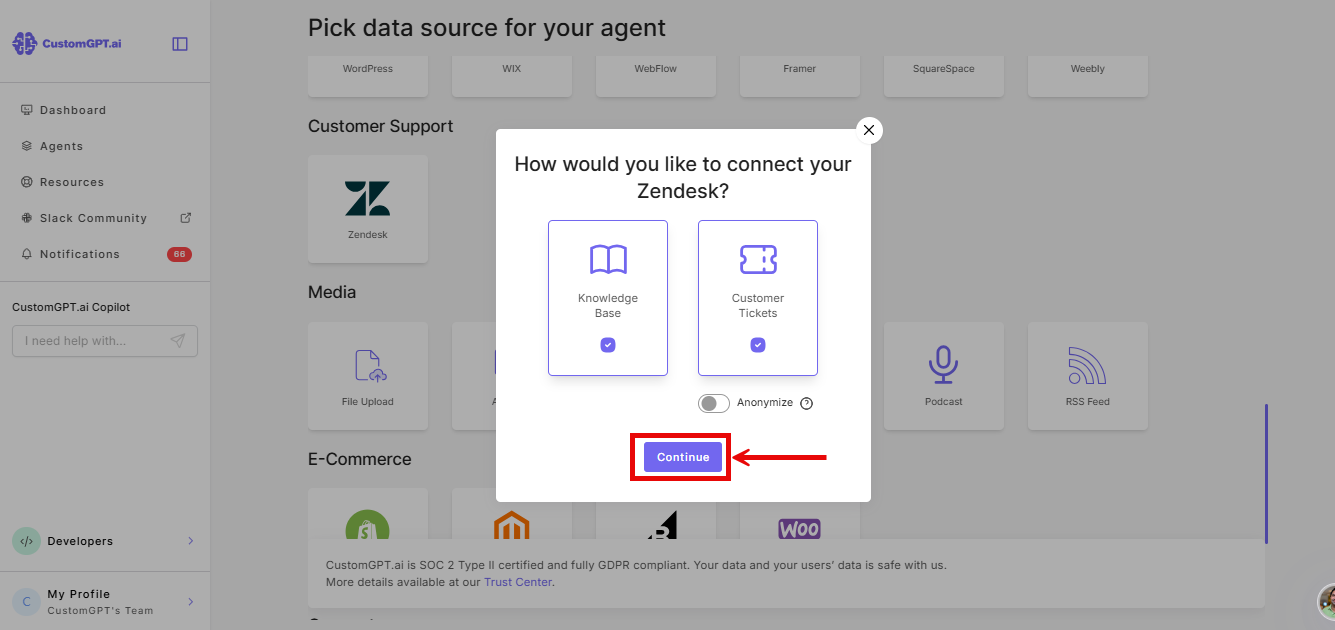
- Click Continue.
When adding to an existing agent
- Click the three-dot menu (⋮) next to your agent and select Build.
- Click Add Source.
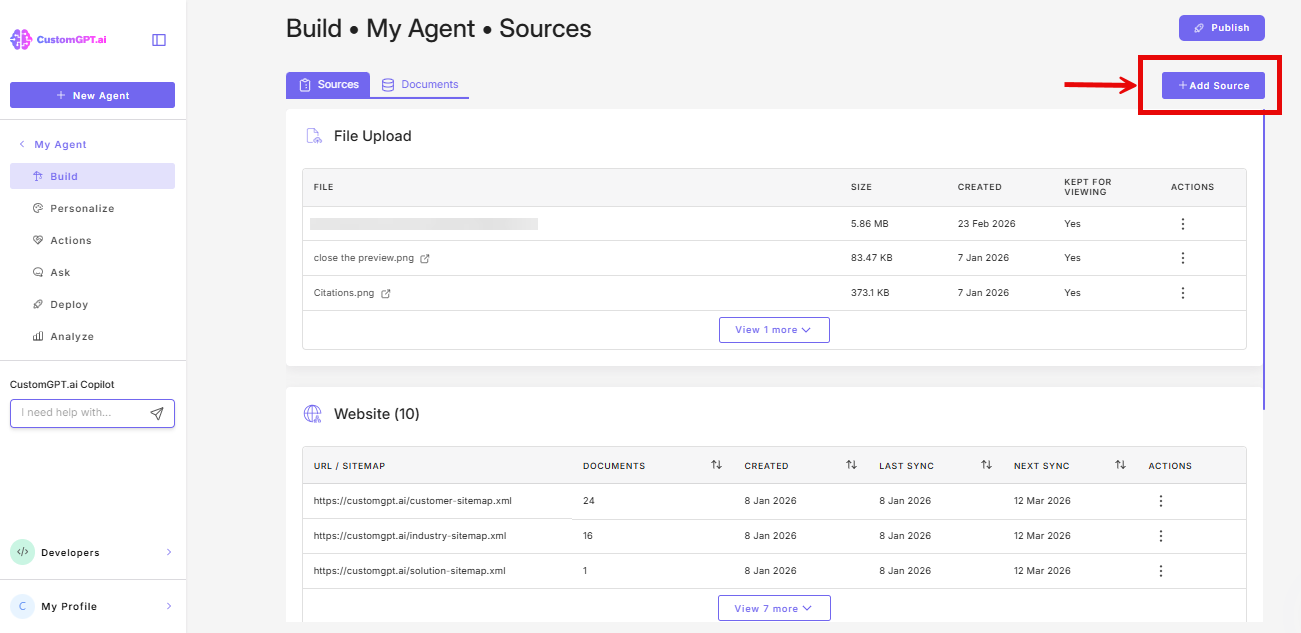
- From the dropdown, select Zendesk.
- Enter your Zendesk subdomain.
- Click Connect.
- On the Zendesk authorization page, click Allow.
- Select Knowledge Base, Tickets, or both.
Note: Knowledge Base syncs your Zendesk help articles. Tickets syncs all tickets and their conversations.
- (Optional) Enable Anonymizer to remove personal information - names, emails, and IDs - from tickets. Use this if you plan to deploy the agent externally.
- Click Continue.
Watch a demo
Related articles
Updated about 1 month ago
Did this page help you?