Connect a custom API using an OpenAPI schema
This guide walks you through connecting any REST API to your agent using an OpenAPI schema.
You provide an OpenAPI schema and the agent learns how to use the API from it.
Before you start
- Plan & Act mode is enabled on your agent.
- Smart Tasks is enabled with the External Tasks permission.
- You have the OpenAPI schema for the API you want to connect (.json or .yaml file, a URL, or the raw schema to paste).
If the Add integration button appears grayed out, Smart Tasks with the External Tasks permission is not enabled. See Enable Smart Tasks.
Steps
- Click the three dots next to the agent you want to configure.
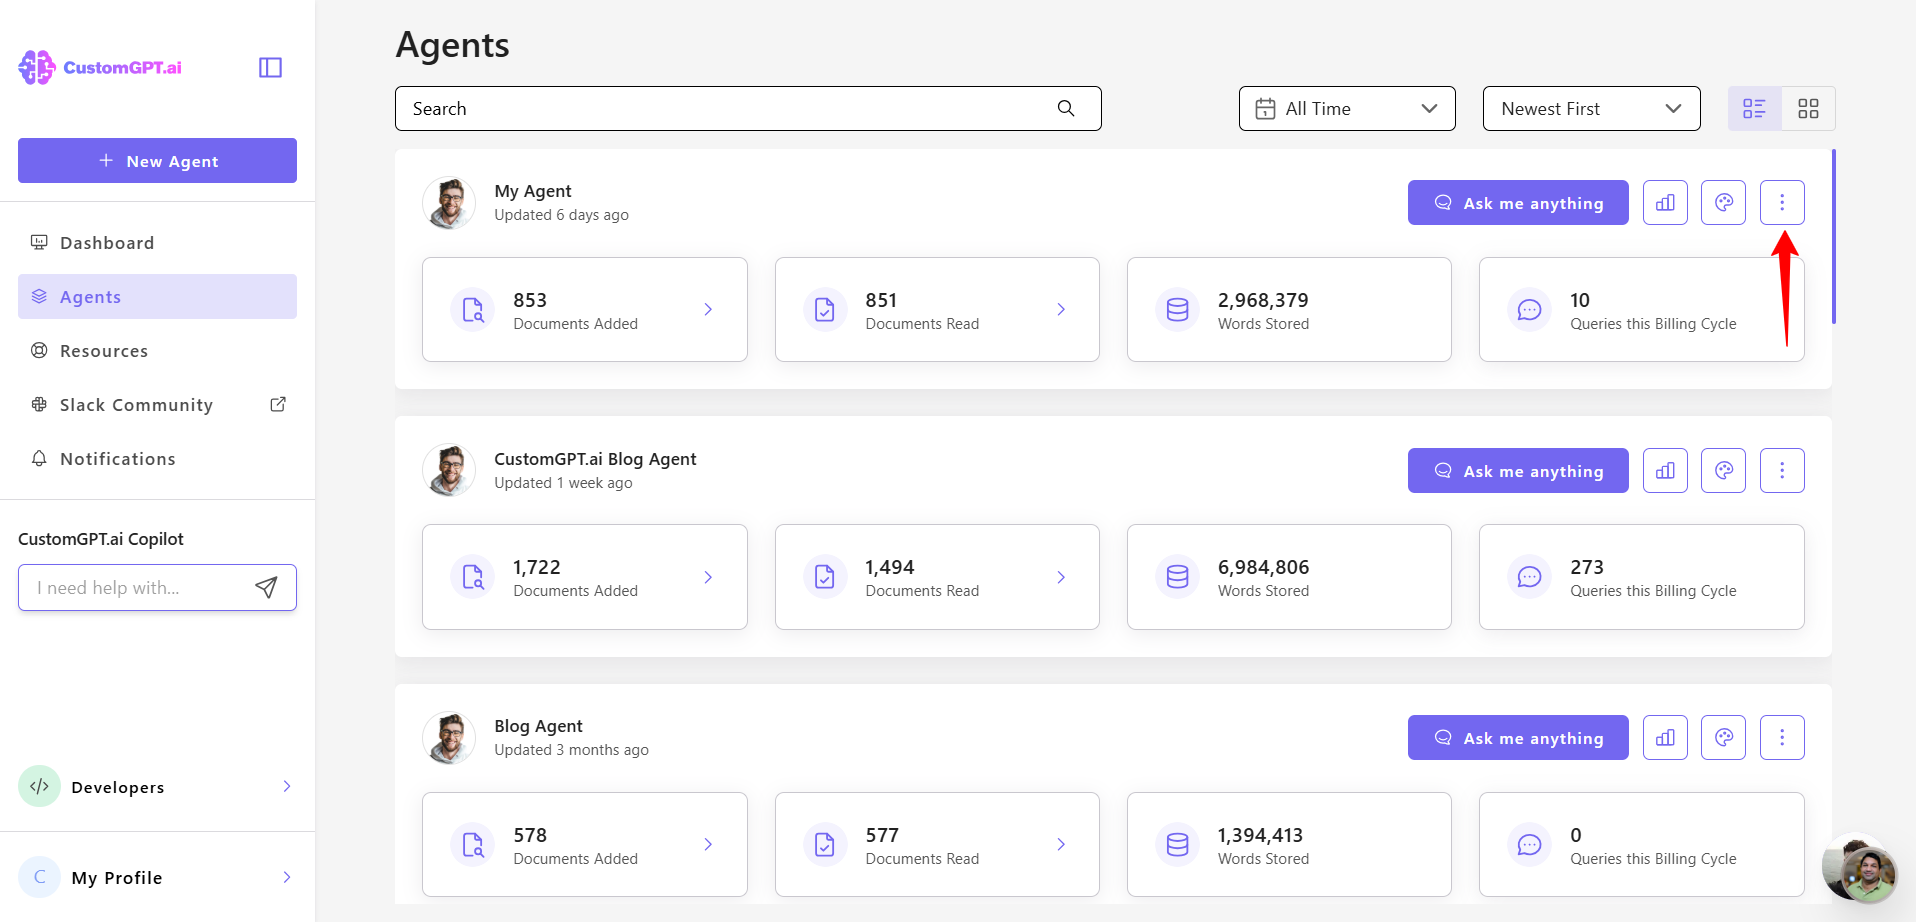
- Select Actions from the dropdown menu.

- Select the External APIs - Beta tab.
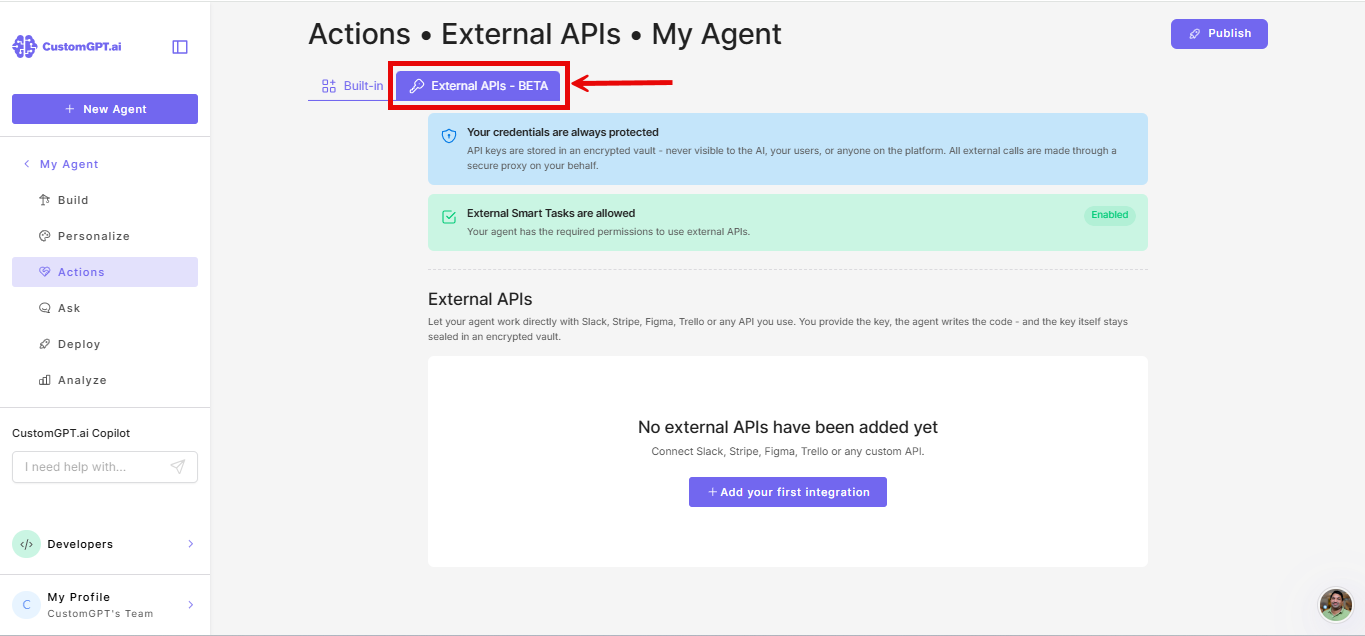
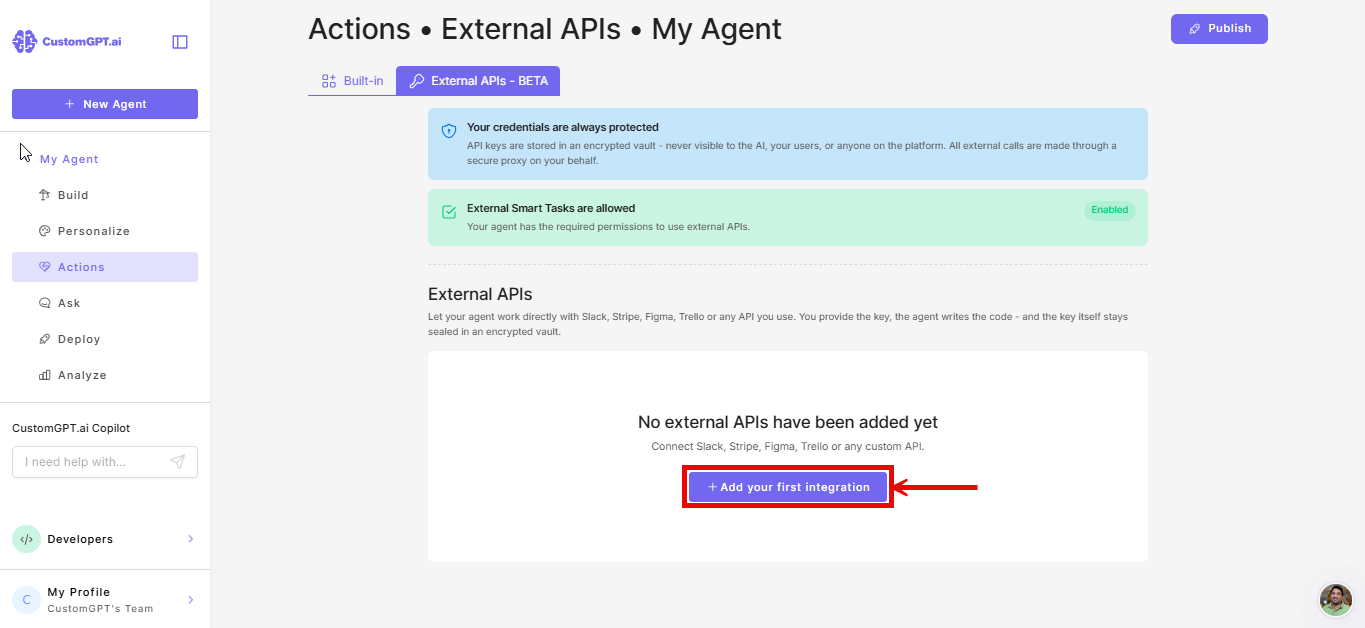
- On the External APIs - Beta tab, click Add your first API (or Add API if you already have integrations listed).
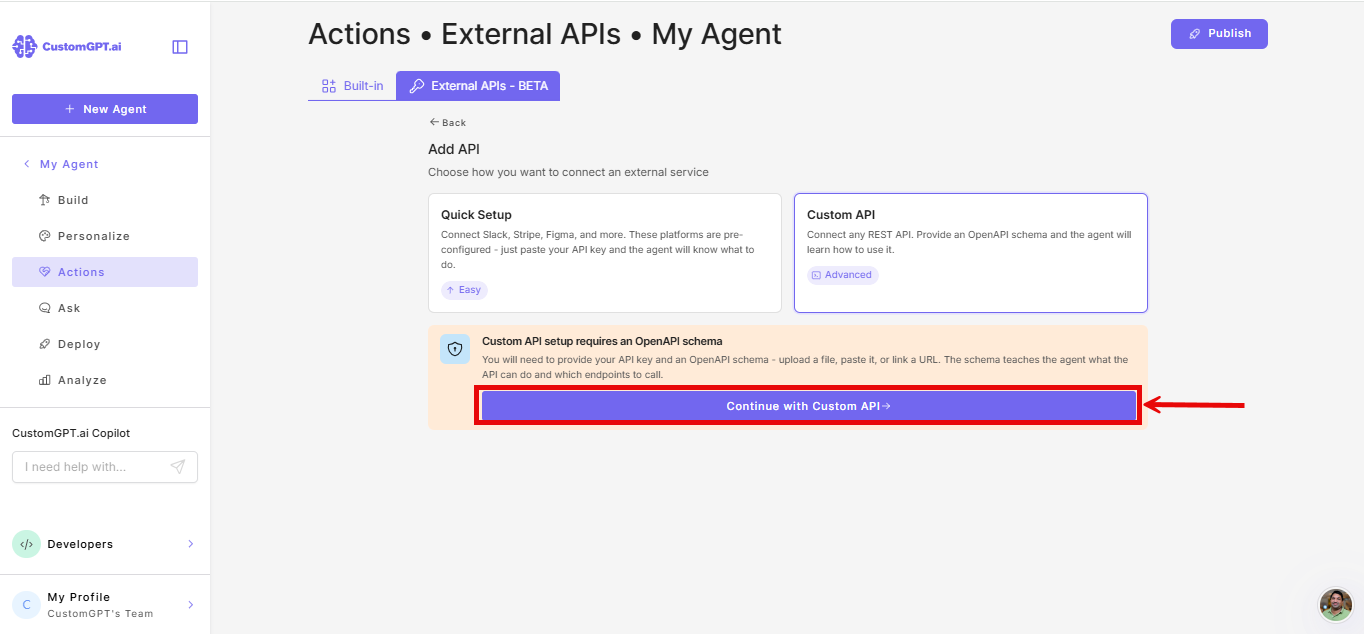
- Select Custom API.
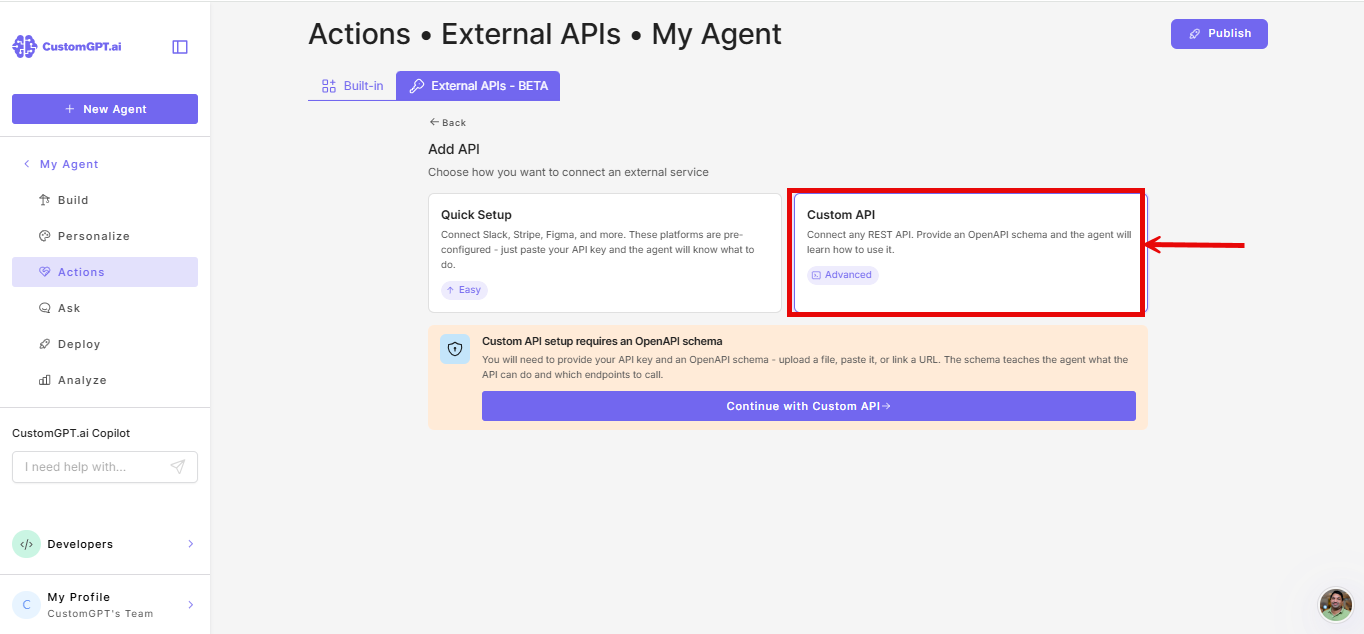
- Click Continue with custom API.
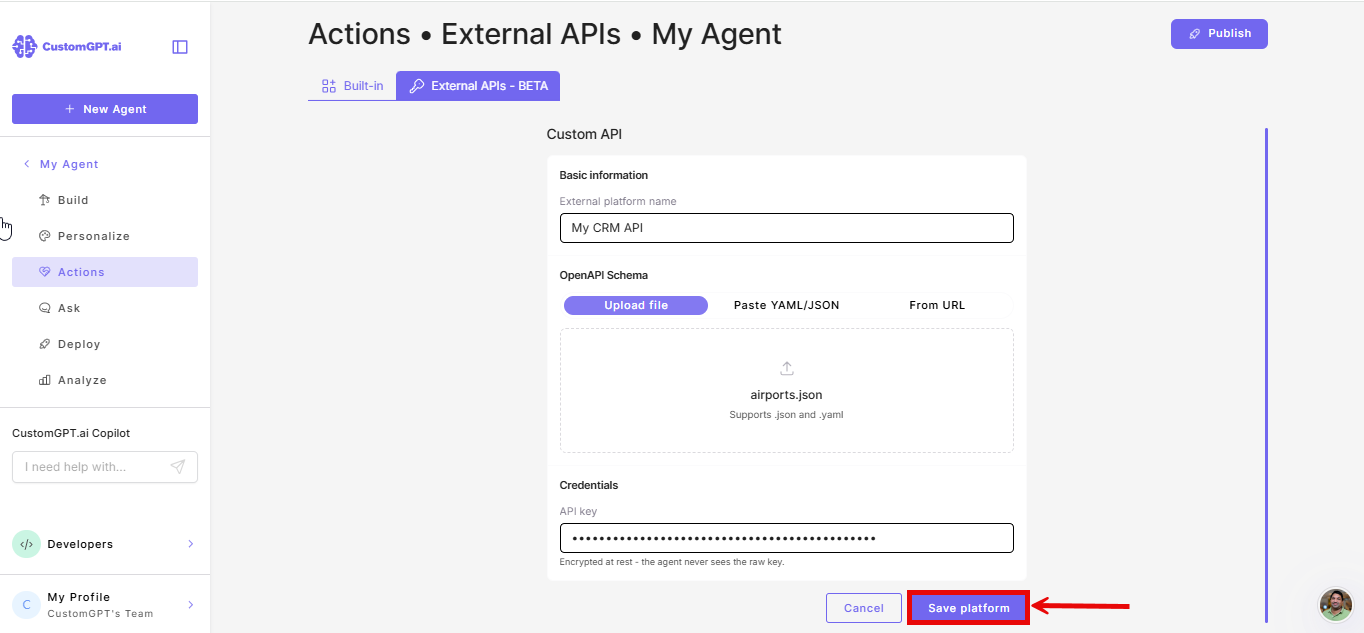
- Enter a name under External platform name.
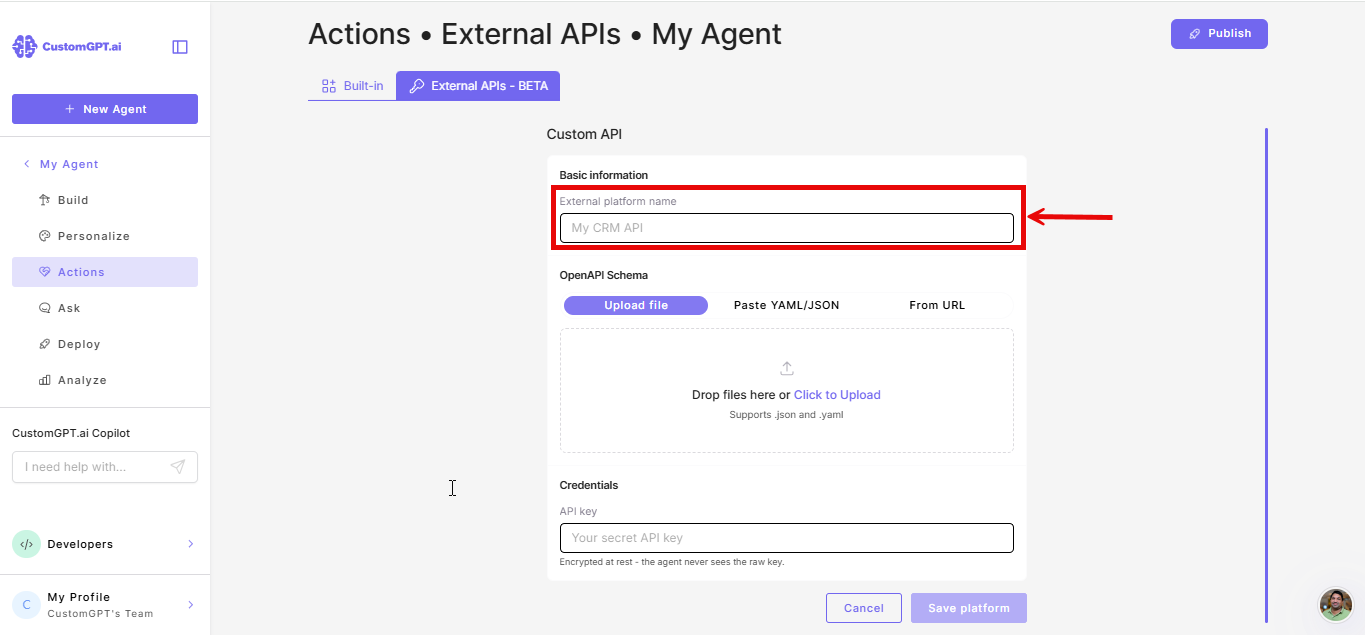
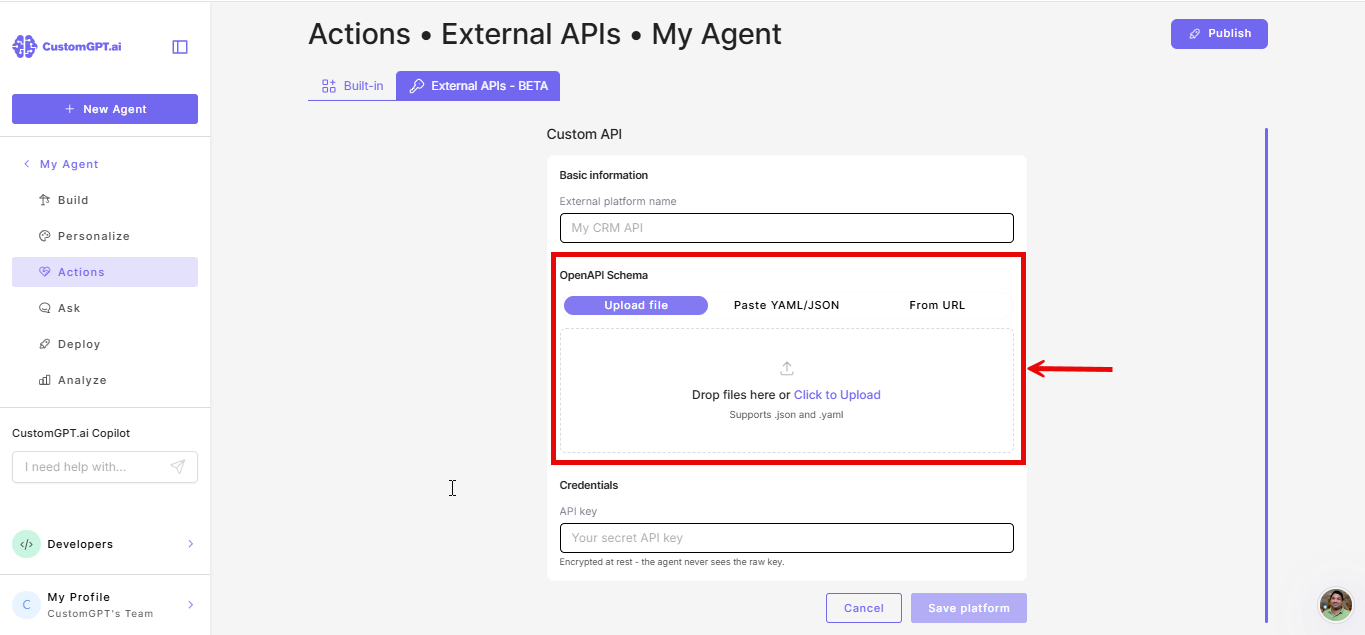
- Provide the OpenAPI schema using one of these options:
- Upload a .json or .yaml file.
- Paste the JSON or YAML directly.
- Enter the URL where the schema is hosted.
- Enter your API key.
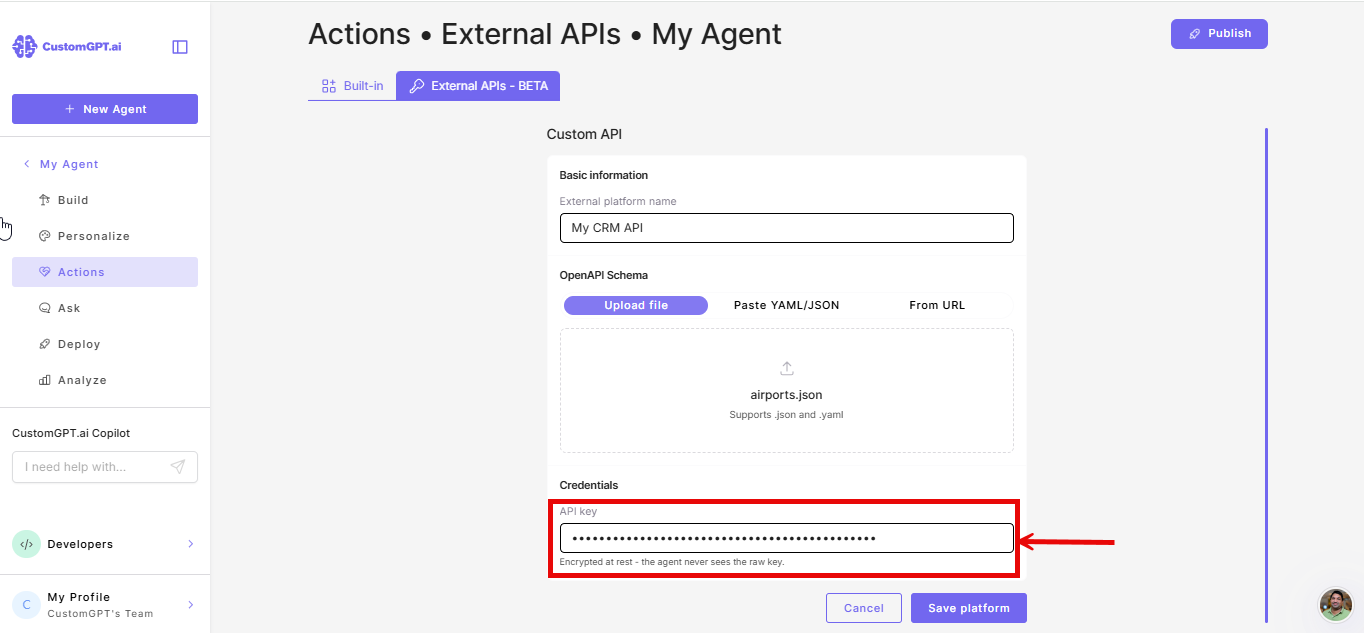
- Click Save platform.
Things to know
- You can configure as many integrations as you want, but only 5 can be active at a time. This limit helps manage your agent's context and query credit usage. To increase the limit, contact support.
- The agent can use integrations within a single conversation only. Each new conversation starts fresh.
Related articles
Updated 20 days ago
Did this page help you?